Setting Raspberry Pi’s Date and Time
You have finally connected your Raspberry Pi to the internet and are ready to start your project. You are then hit with an error telling you that you can’t access the web. It turns out that your Pi is set to a different year in a different timezone. This is how you manually change your date and time so that you can access the internet.
The first thing you want to do is open up your terminal. The command: man date, will give you all the information you need to work with anything relating to the date and time of a Raspberry Pi.
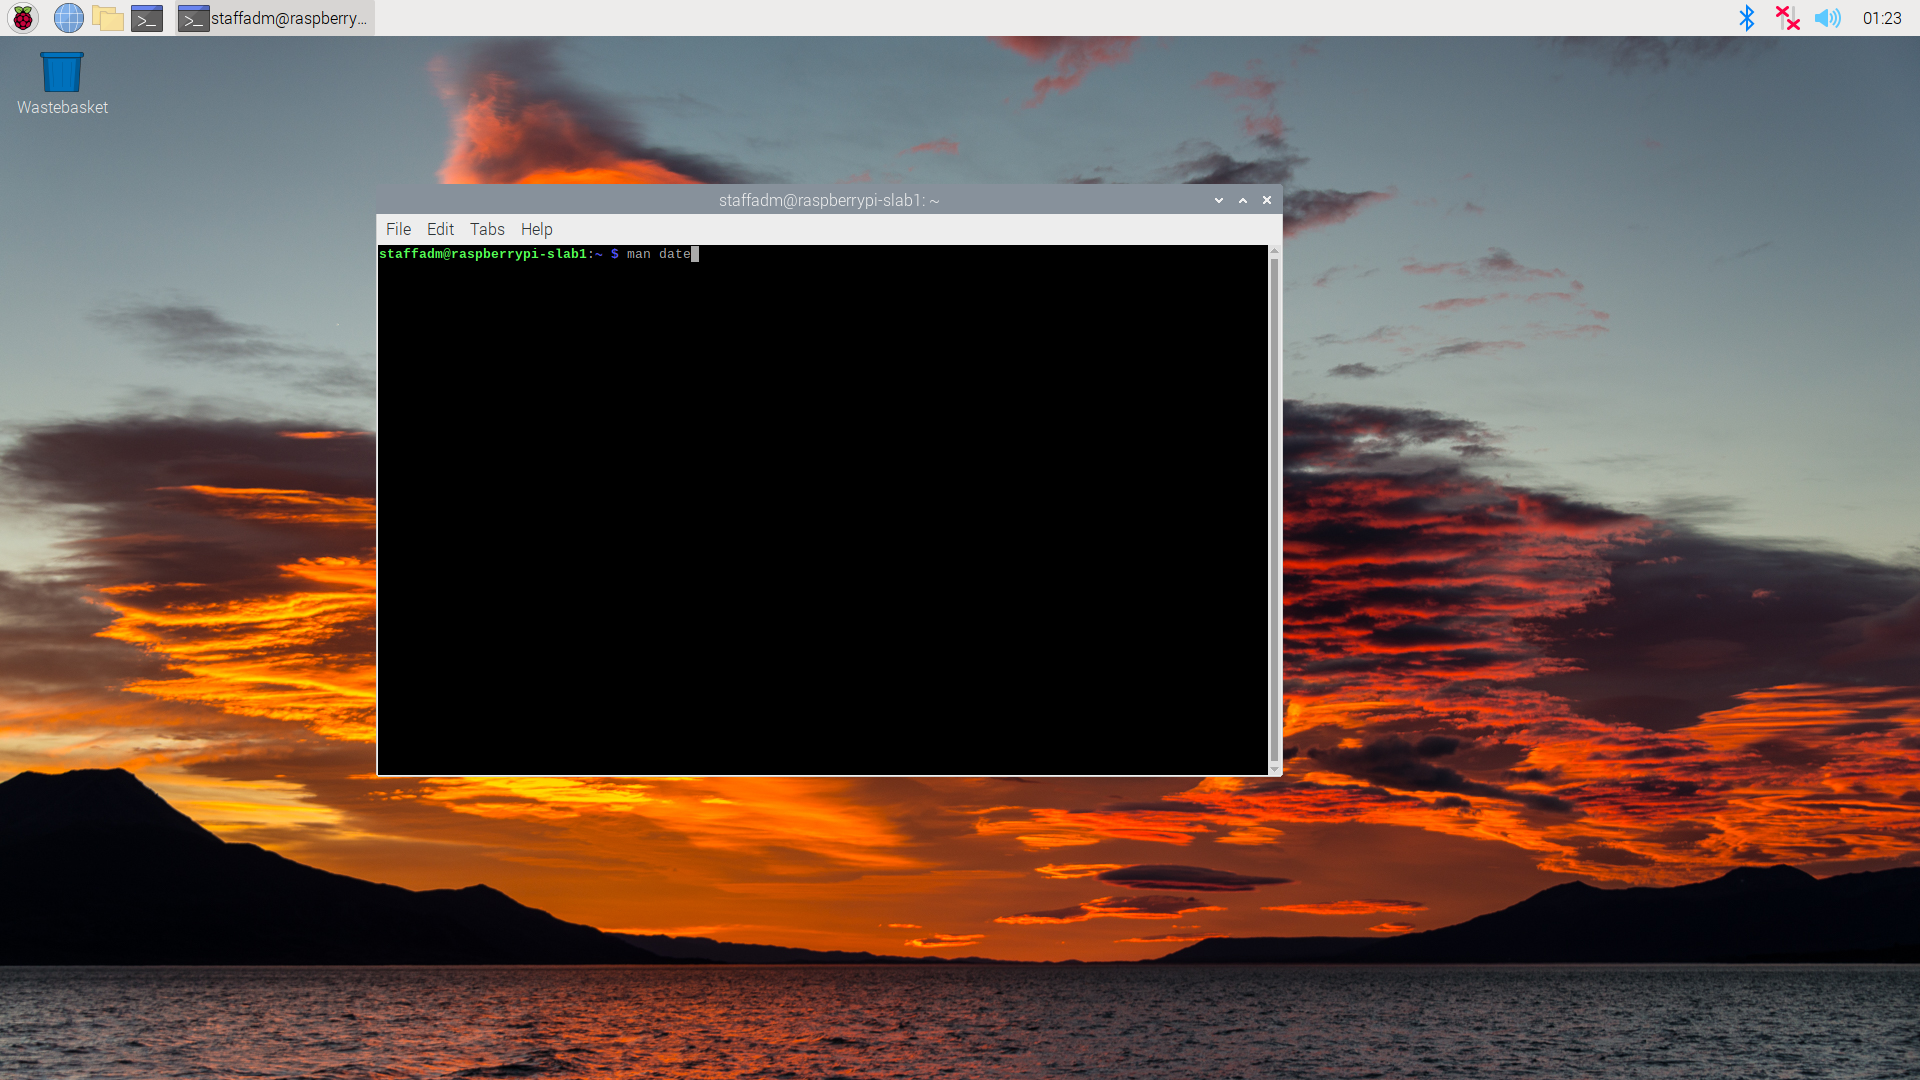
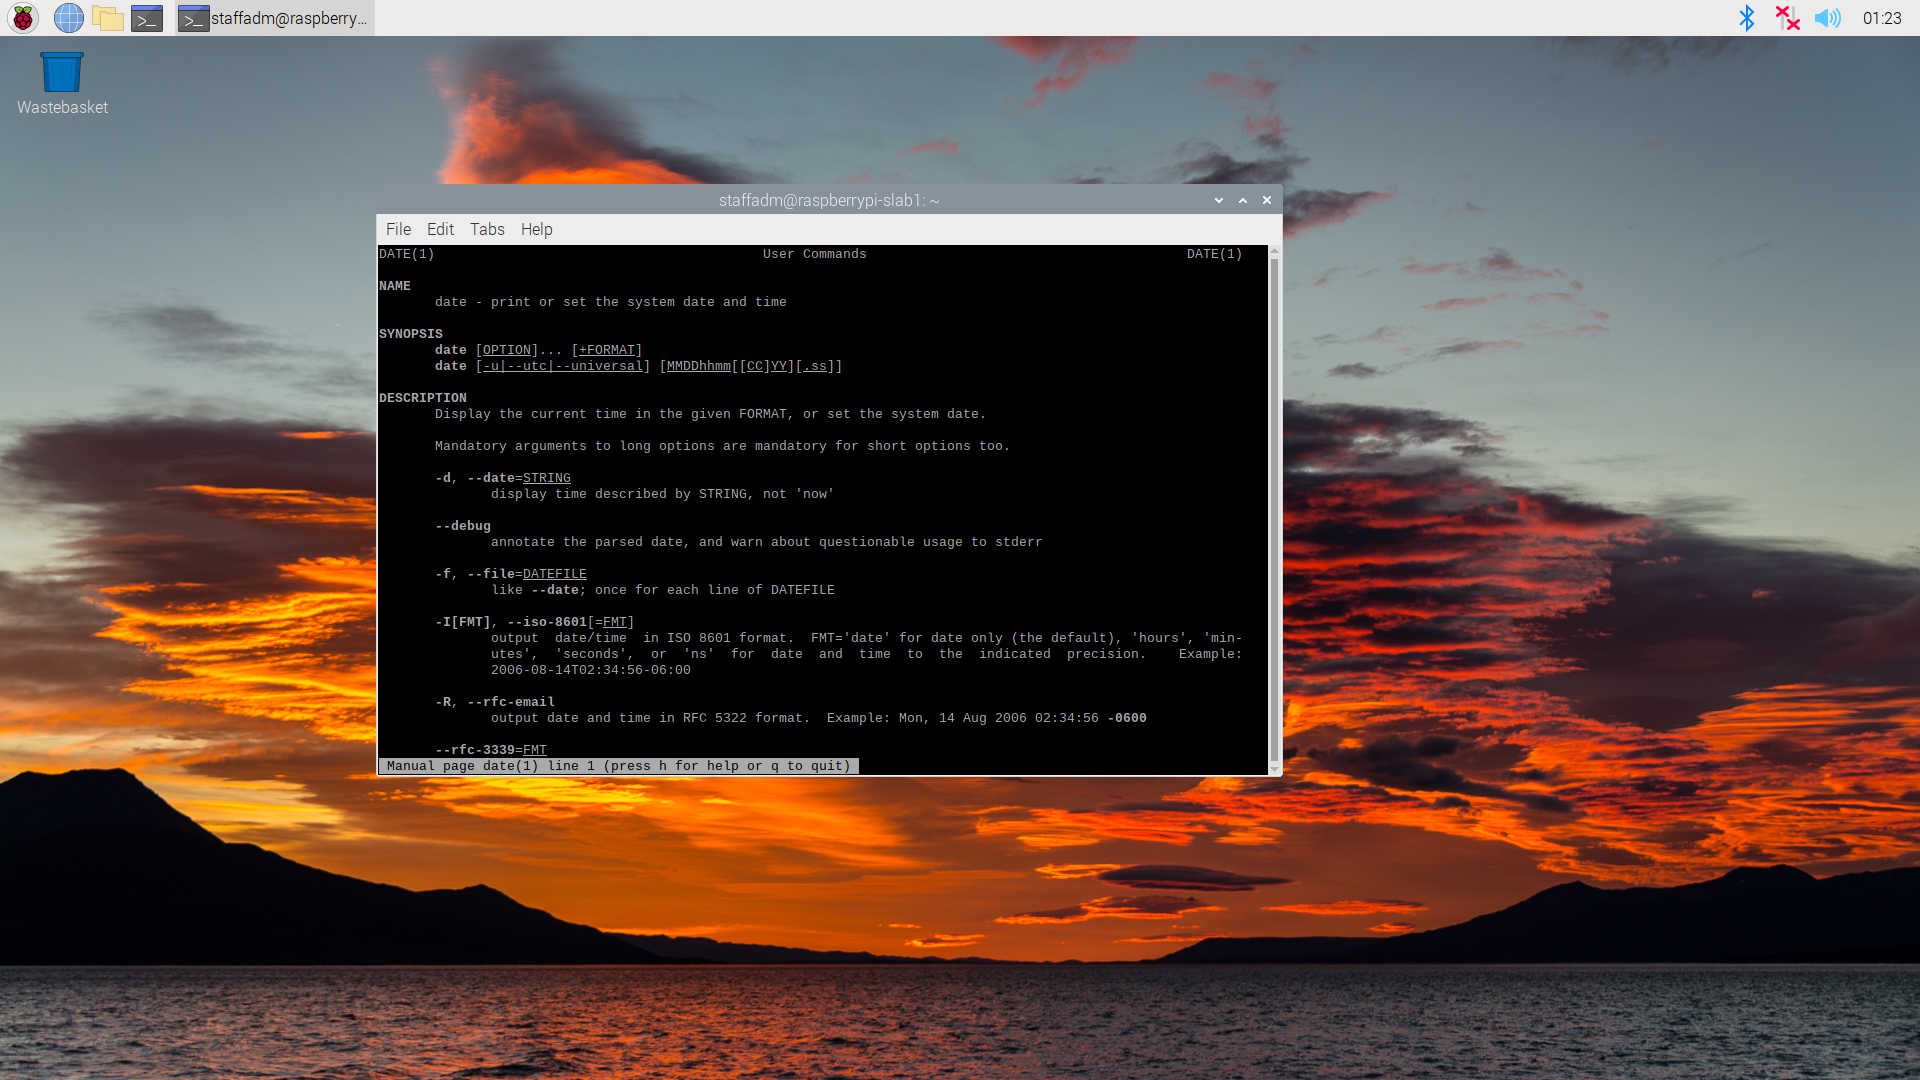
Don’t worry, you won’t be forced to read through all of that documentation.
The following code will allow you to set the time to whatever you desire, ideally the current time. Follow this format:
sudo date -s "WeekDay Month NumericDay hour:minute:second timezone year"
Do not forget to put quotations before the day of the week and after the year. The time also needs to be based off a 24 hour clock so that am and pm are accurate.
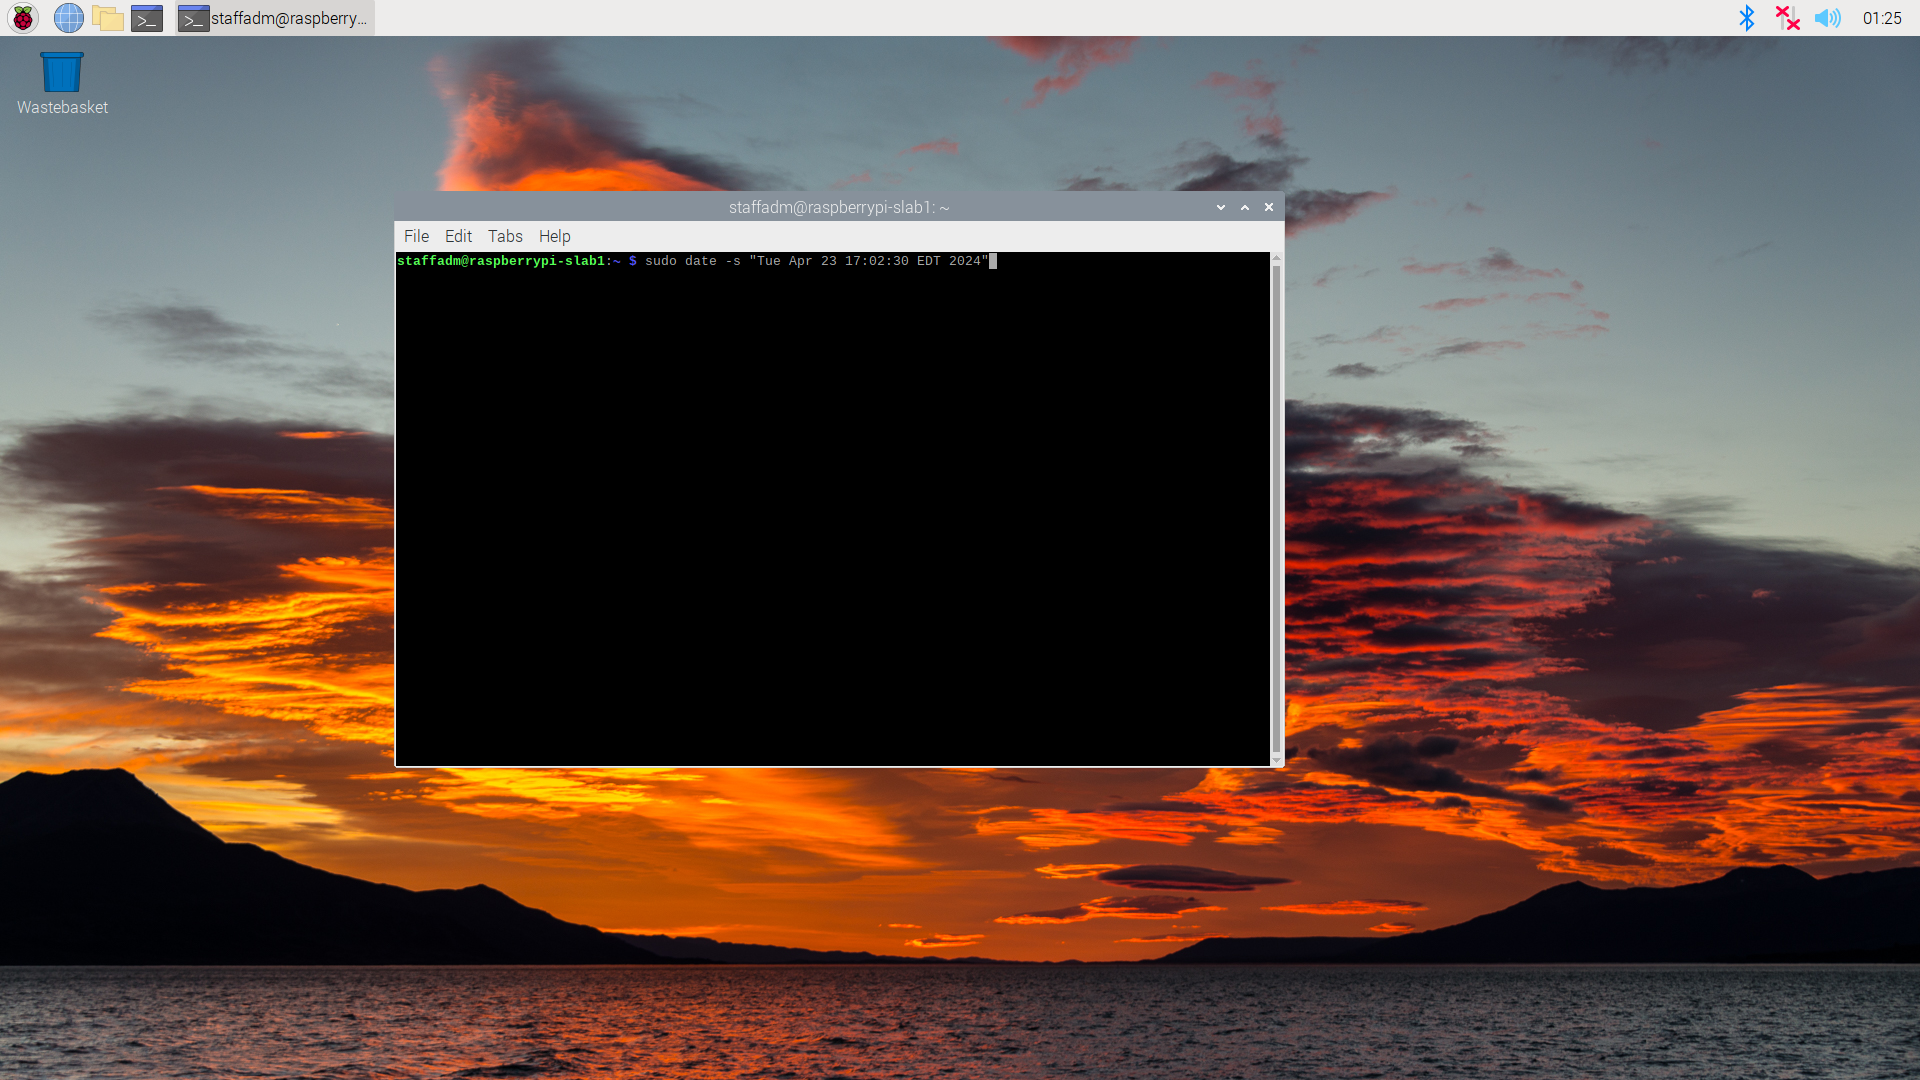
Wait a few seconds and the clock and calendar in the corner of your screen should update.
If your timezone is still wrong, follow the next steps. If your timezone is accurate, you are good to go.
Go back to the terminal and enter:
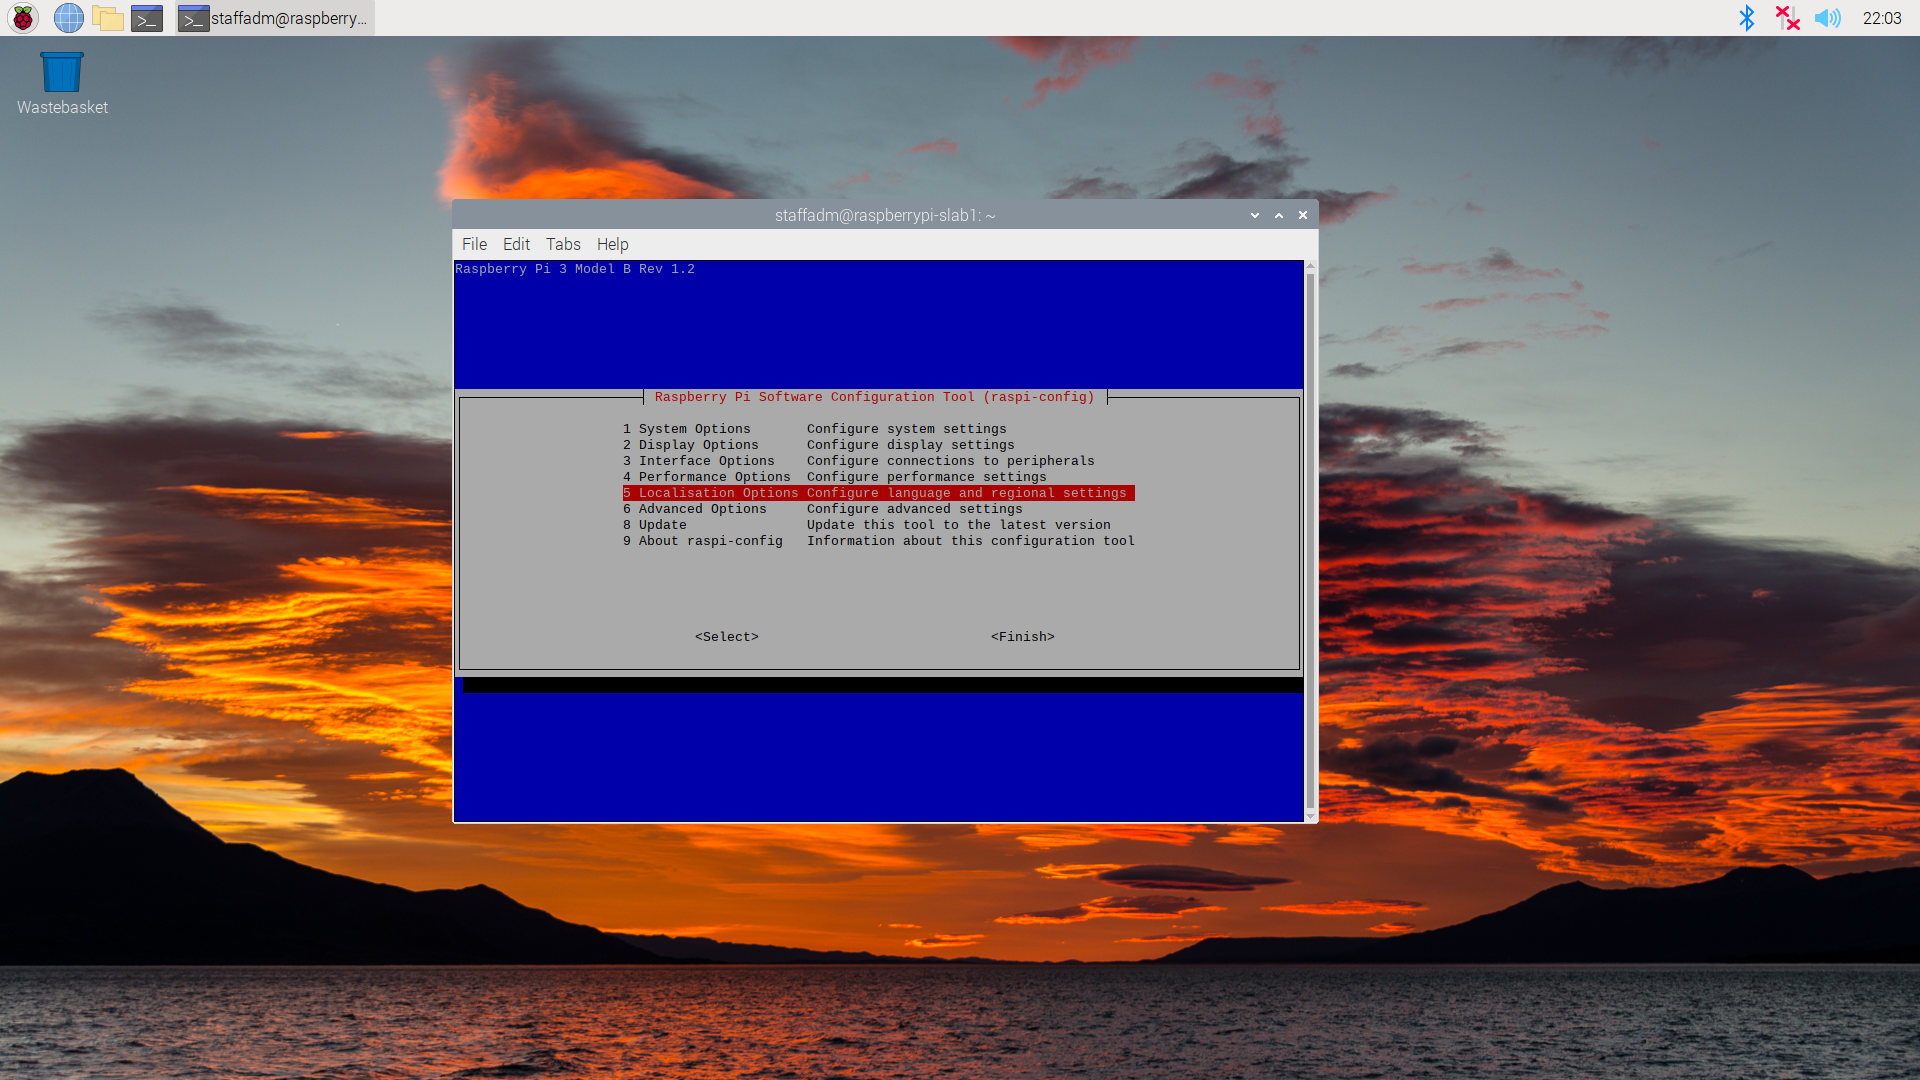
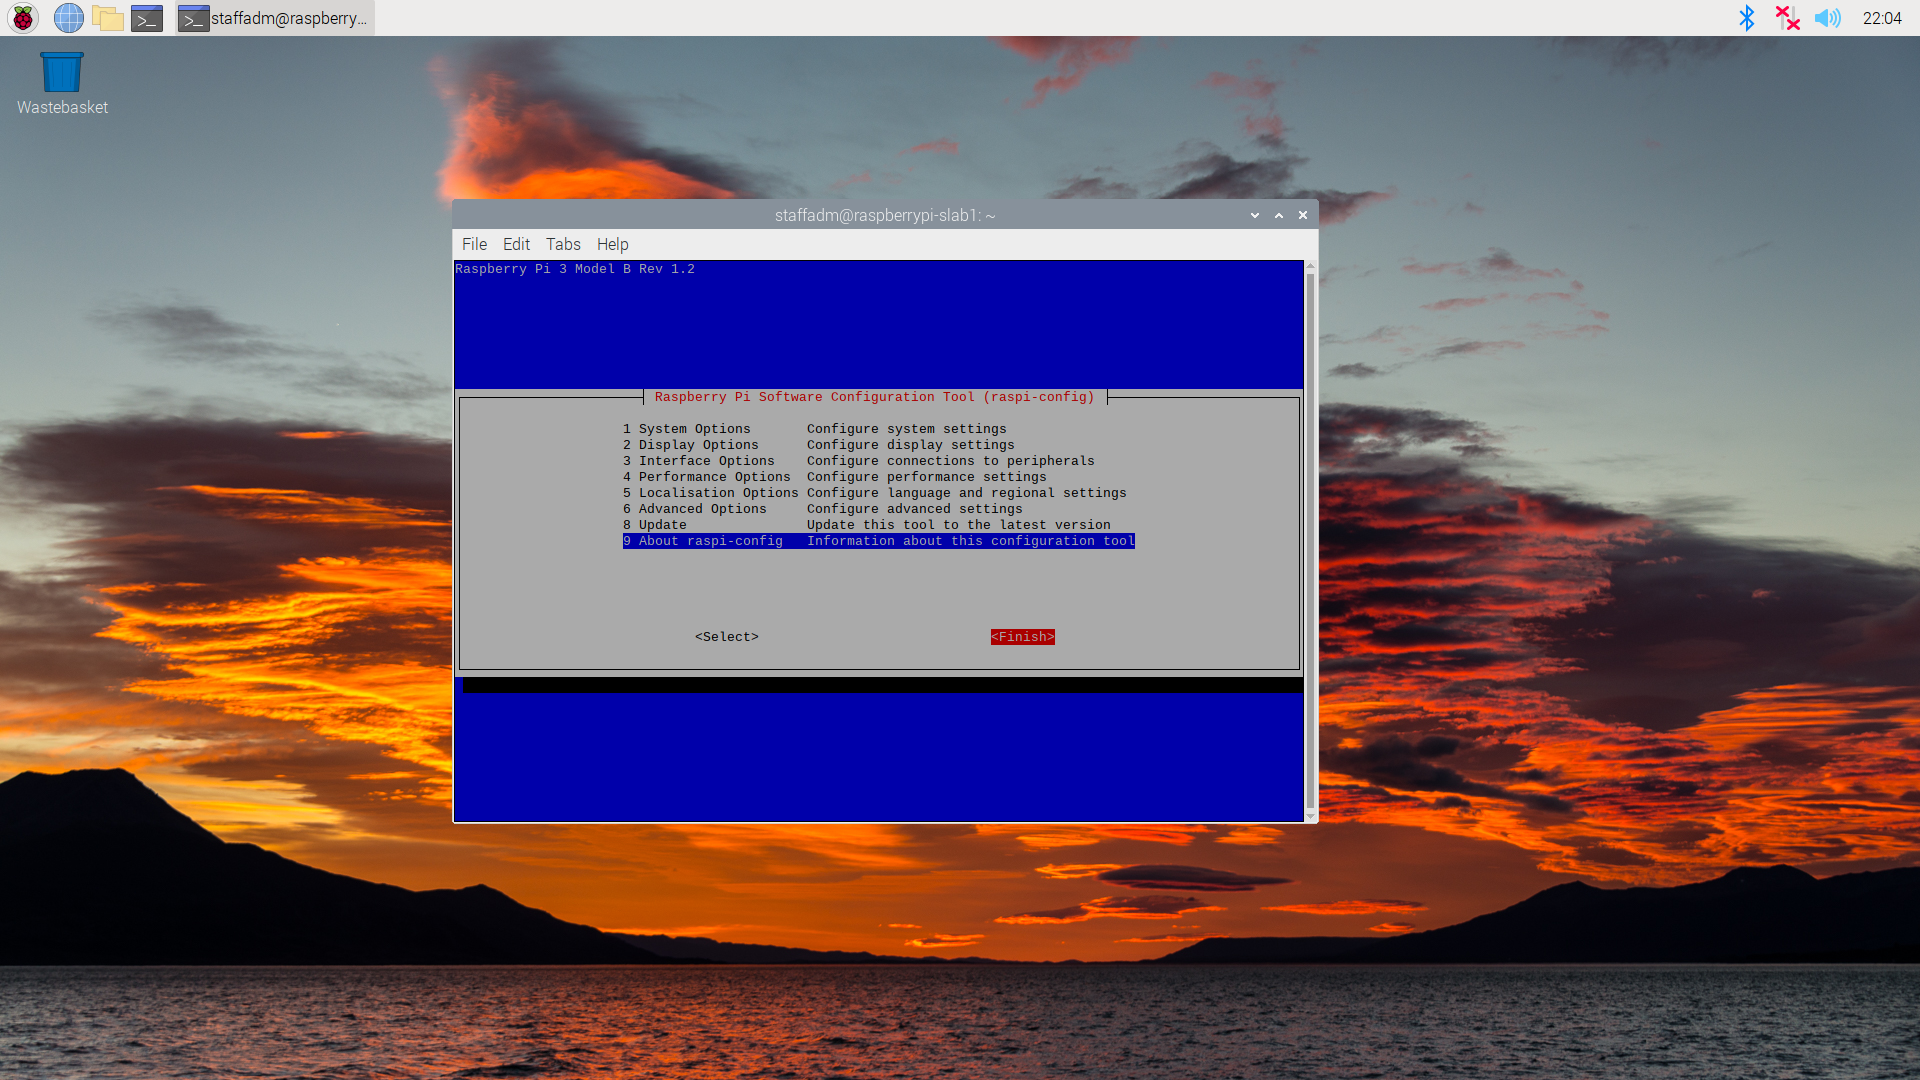
sudo raspi-config
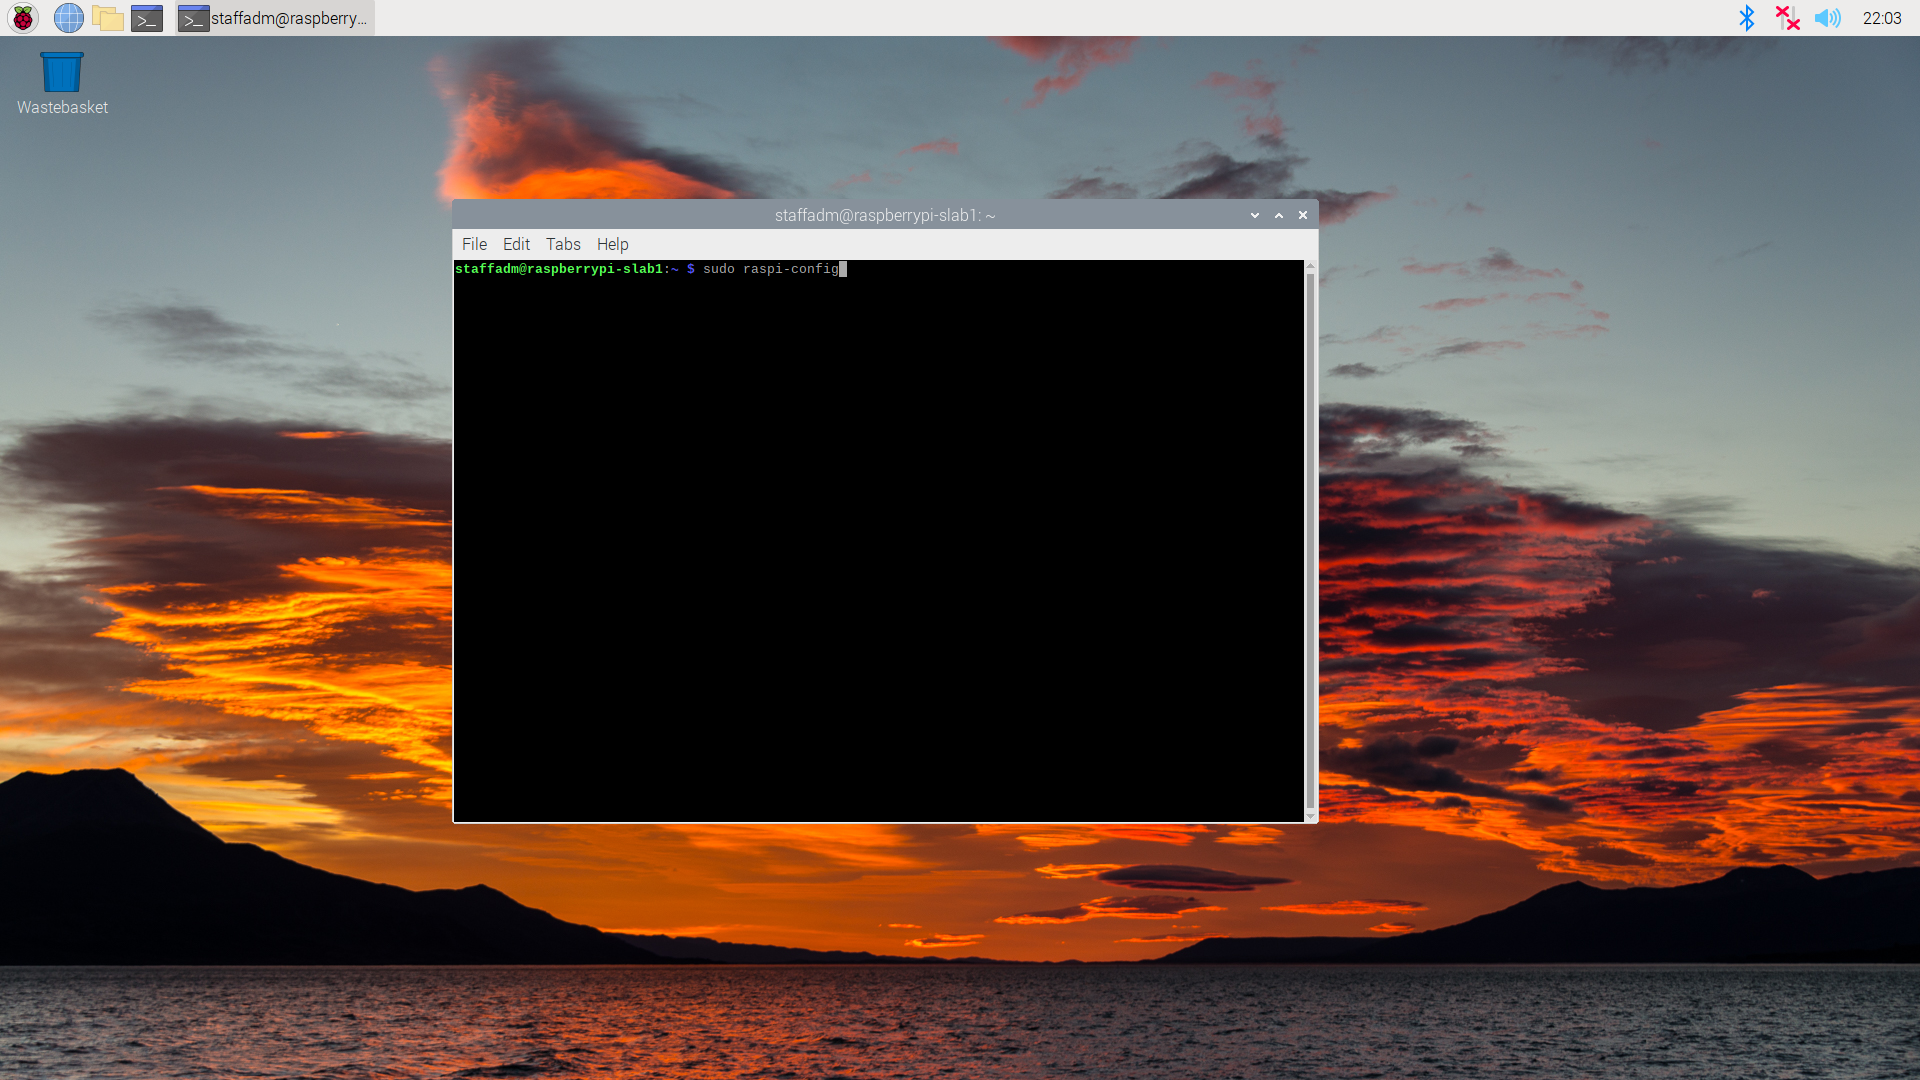
This will bring you to the Raspberry Pi Software Configuration Tool. Select option 5 Localisation Options
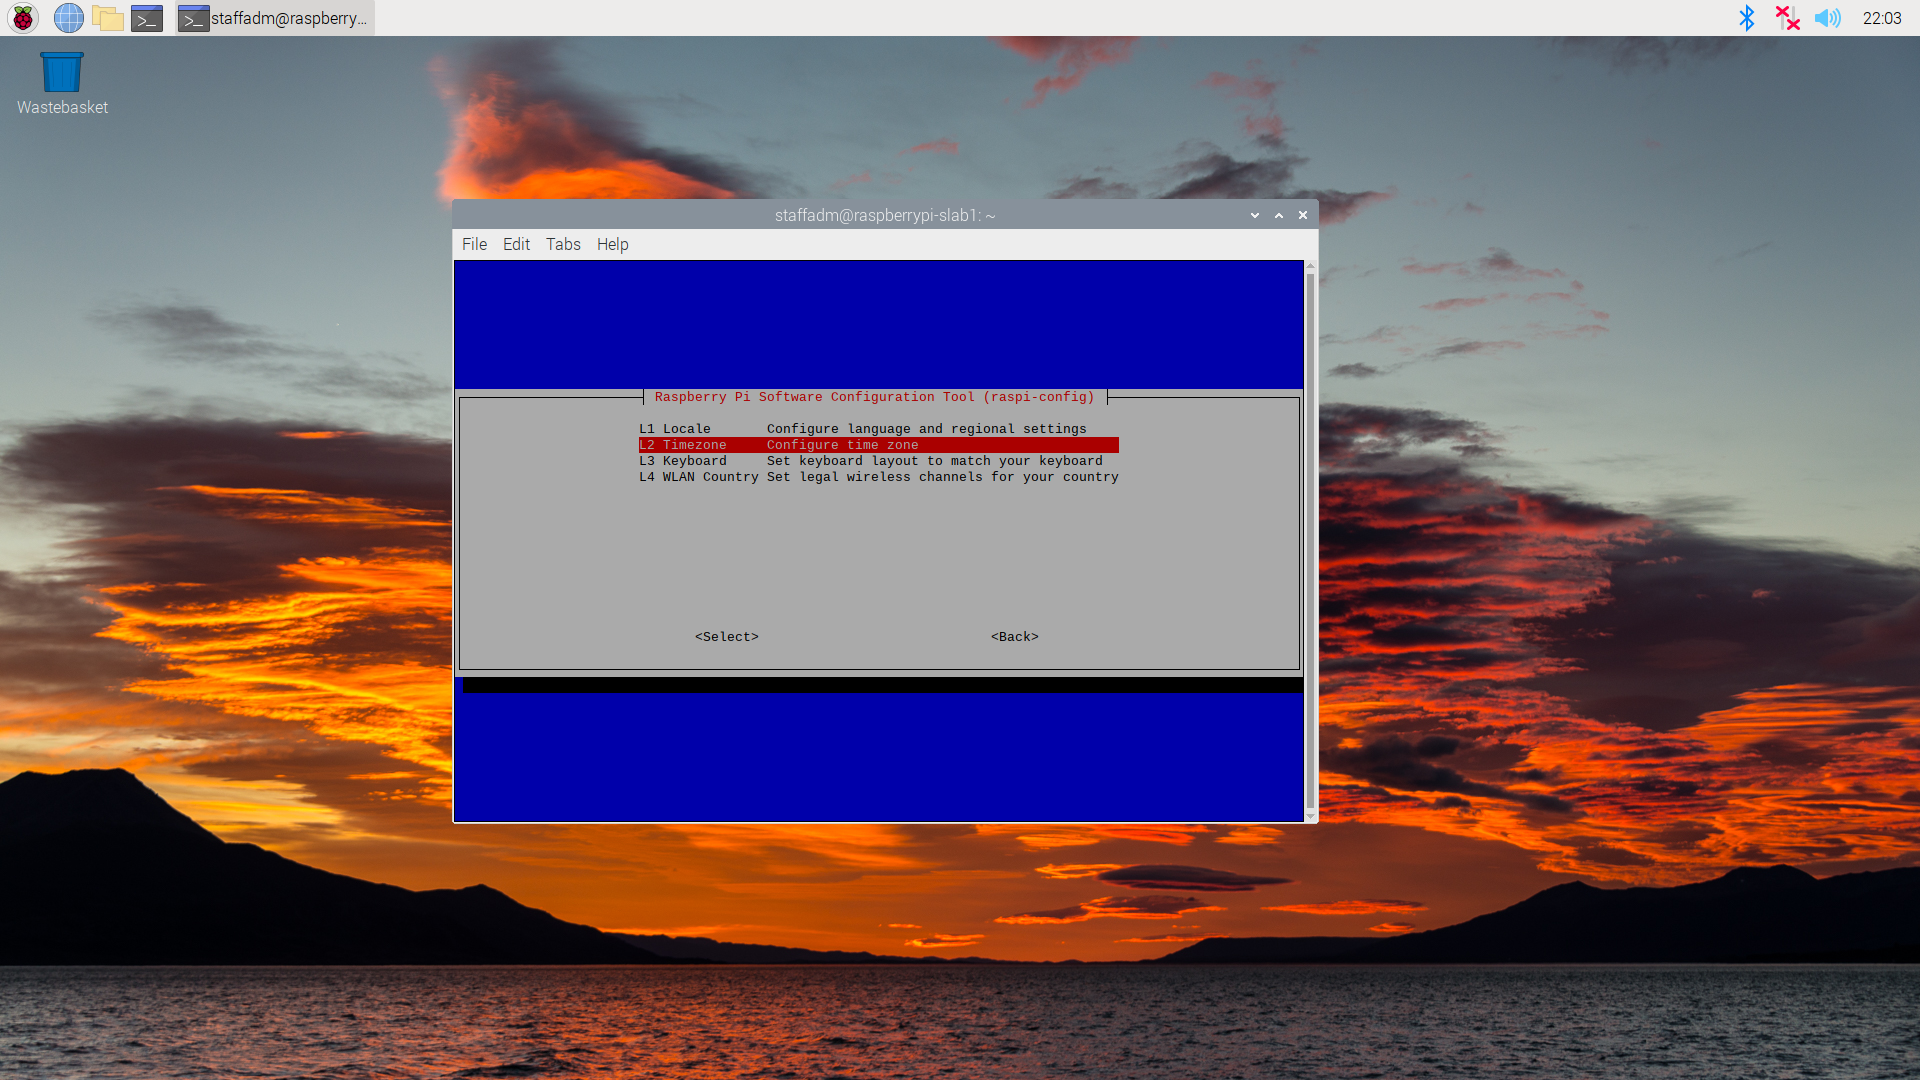
Select option L2 Timezone.
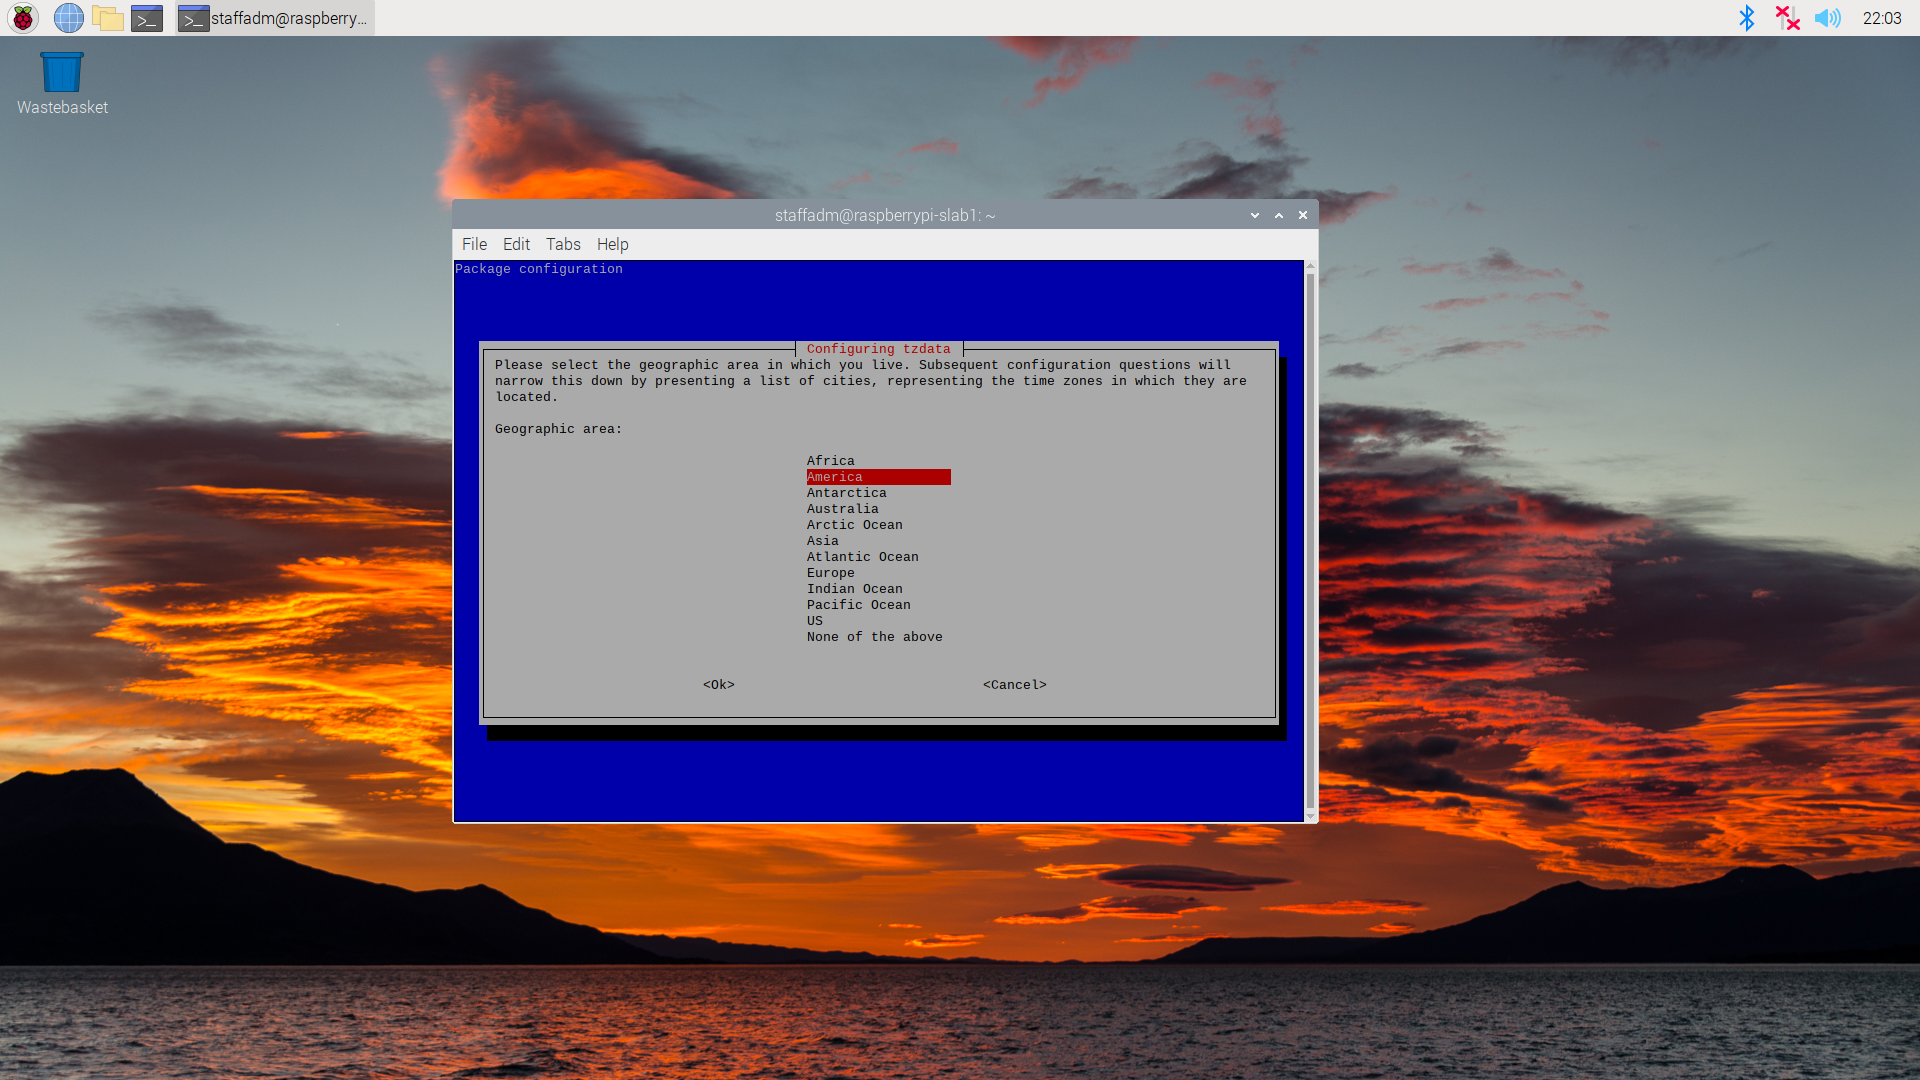
This Pi is being setup for usage at the University of Virginia, so the timezone will be set to reflect that. If you live in a different timezone select your corresponding locations.
Select the America Geographic area.
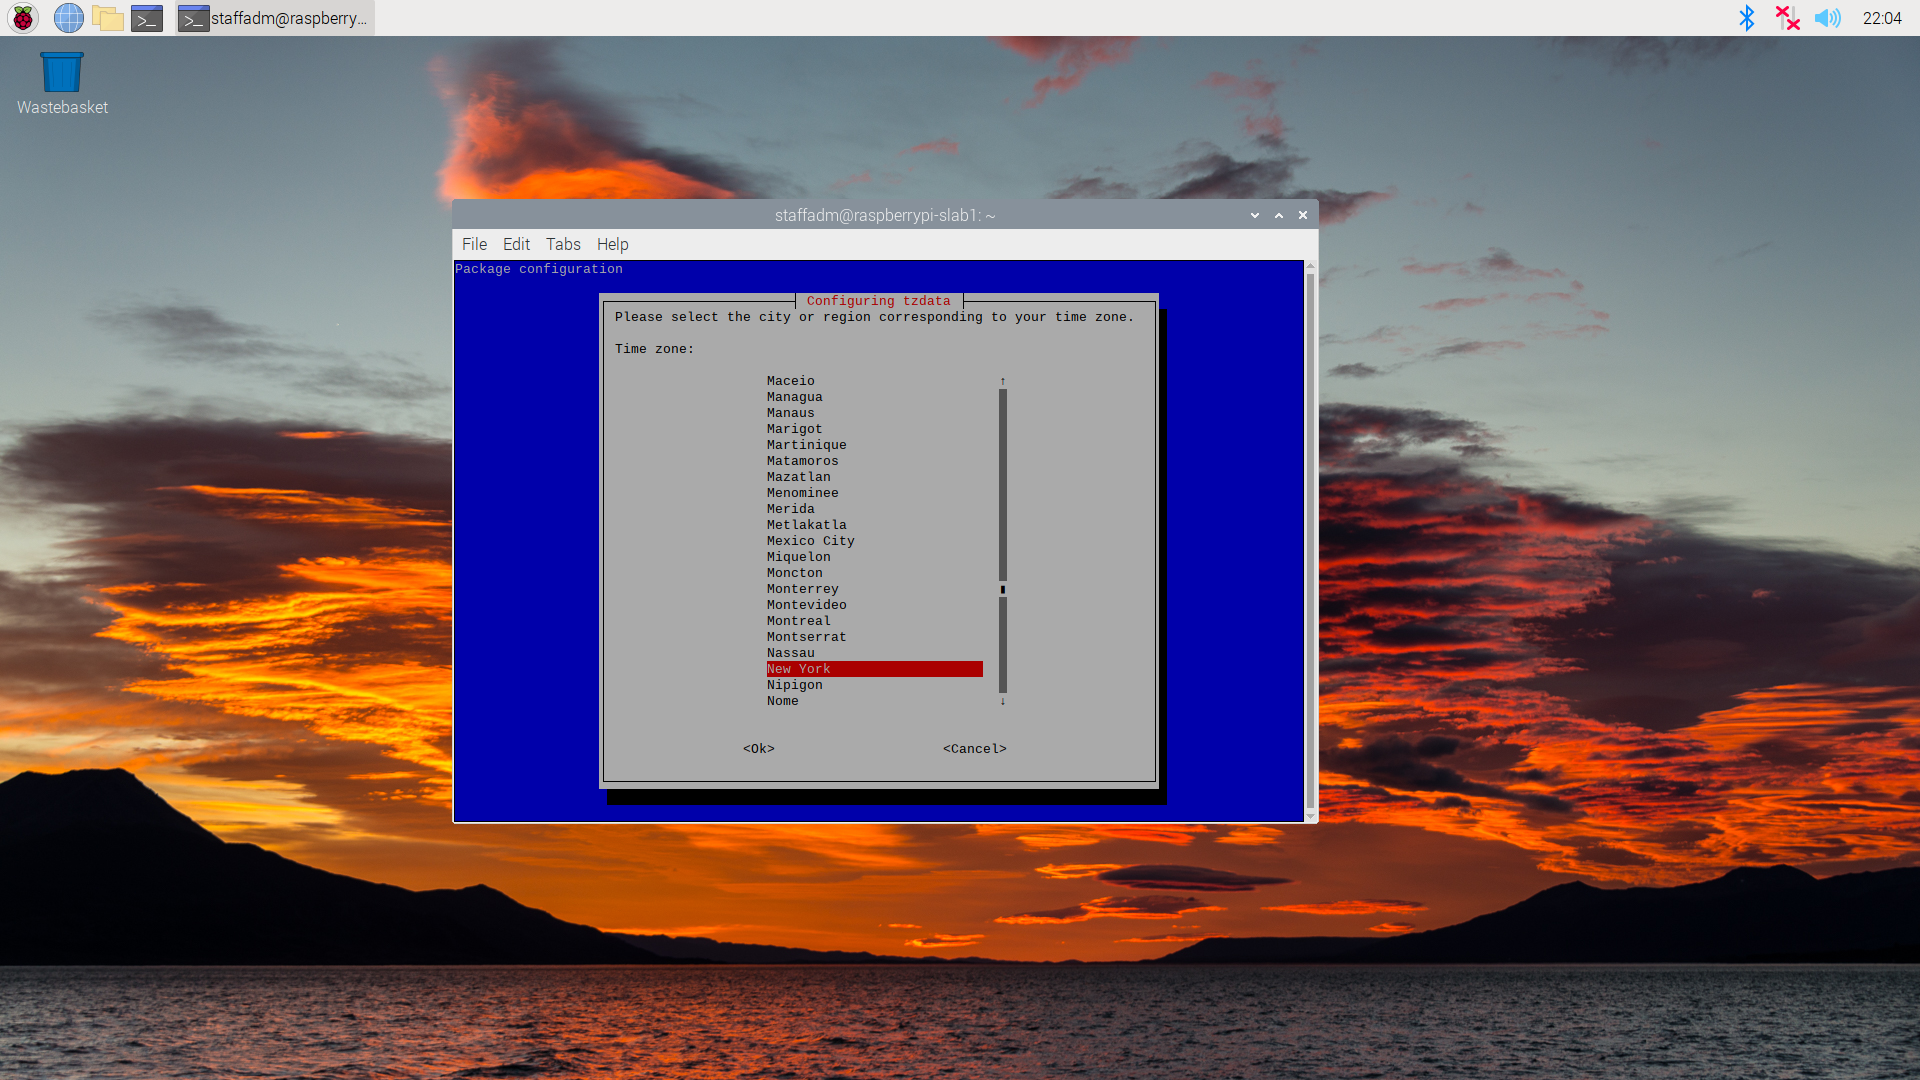
Charlottesville is on the east coast so select New York as the Time Zone.
Hit finish.
Congrats!!! You have set up your Raspberry Pi to its accurate date and time. You should be able to freely access the web now.
