Laser Cut & 3D Printed Keychain
This tutorial will guide you through the steps to make a keychain or charm that is both laser cut and 3D printed.
Design the keychain
This works best with designs that are mirror images across at least one axis. Names are possible, but much harder.
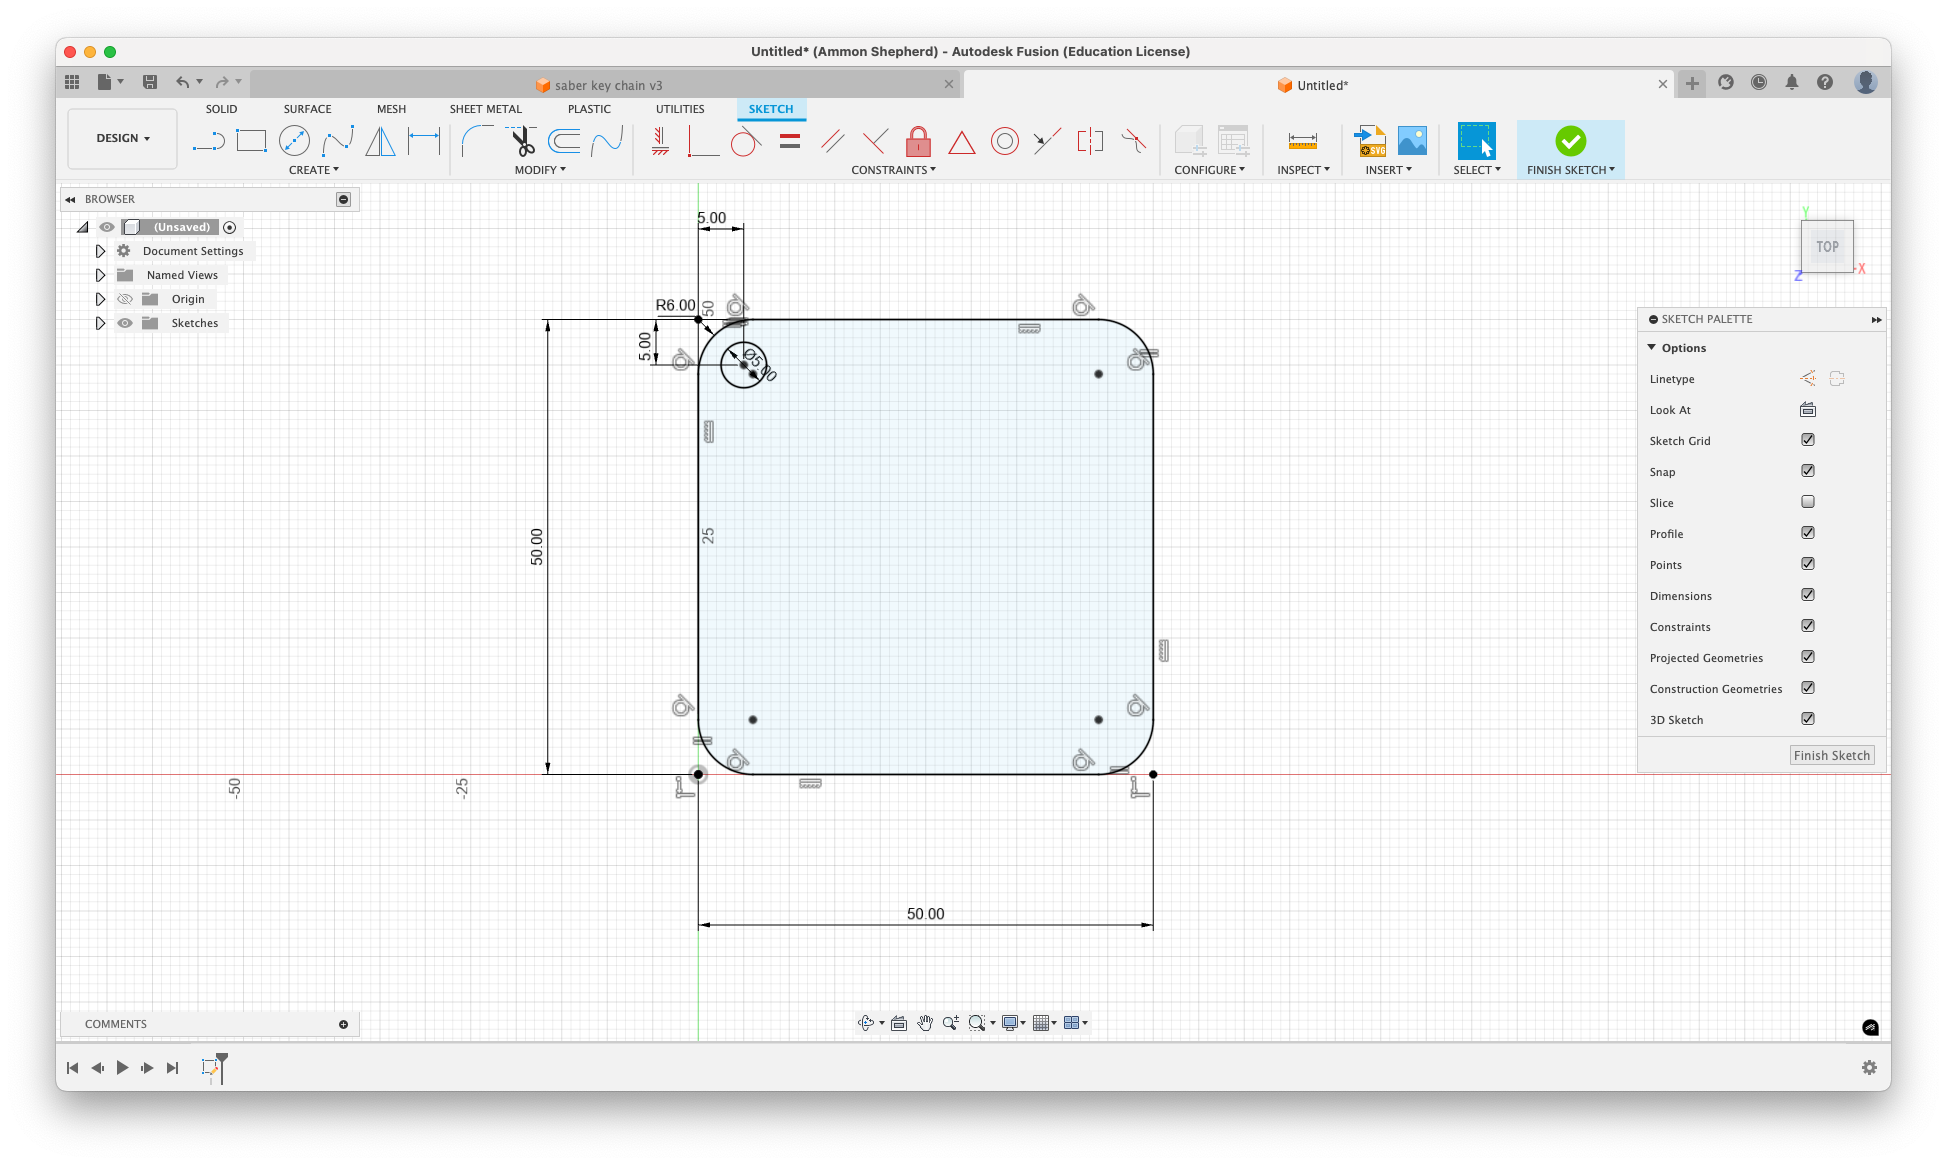
Sketch the outline of the keychain and the ring hole.
30mm x 70mm is a little bigger than a standard house key. If making a rectangle, round the edges at 6mm.
Add a circle for a hole 4-5mm in diameter, and 5mm from the center of the circle to the edge.
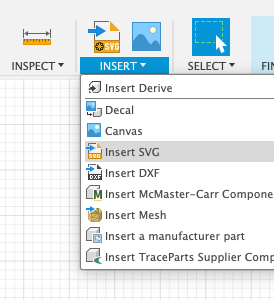
Import an SVG file for the design or sketch the design.
Line up and resize the SVG image to your liking.
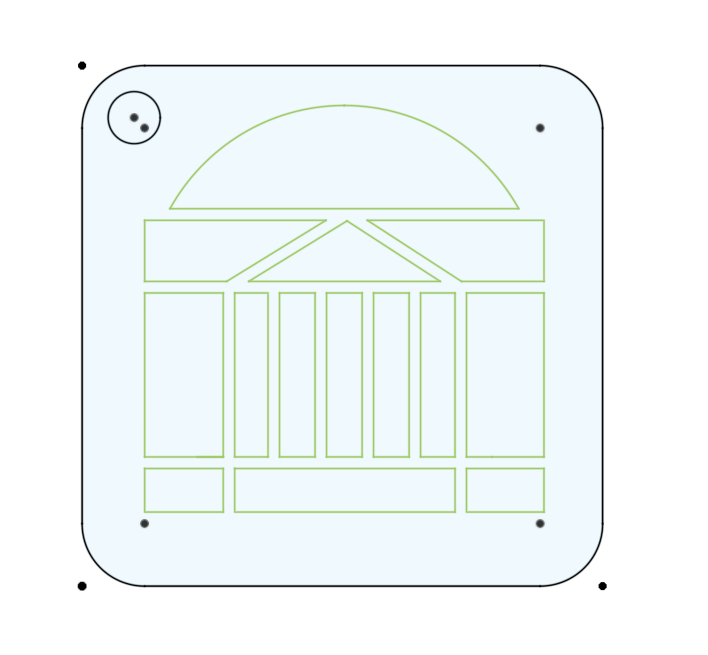
Once you have the design set, add a rectangle around the design that will be cut out. This will serve as the bottom of the 3D printed part, and the section that will be engraved by the laser cutter.
Just to make things clean, create a new sketch and project the current lines onto this sketch. These will be the engrave and cut lines used in Illustrator.
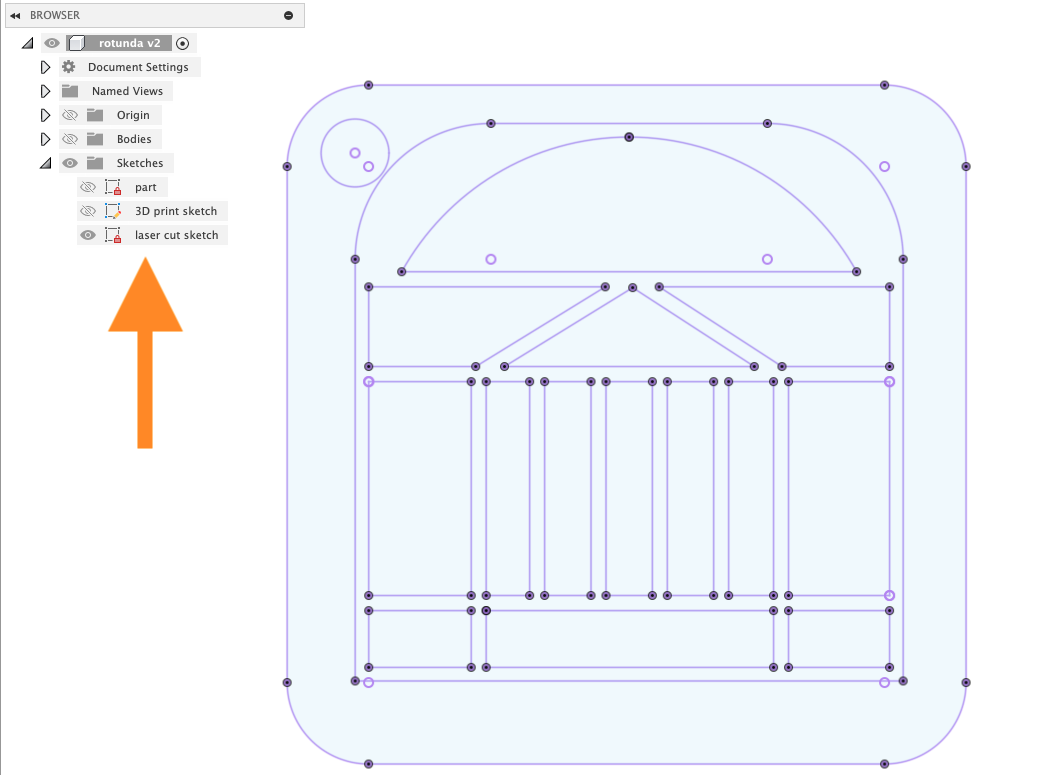
Save this laser cutting sketch of the keychain as a DXF file.
Making the 3D printed part
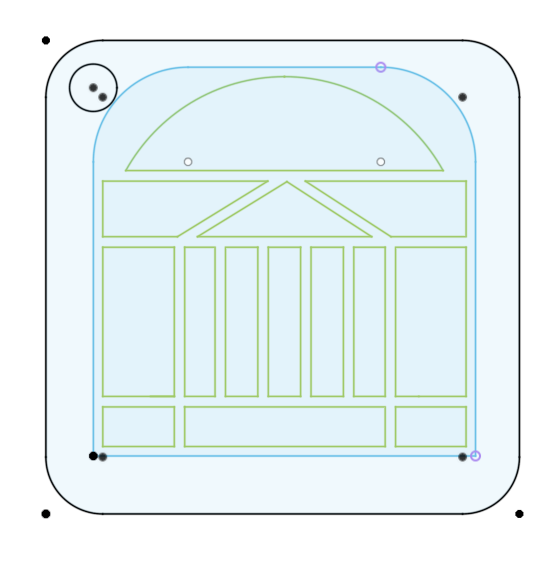
Next, create a new sketch for the 3D printed part.
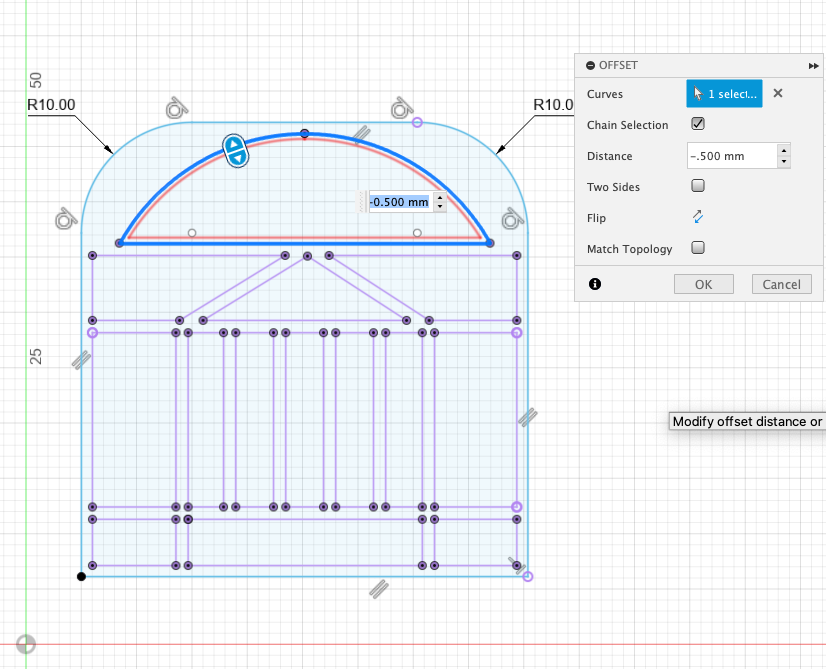
Project the lines of the design that will be 3D printed onto this sketch. Then select the lines and offset them inside by .5mm.
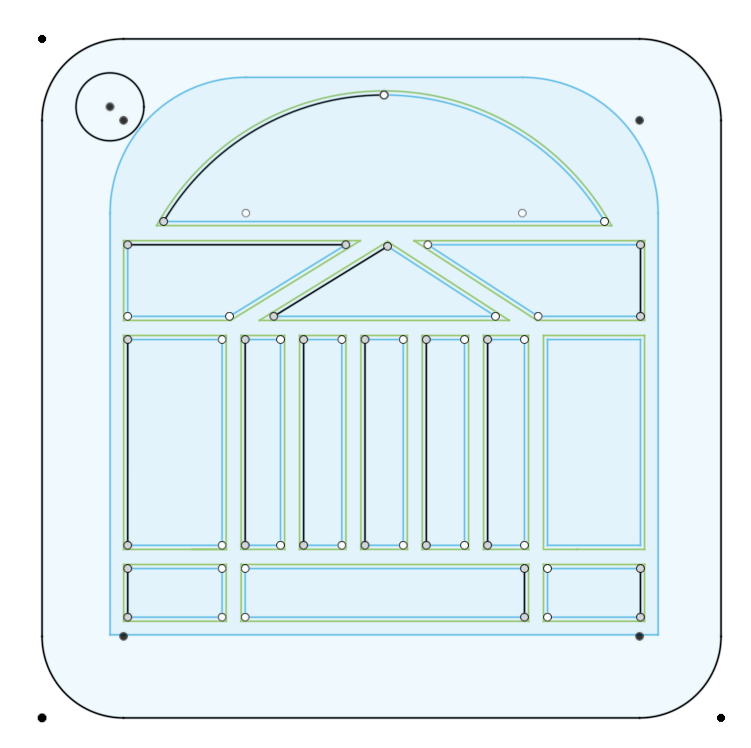
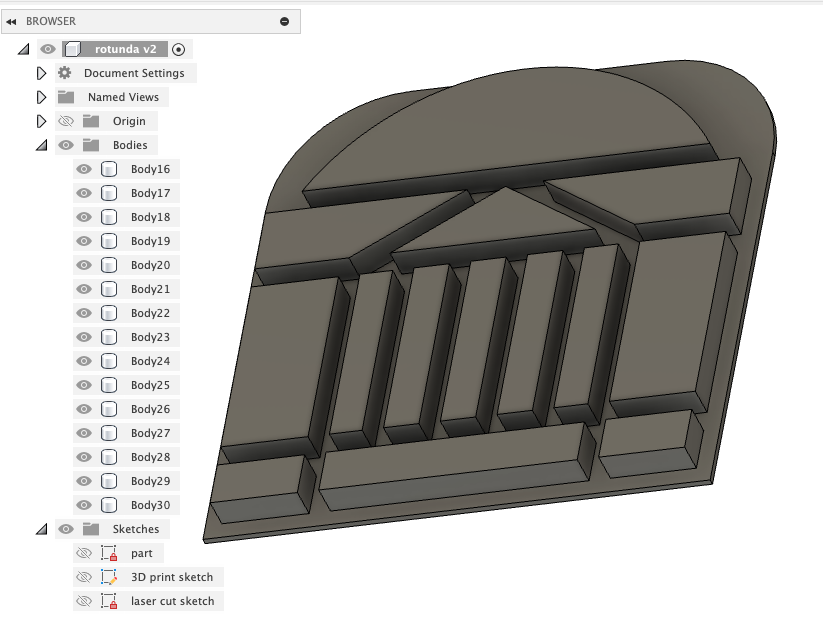
Extrude the inset design 3mm.
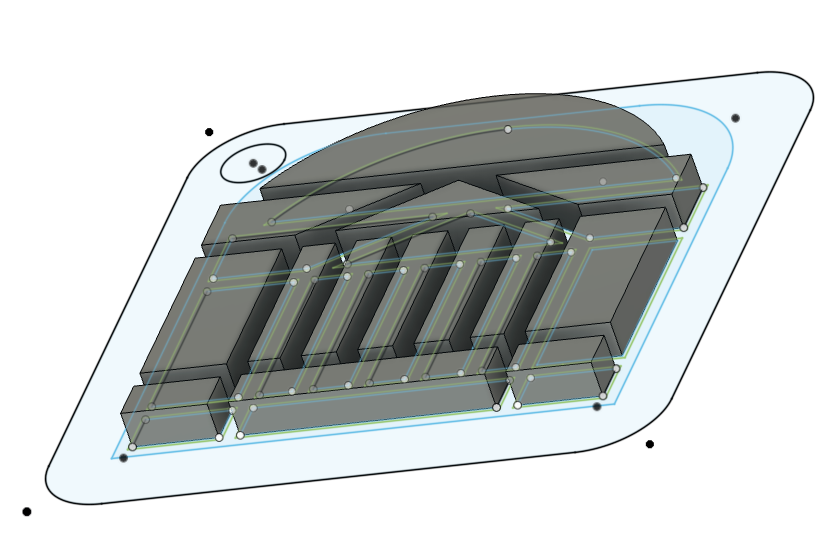
Then extrude from the shape surrounding the design as a new body by .5mm. Remember to extrude it as a new/separate body.
It’s important to have each part of the design a separate body from the bottom plate, so that it is easier to 3D print them in different colors.
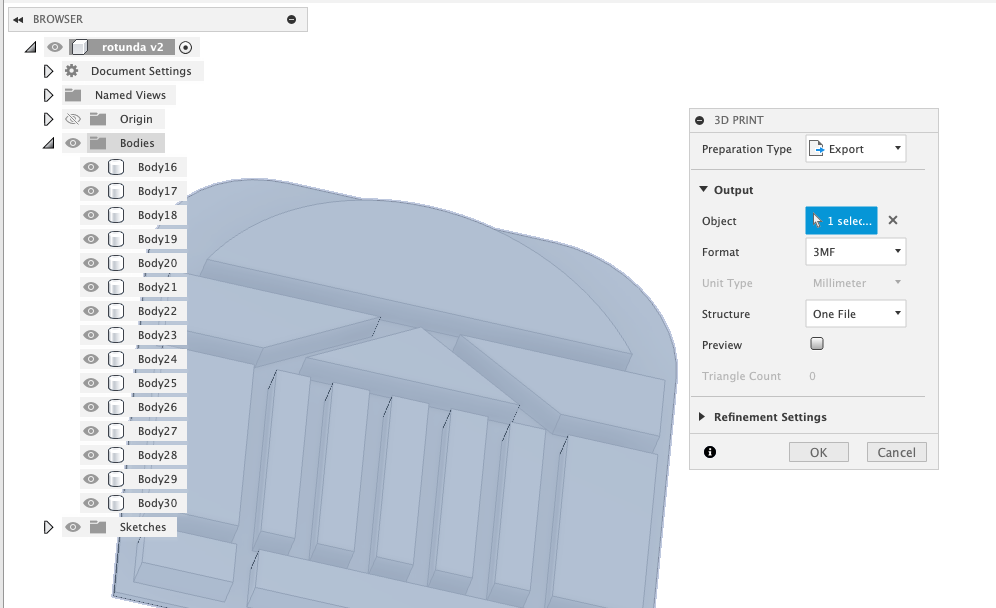
Export all of the bodies to be 3D printed. Go to File->3D print. Select the main Bodies folder, which will include all of the bodies in the export. Then click OK.
3D Printing
Slice the object for 3D printing
Select the colors you want for the print. There can be up to 5 different colors. Then select each part to have the correct color.
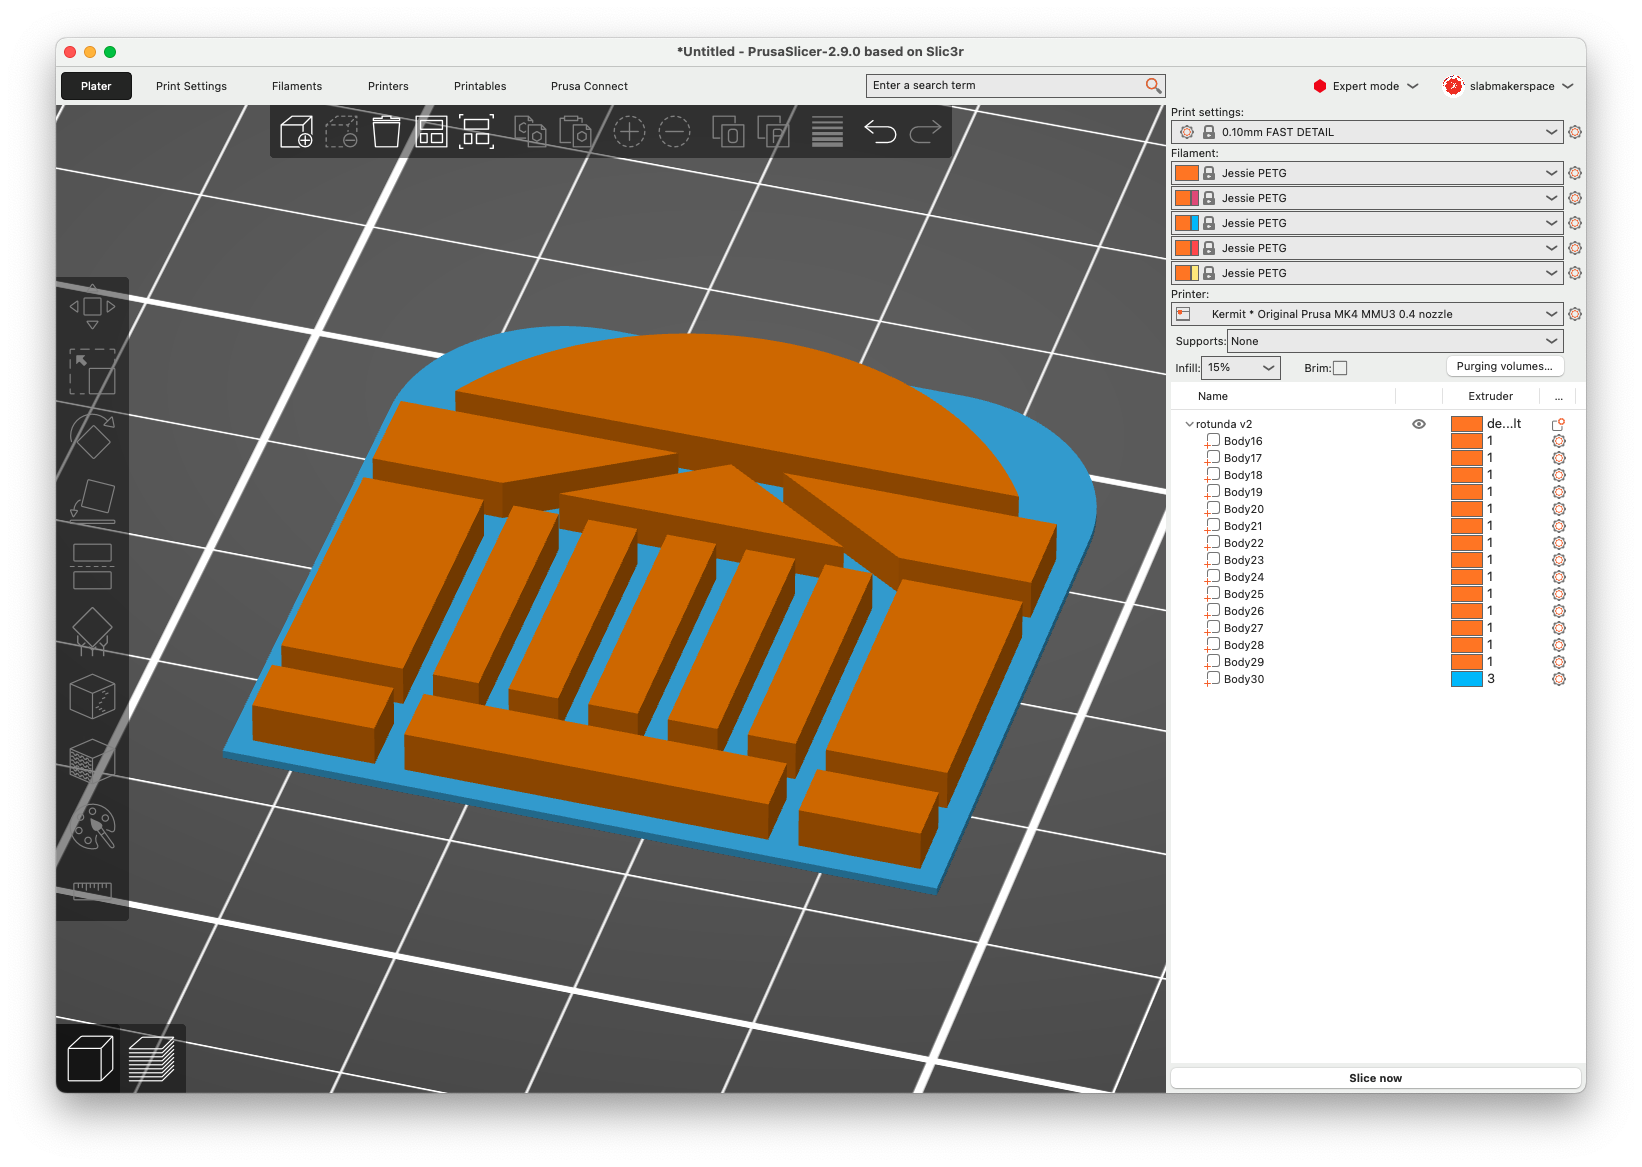
3D print the insert object on Big Bird, https://cal.lib.virginia.edu/seat/176961 or Kermit, https://cal.lib.virginia.edu/seat/176954.
Laser Cut
Prepare for Laser cutting in Illustrator
Open the DXF file in Adobe Illustrator in a new file that is sized to the laser cutter, 32”x18”.
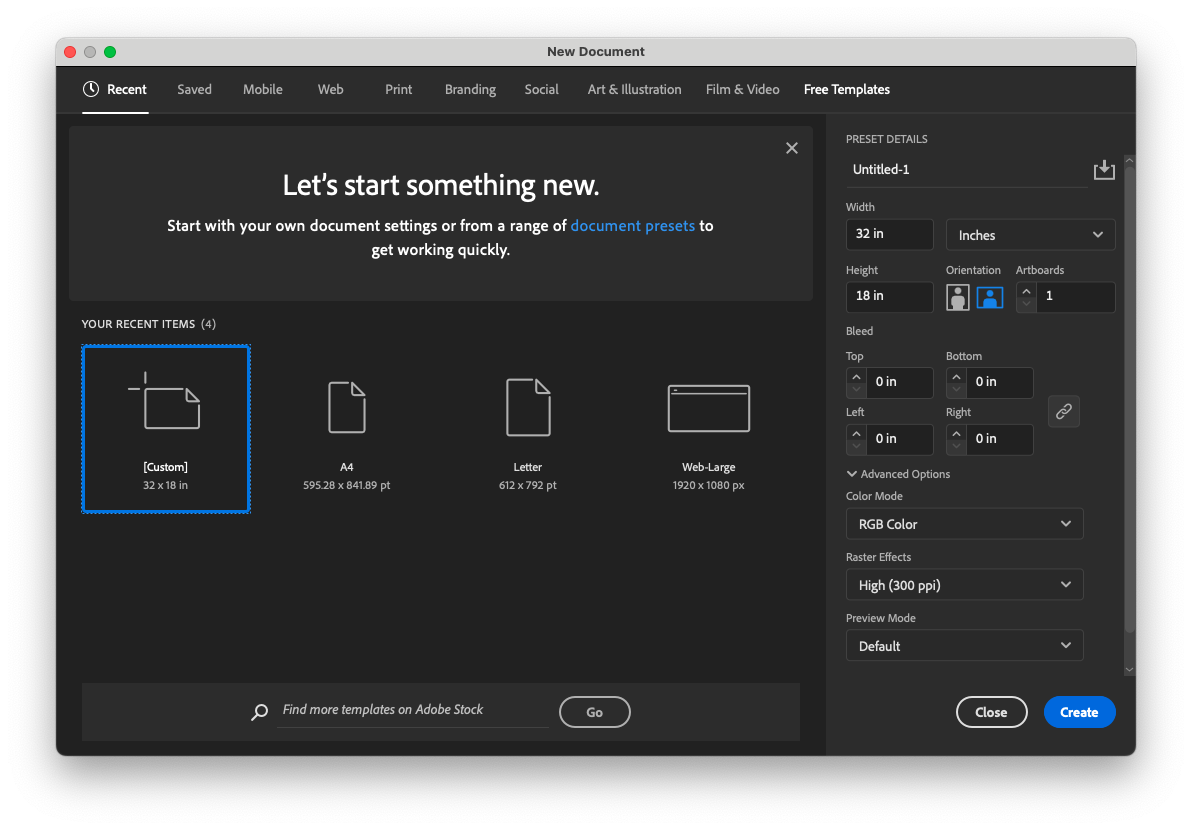
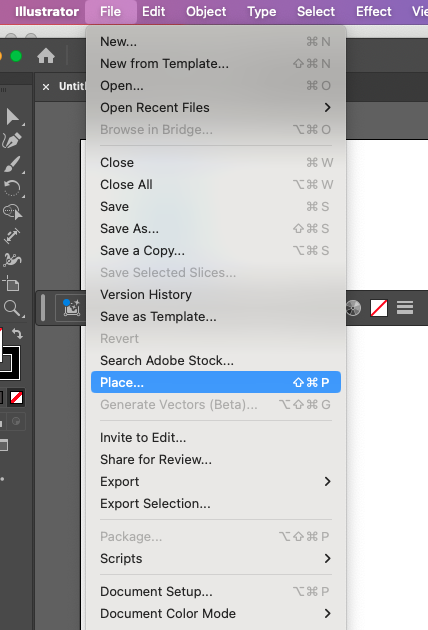
File→Place then select the DXF file.
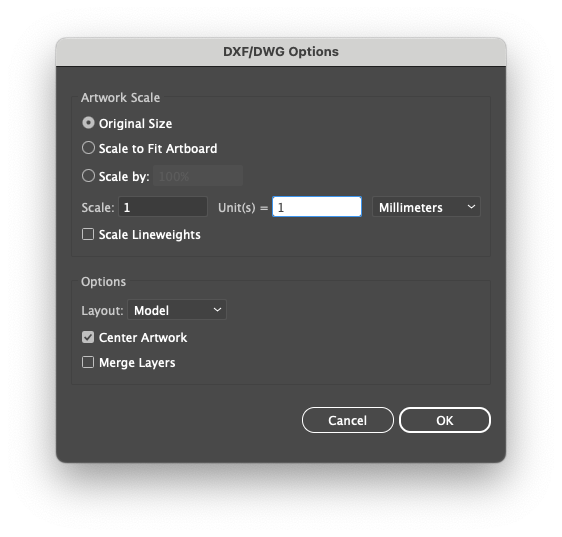
If you open the file directly in Illustrator, make sure to scale the artwork appropriately. If you used metric measurements in Fusion 360, then change the Scale units to 1 millimeters.
Highlight all of the lines, and then unselect the shape surrounding the design.
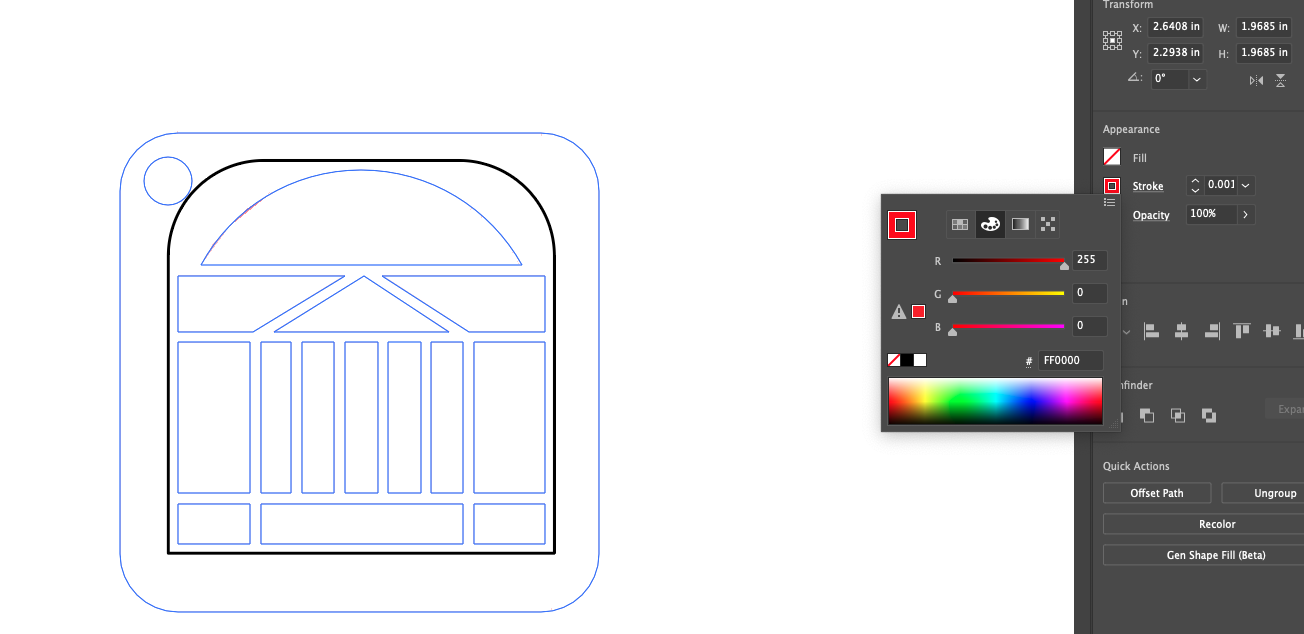
Change the color of the stroke to red, #FF0000, and 0.001 inch stroke width. All of these very thin red lines will be cut.
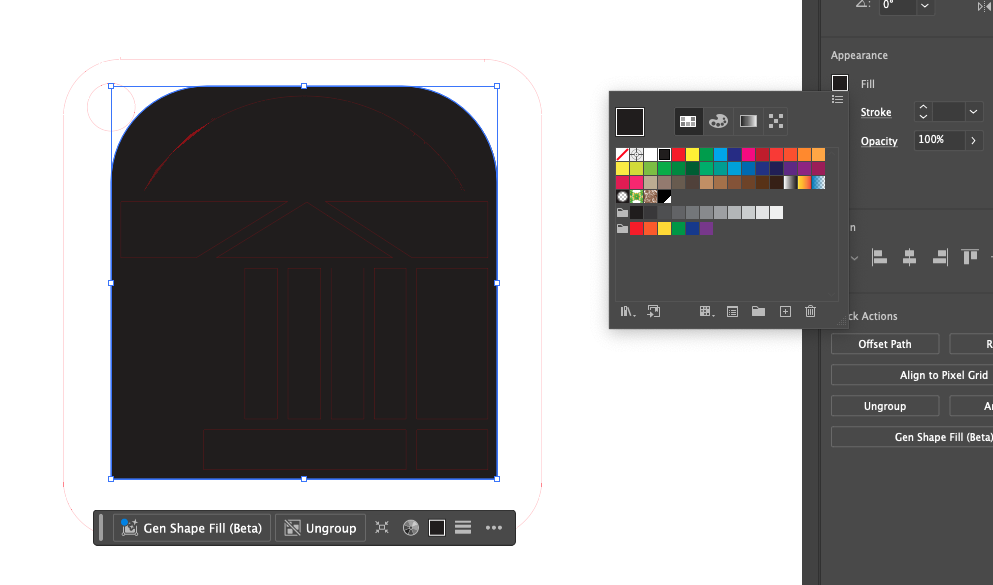
Then select the shape around the design. Turn the stroke off and change the fill to black, #000000.
Print the file and make sure the VLS6.60/75 is selected. It should be by default.
Hit the print button again.
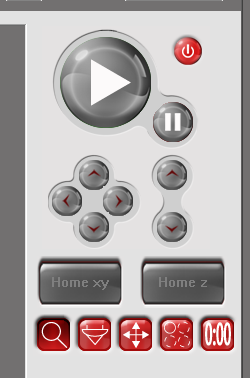
Laser Cutter Software
Open the laser cutter software by clicking on the icon in the app tray:
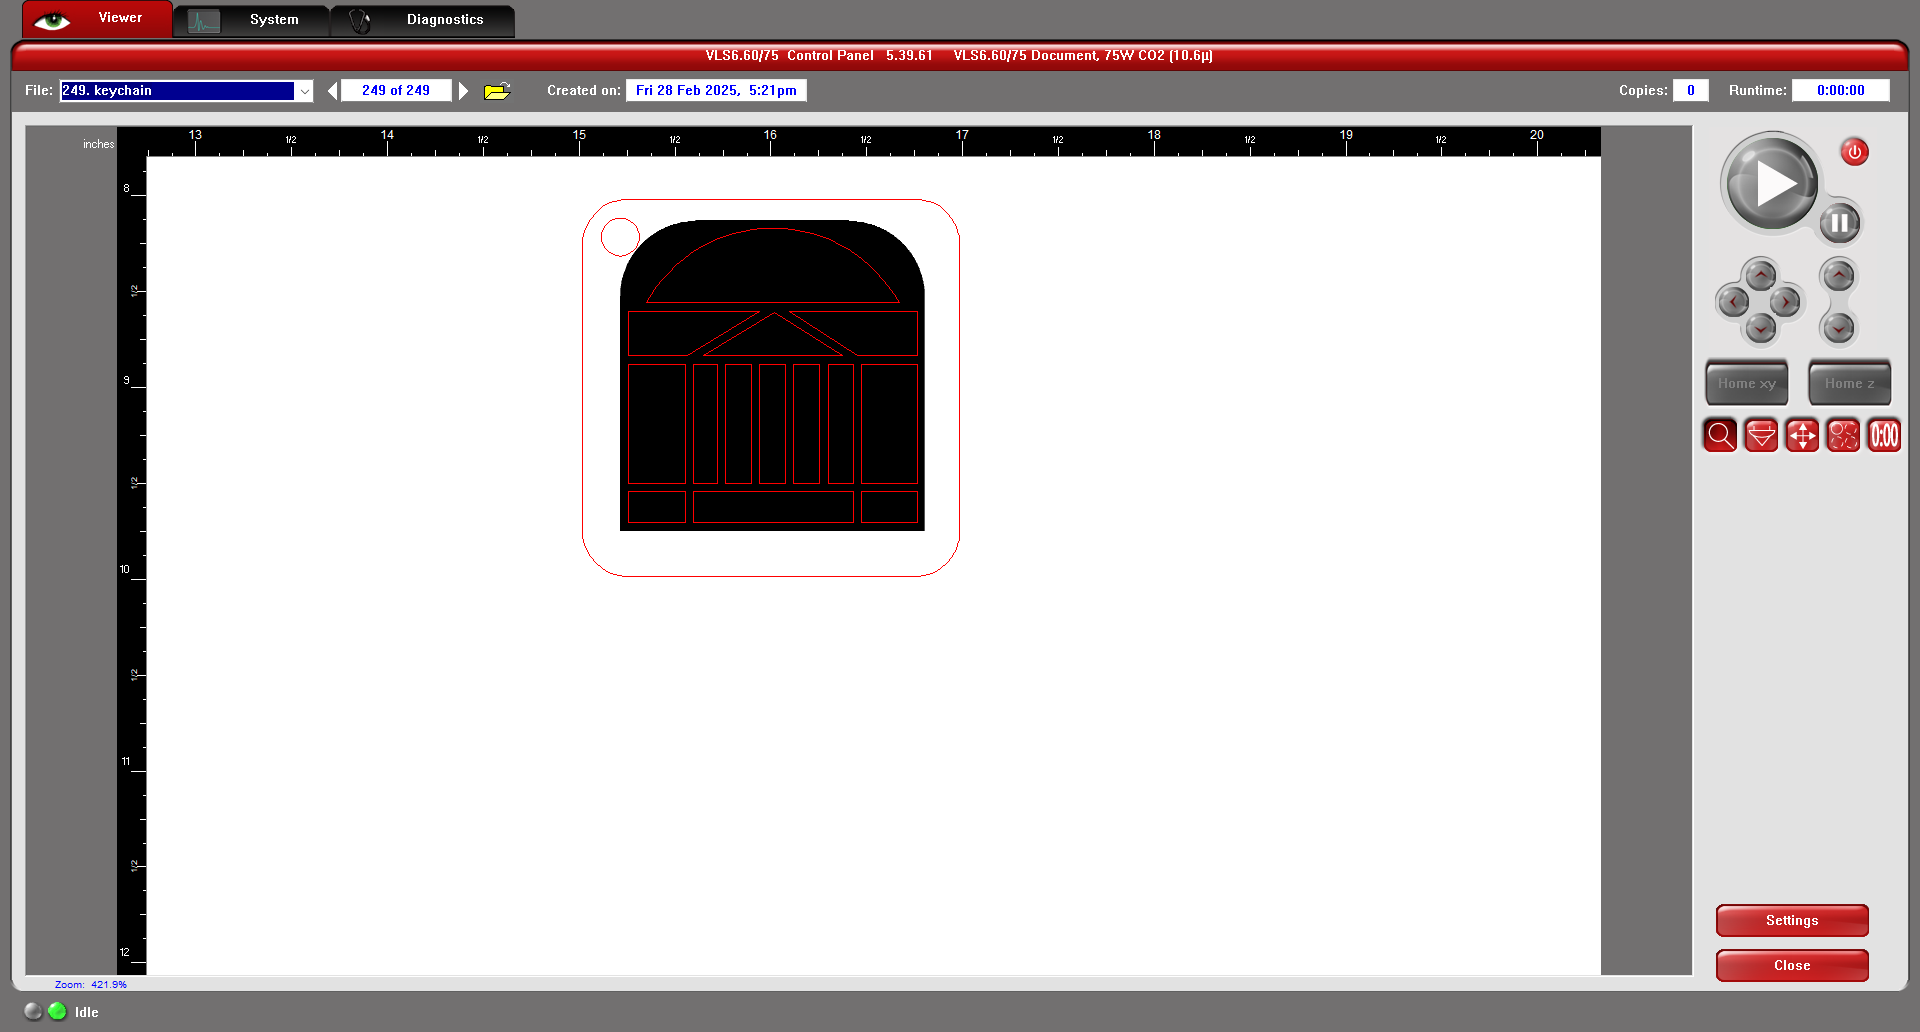
You should see the image from Illustrator in the Viewer screen. The red lines will be cut out. The black shapes will be engraved. The engraving will burn out just enough material for the 3D printed part to fit right in.
Set the Material
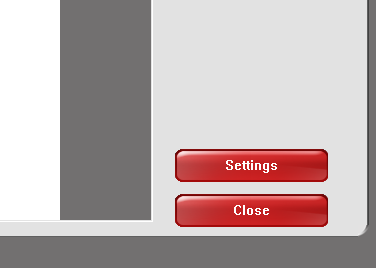
The very first thing to do is set the material used and the width of the material. Click the Settings button.
In the Materials Database dialogue box, select the correct material (use Birch if you are using the thin birch plywood). Measure the thickness of the material and enter that into the Material Thickness section. Make sure to enter the numbers, then hit Tab on the keyboard, then click the Apply button. If you do not do it in this order, the thickness will not be saved.
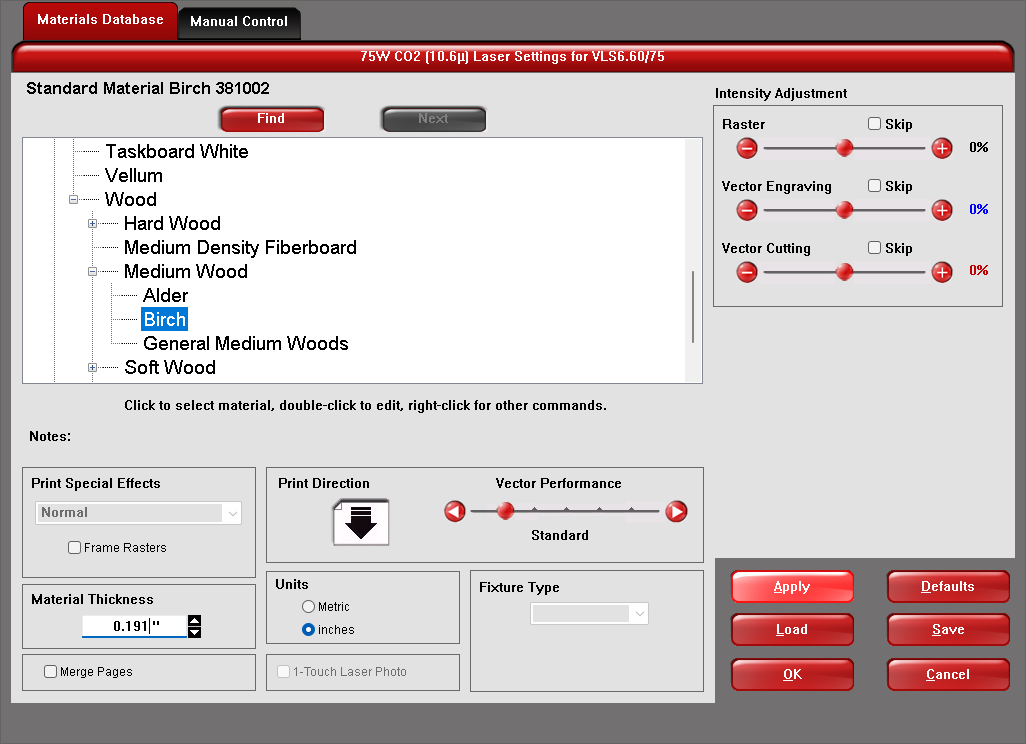
After making changes, always make sure the Apply button is grayed out. Then click OK.
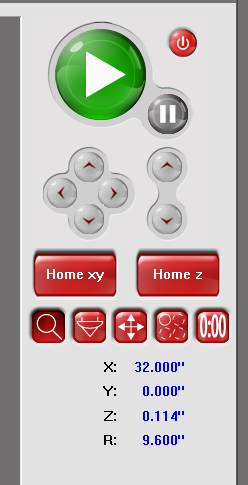
Now you can turn on the laser cutter, which will turn on the exhaust system. You must wait until the exhaust system is fully running before starting the print/cut job. Click the power button to turn on the laser cutter.
When the exhaust is fully on, and the laser cutter is ready to cut, the play button will turn green.
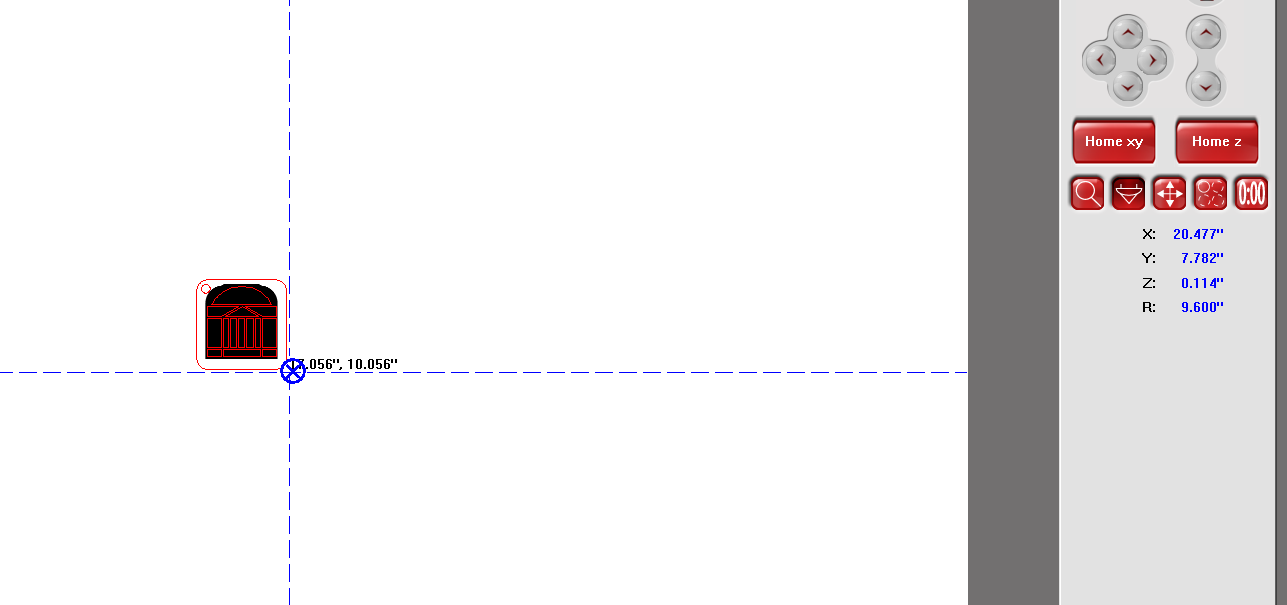
You can check that your material is placed correctly by lifting the lid
on the laser cutter, pressing the focus view icon  and clicking next to your keychain shape in the Viewer.
The carriage will move to that point and if the lid is open, it will shine a laser pointer light on your part. Check multiple places to make sure the material is sufficient for the part to be cut out.
Once everything is in place, click the big green play button.
Remember to stay by the laser cutter the entire time that your piece is being cut.
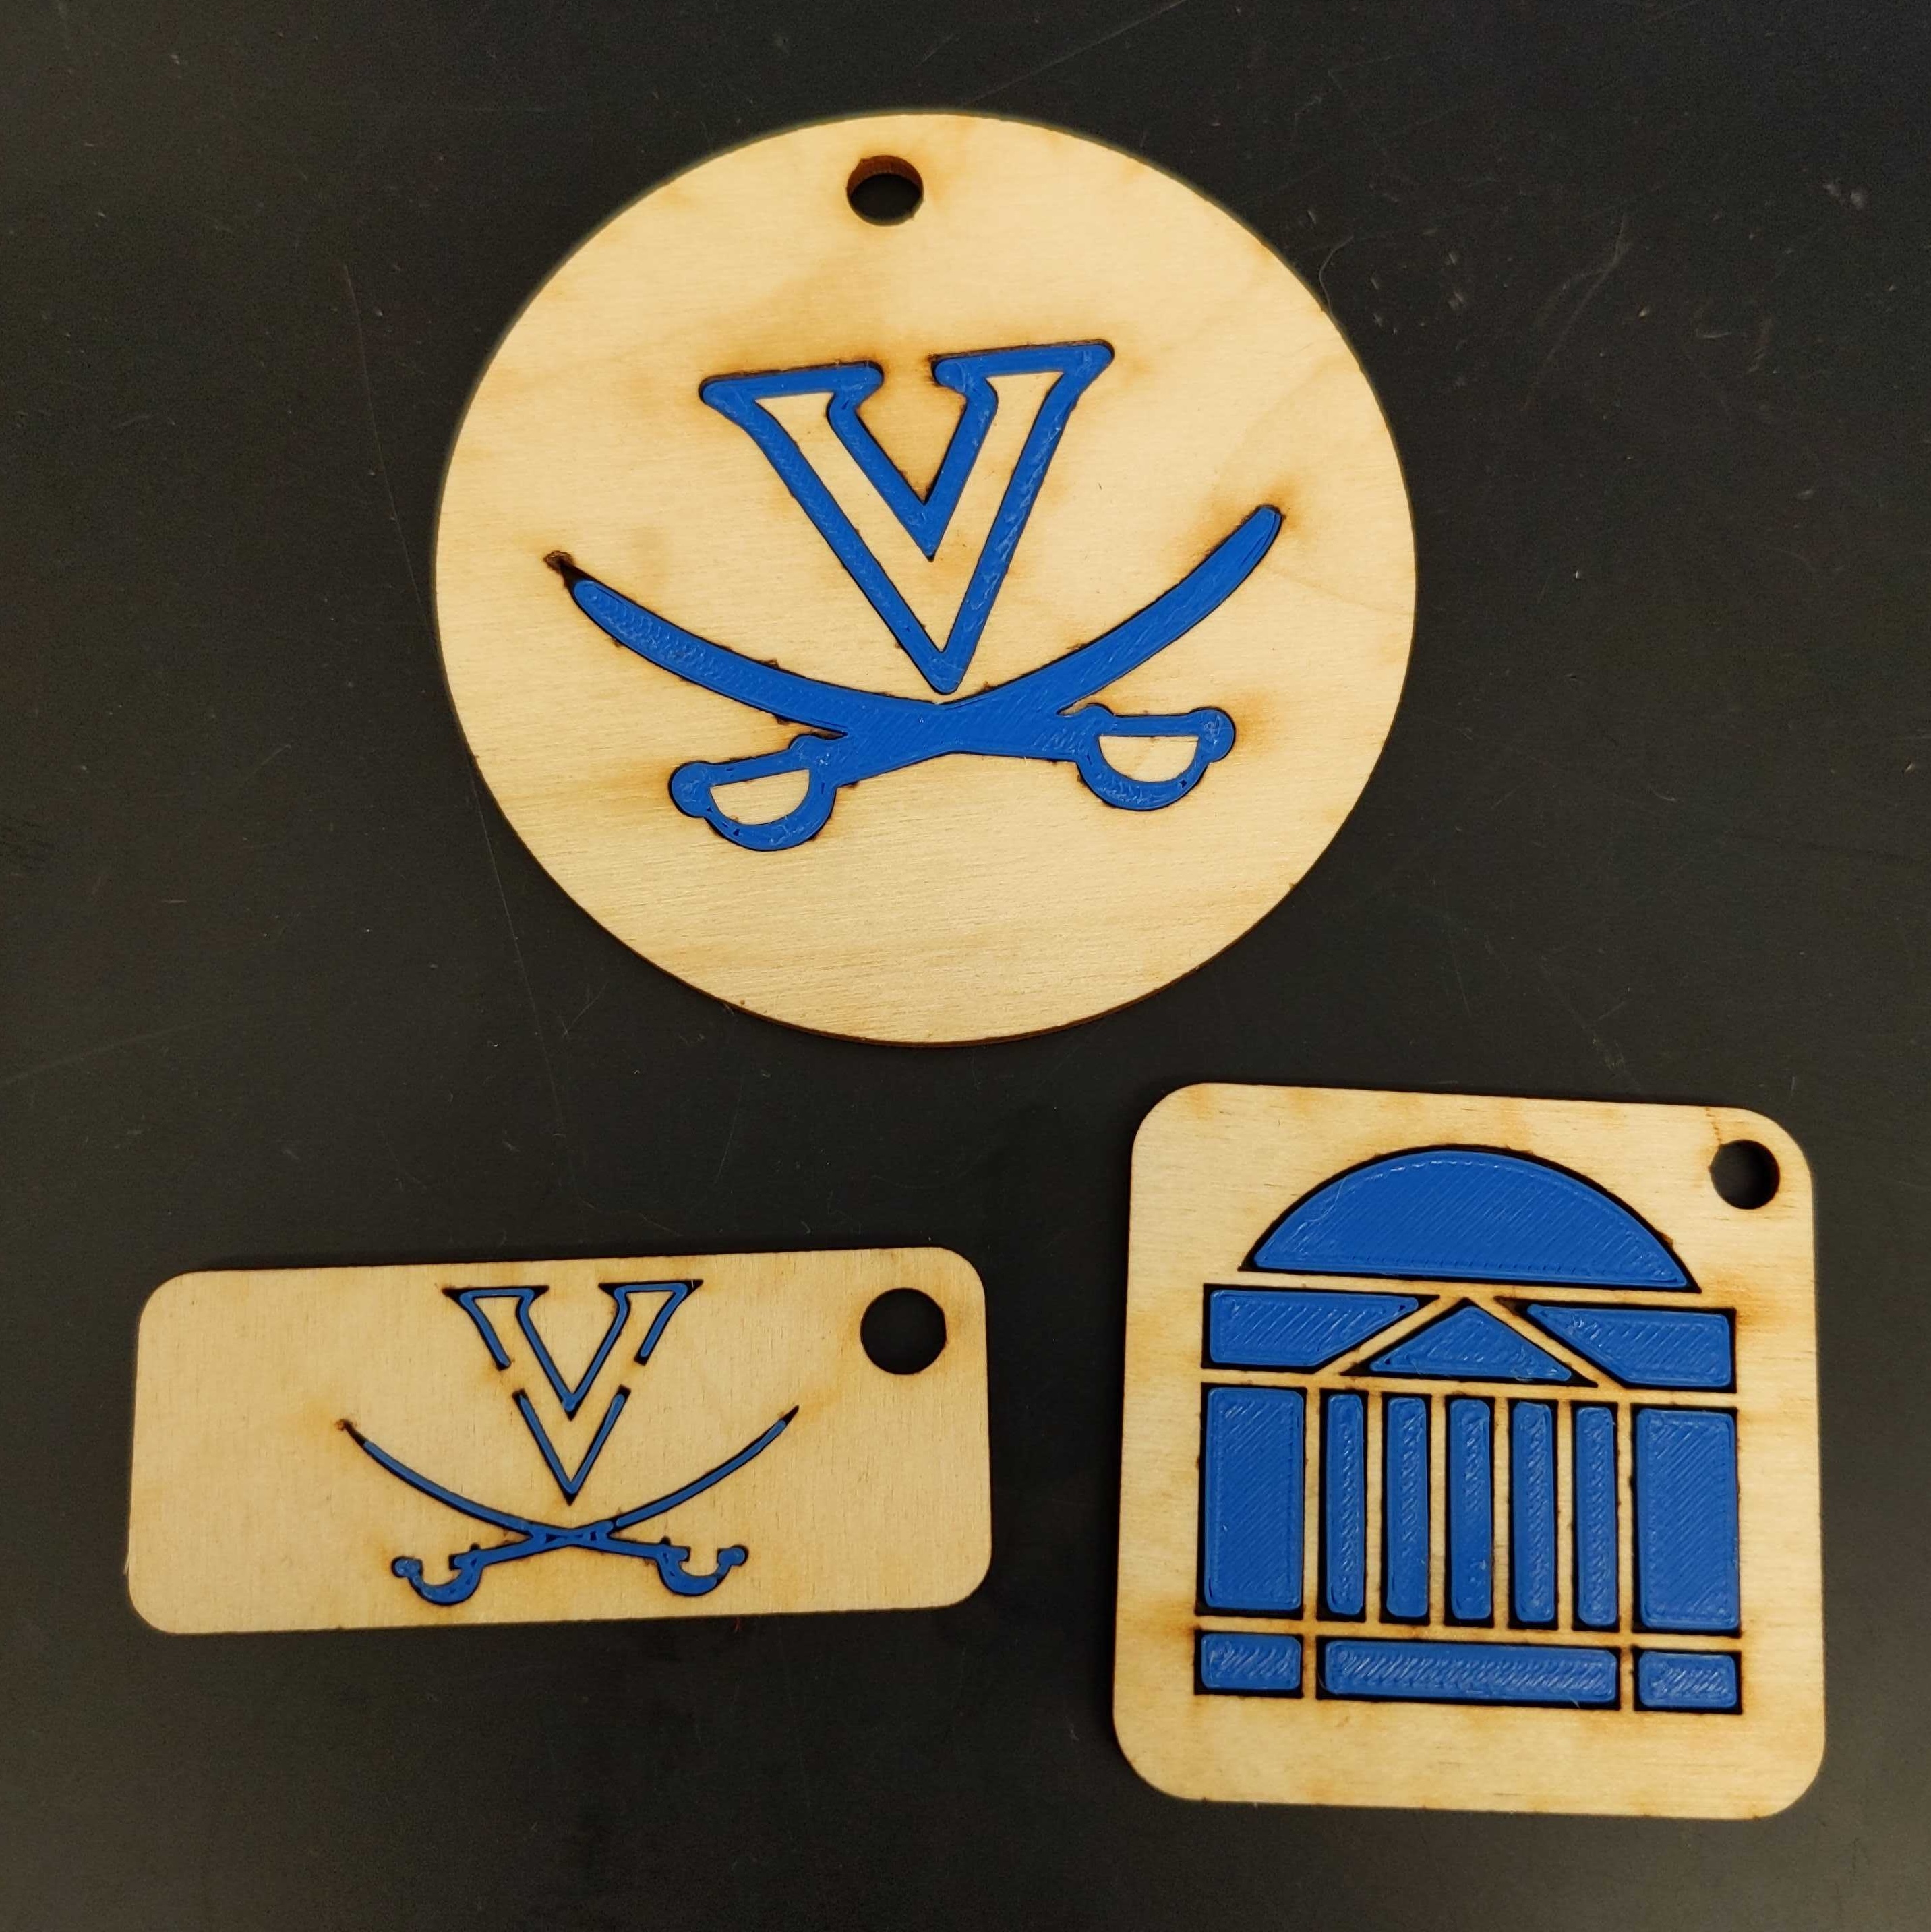
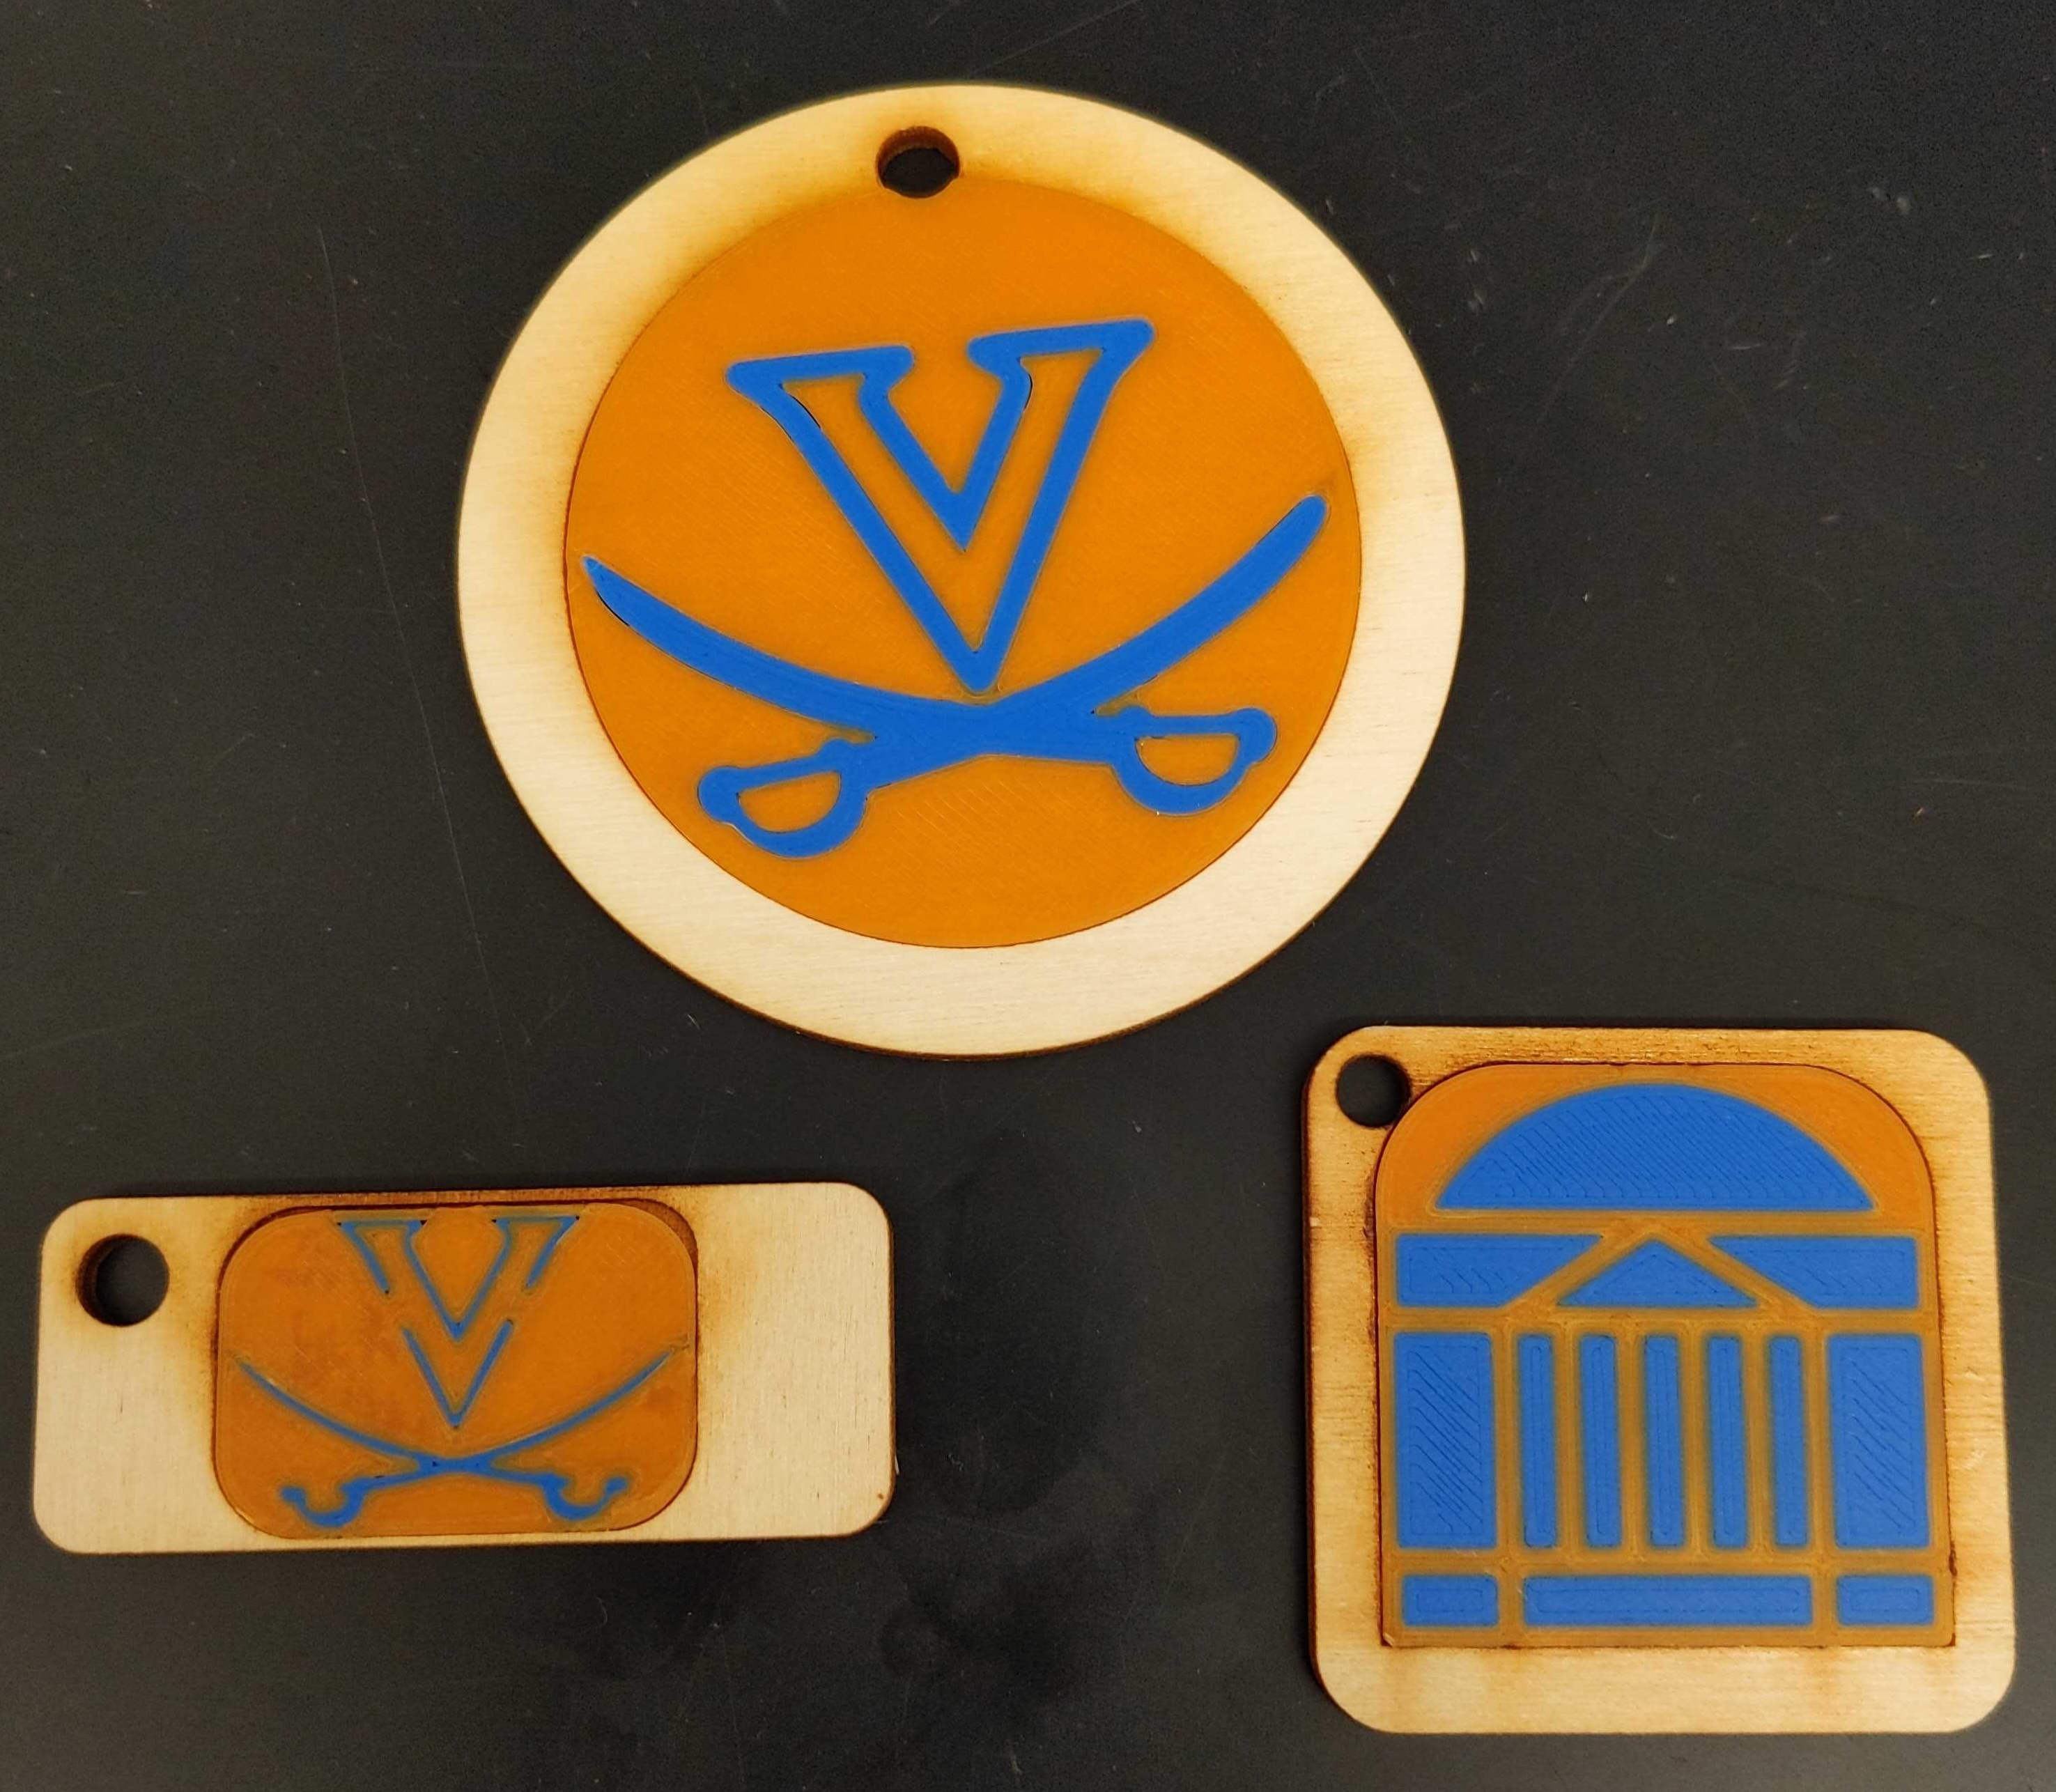
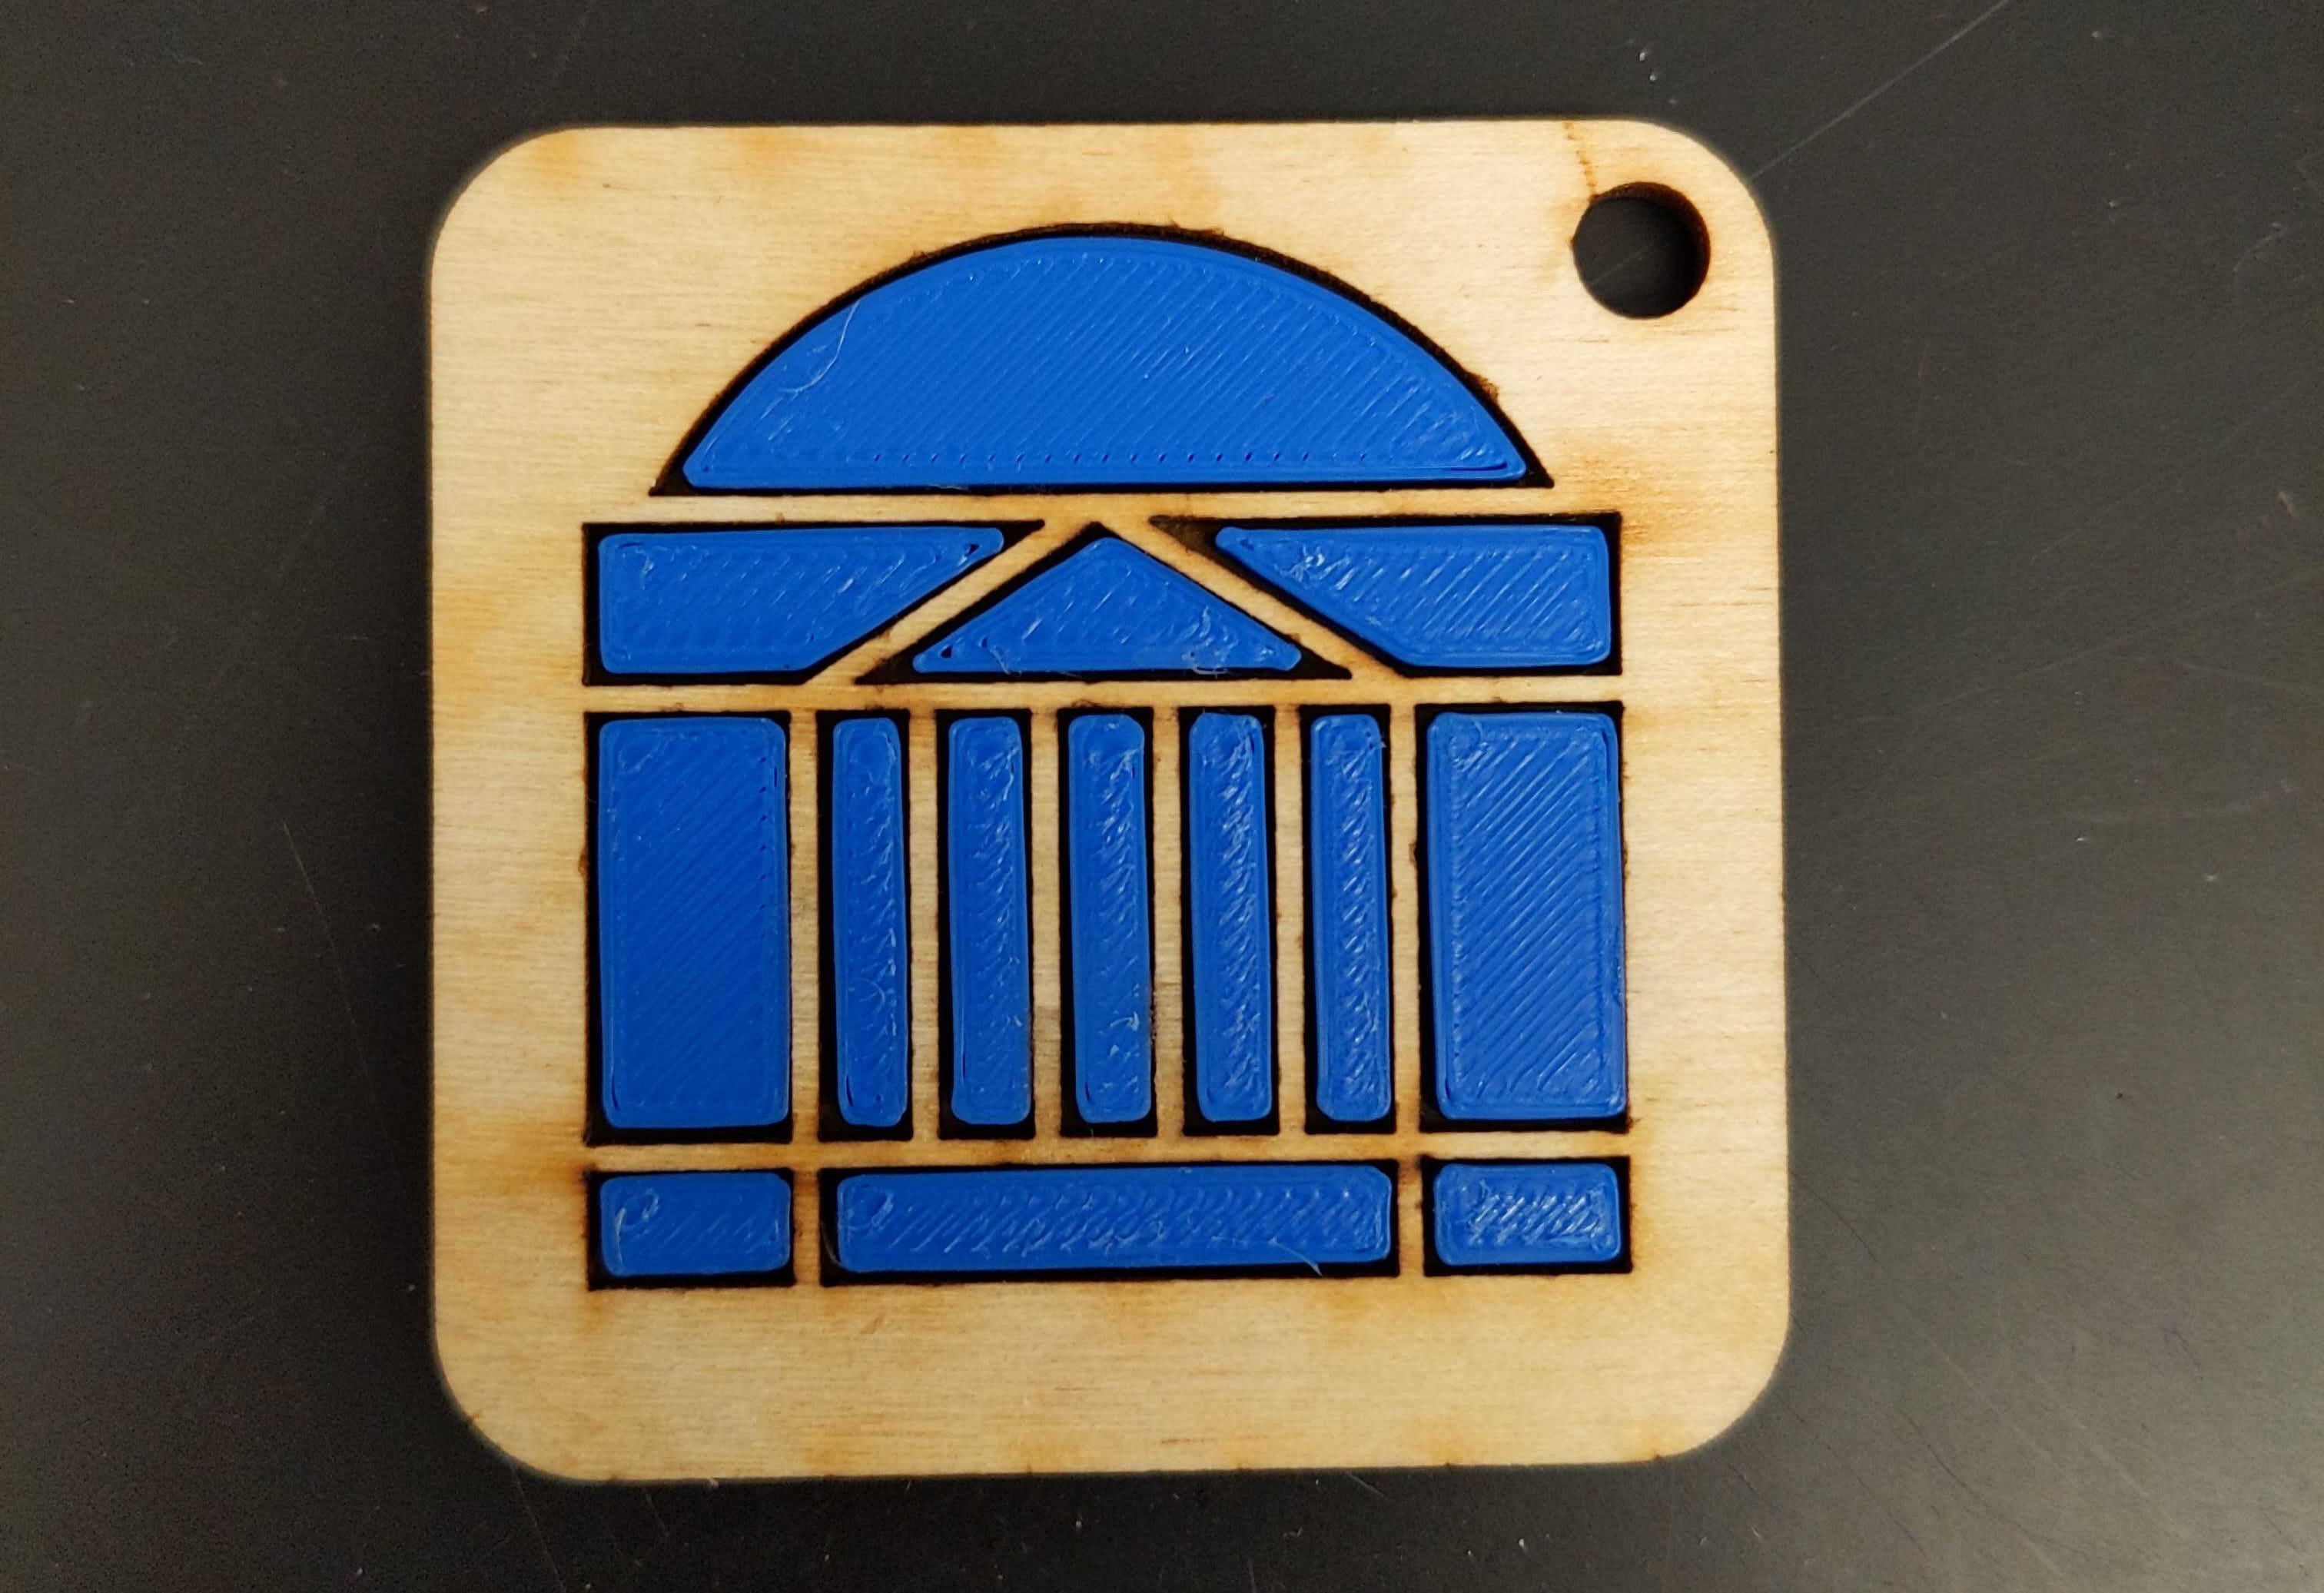
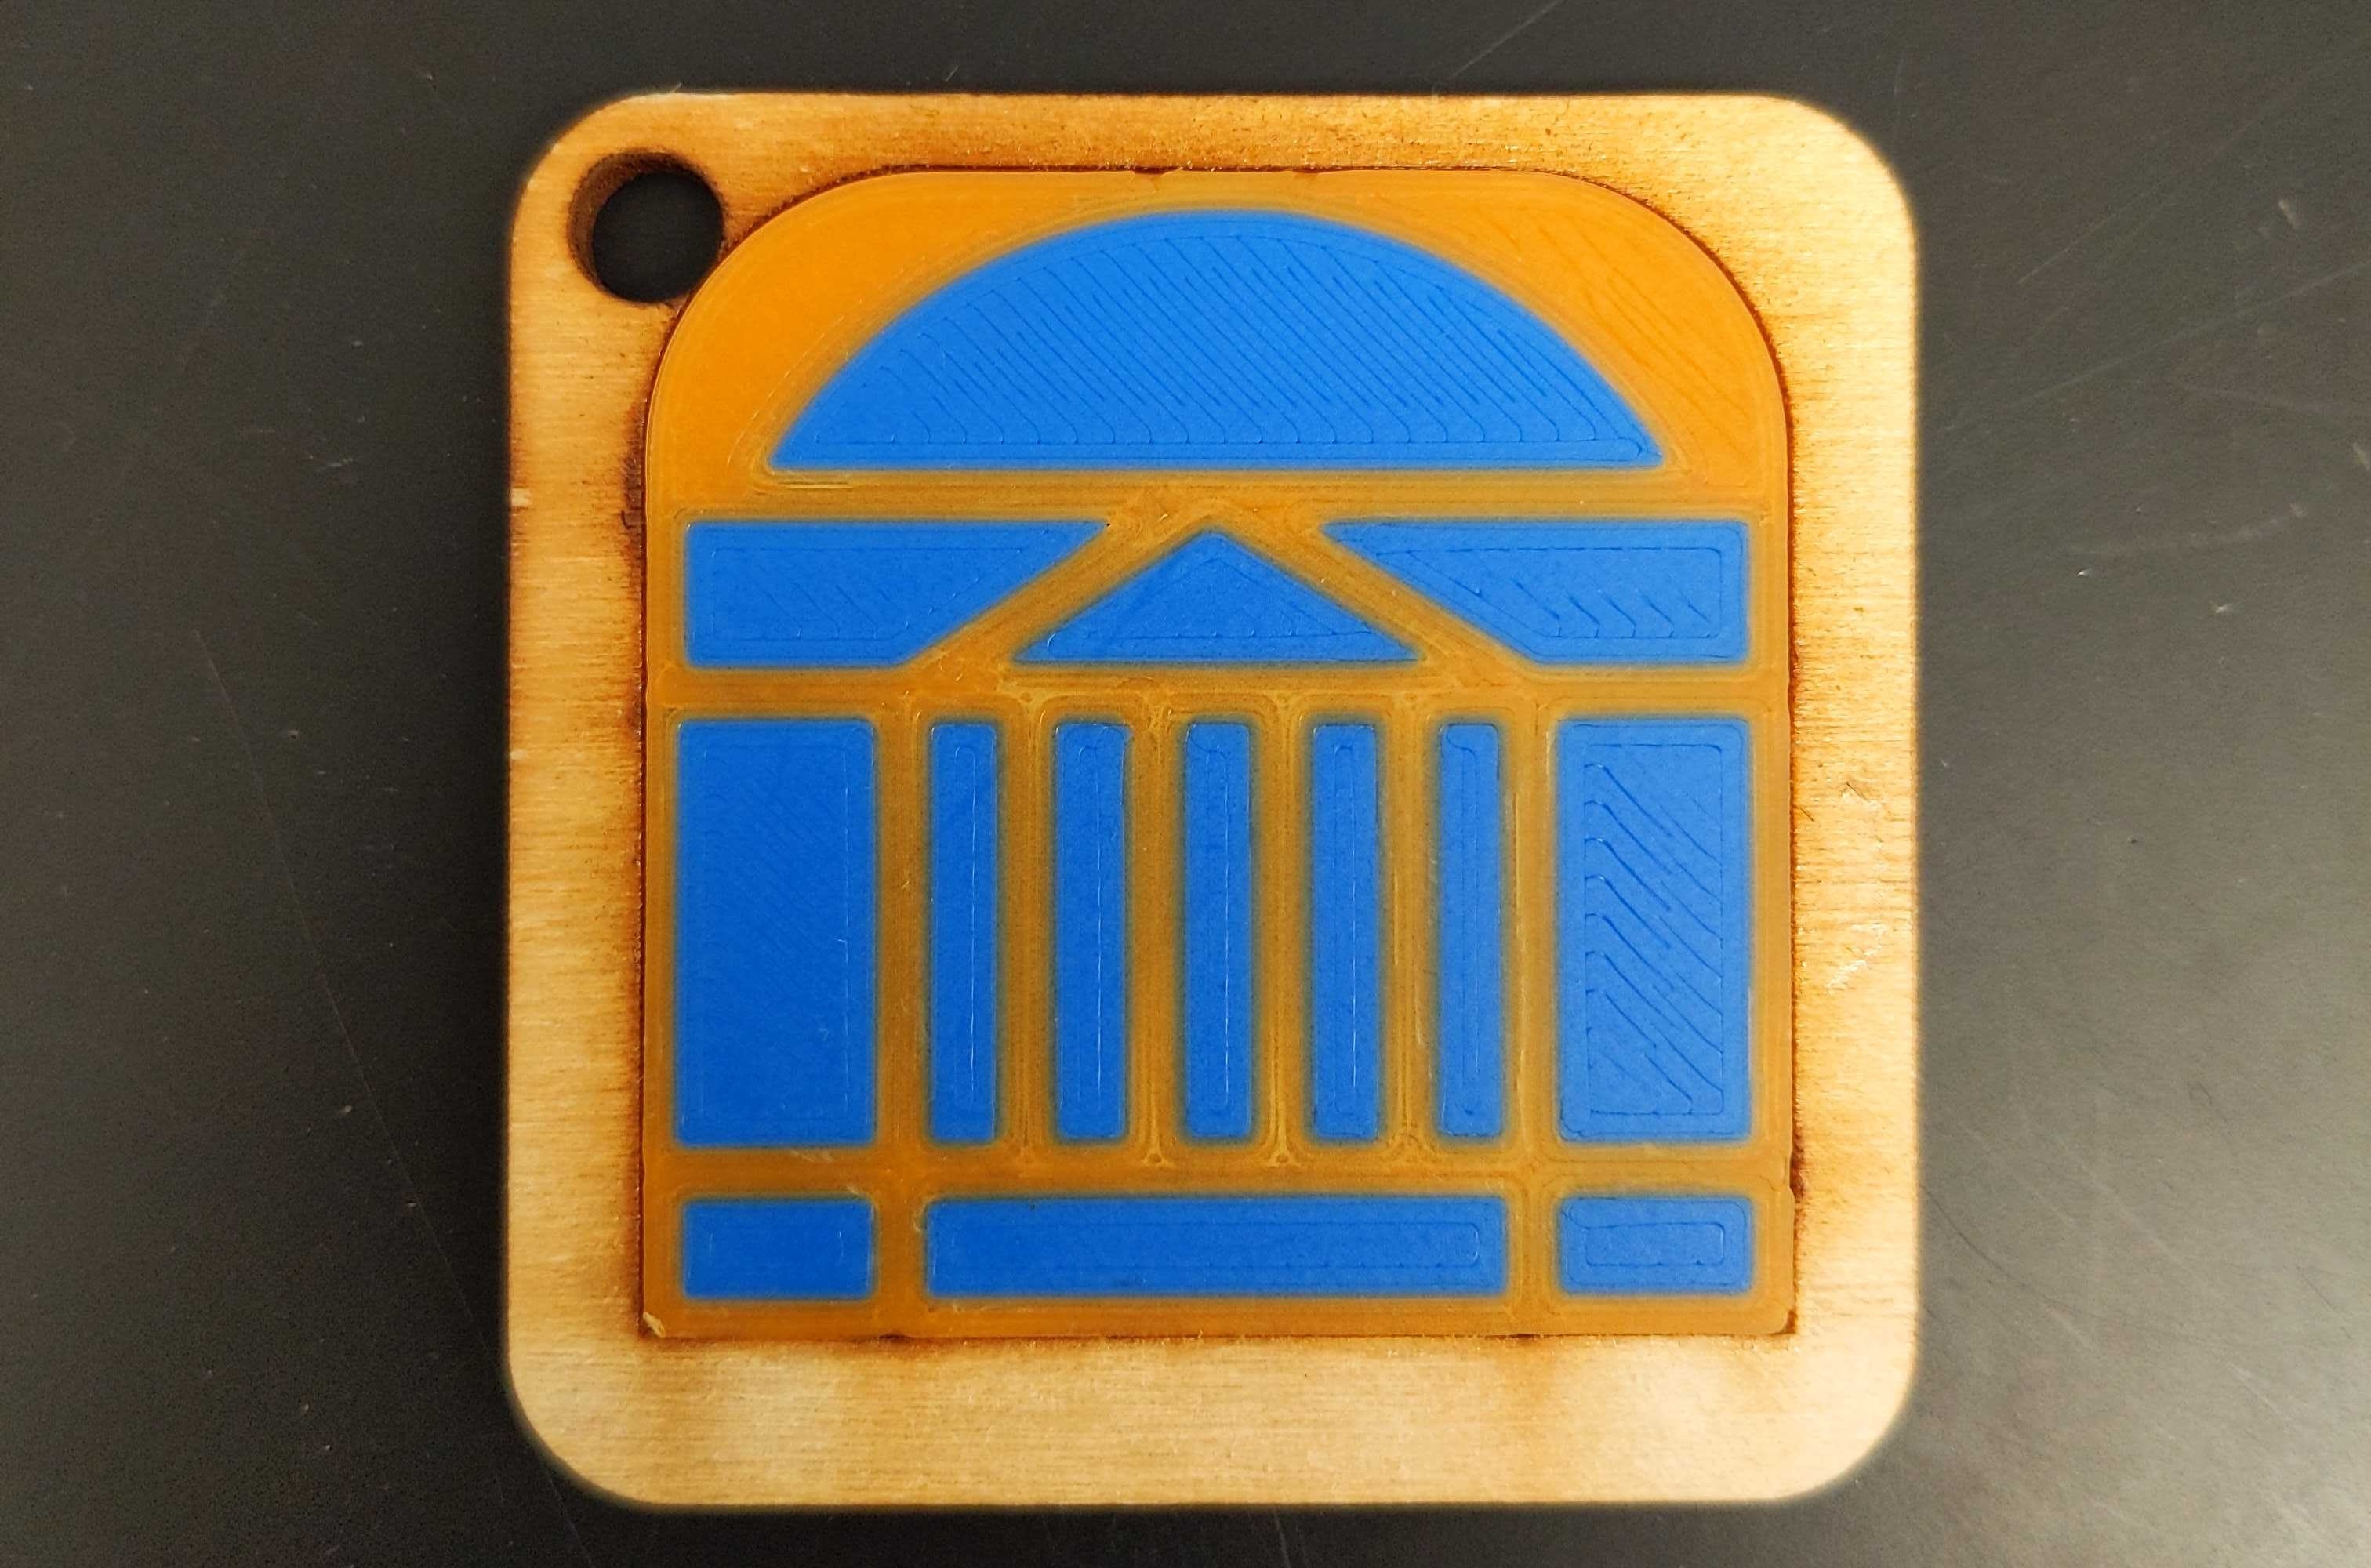
Result
And voila, you have some laser cut and 3D printed keychains. You can also make them with words. Just make sure to decide if the legible side is the 3D printed side or the other side.