Raspberry Pi Camera Holder
I will be testing and setting up a few Raspberry Pi’s with cameras for using with OctoPrint or some such thing to monitor our new 3D printers in the new makerspace.
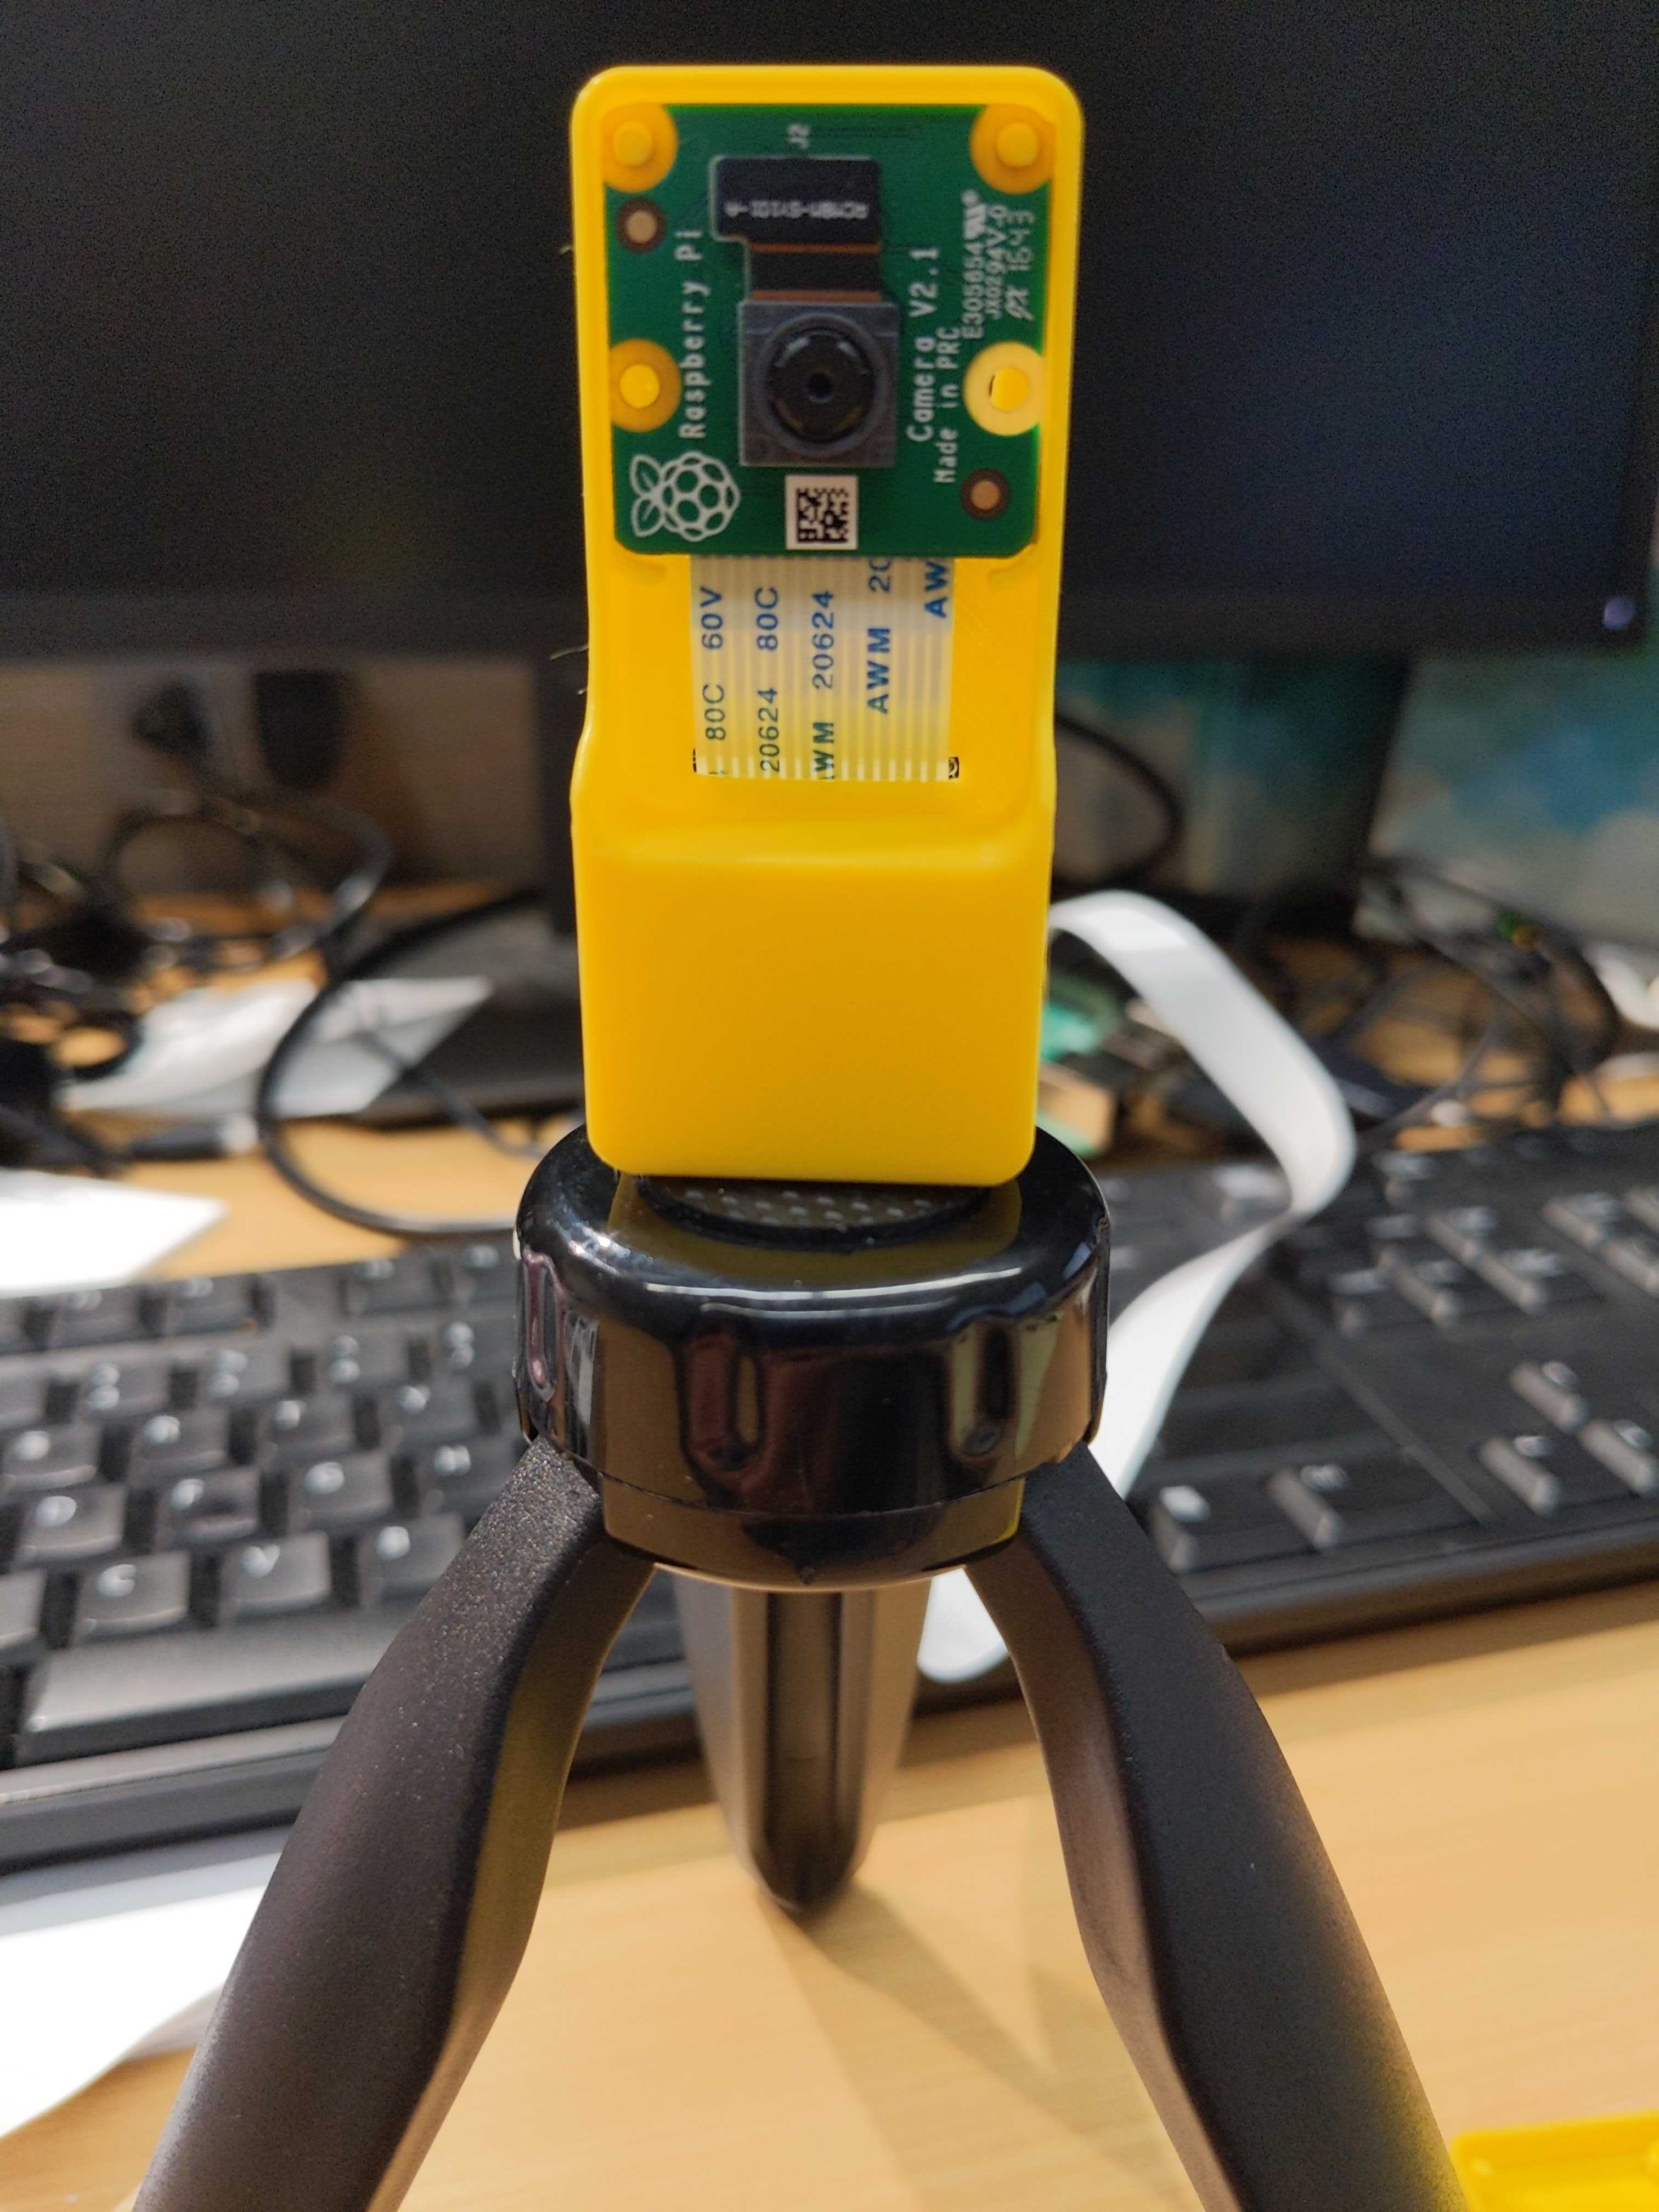
I wanted a way to have the camera modules mounted upright instead of just laying on my desk. So I did a quick 3D model of a camera holder.
This mounts to any standard camera mount, prints in 45 minutes or so without supports.
You can find the model here: https://www.printables.com/model/487827-raspberry-pi-camera-holder
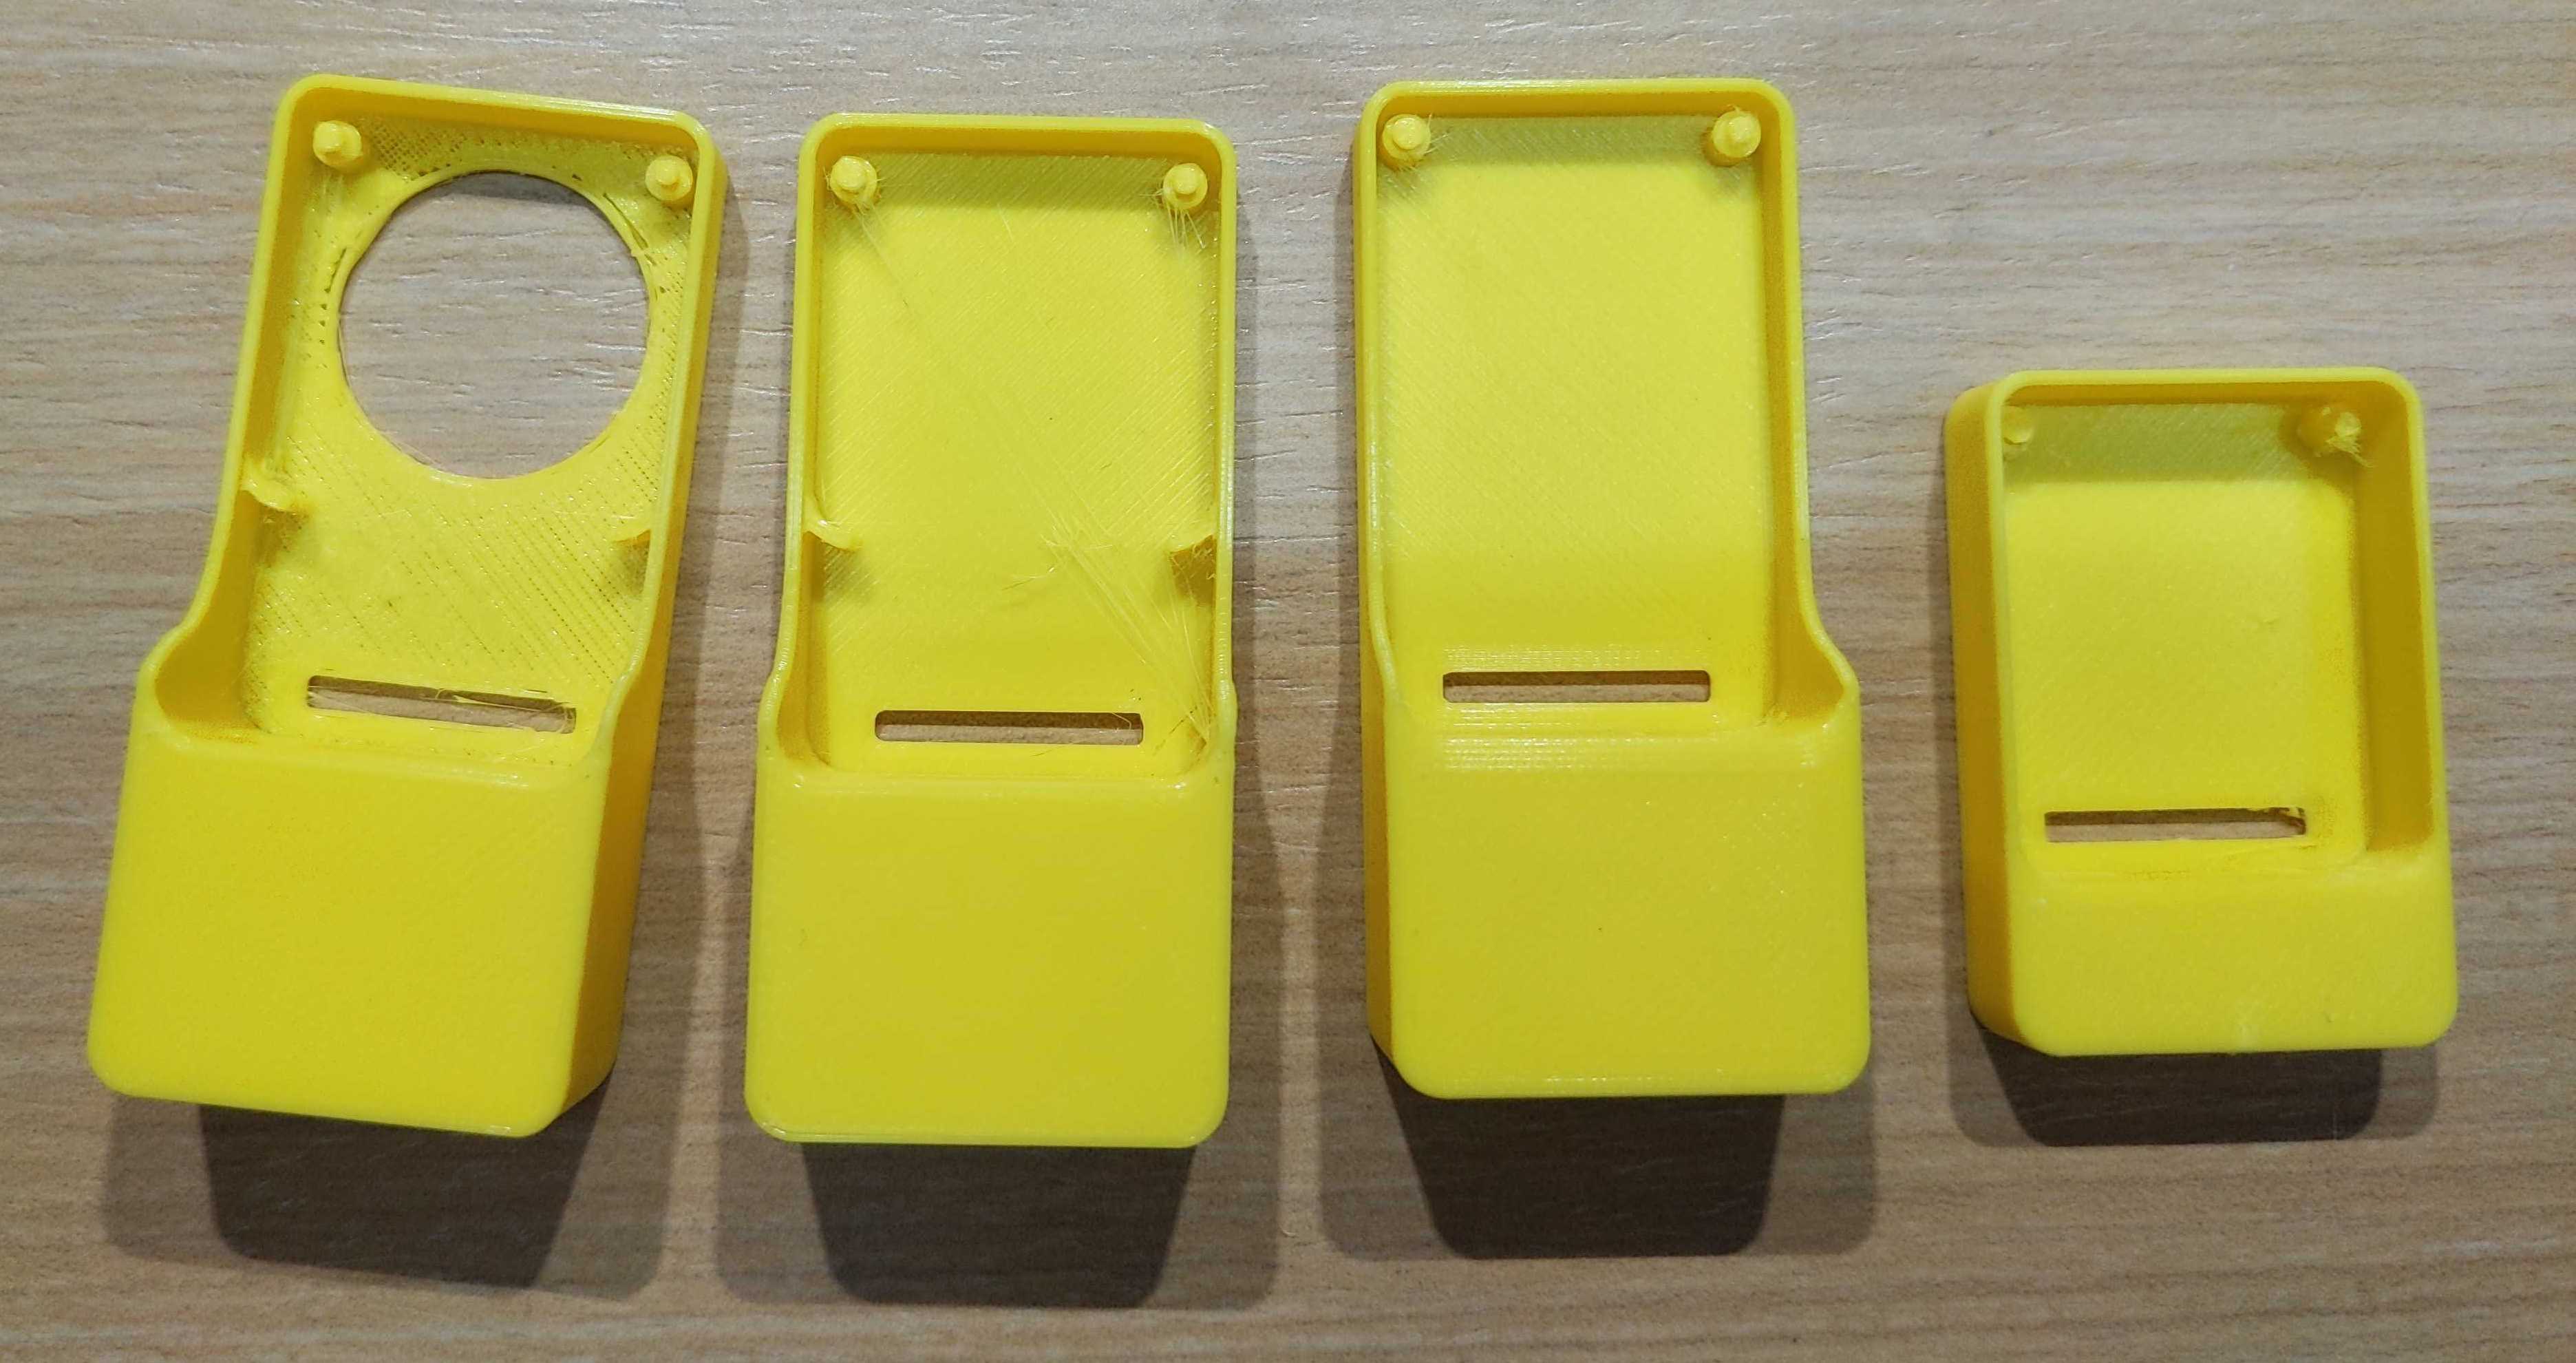
It took four iterations, but it came out nicely!
First Iteration
Goals: The first iteration was to be the minimalist version. I tested the fit of the camera module inside, the placement of the pegs to hold the camera, and the sturdiness of the hole for screwing onto the camera mount.
Outcome: I learned that there needs to be much more space between the camera ribbon hole and where the camera mounts. It needed a good 10mm so that the ribbon doesn’t bend at an angle that will bend and crimp the ribbon. The sizing of the screw hole and the pegs for the camera were spot on. No change was needed there. I did need to have more material around the screw hole, though, as the plastic cracked slightly with as the bolt was screwed in.
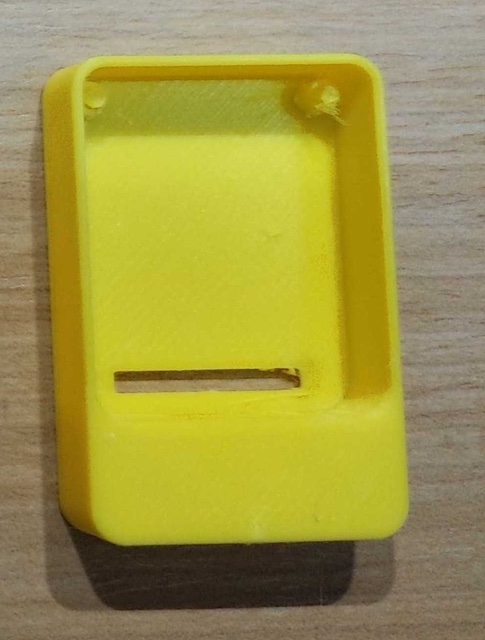
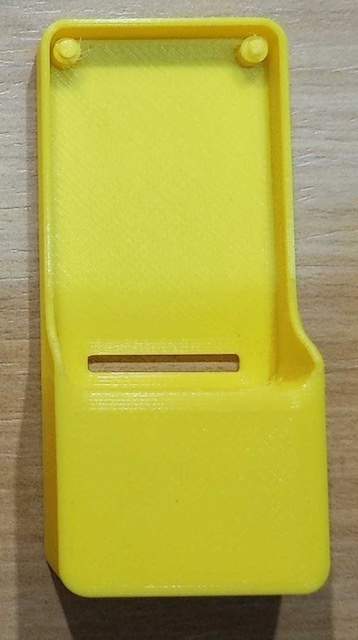
Second Iteration
Goals: Exapand the space between camera mounting position and ribbon pass-through hole. Strengthen the screw hole.
Outcome: With the base increased in size and the infill increased from 15% to 30% while 3D printing, the screw hole performed perfectly. The distance from the camera mount to the ribbon pass-through hole was also perfect. The only issue now, was that there was not enough friction to keep the camera in place. It needed something on the bottom of the camera to hold it in place.
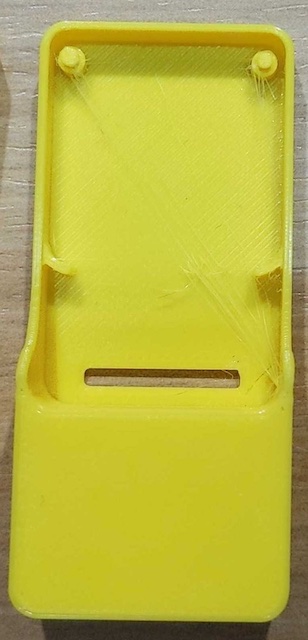
Third Iteration
Goals: Add support for the bottom of the camera to keep it in place.
Outcome: I added a curved wall around each of the bottom corners to provide support and friction points so the camera would stay in place. This worked really well. Too well. It was hard to get the camera out!
Fourth Iteration
Goals: Make it easier to get the camera out.
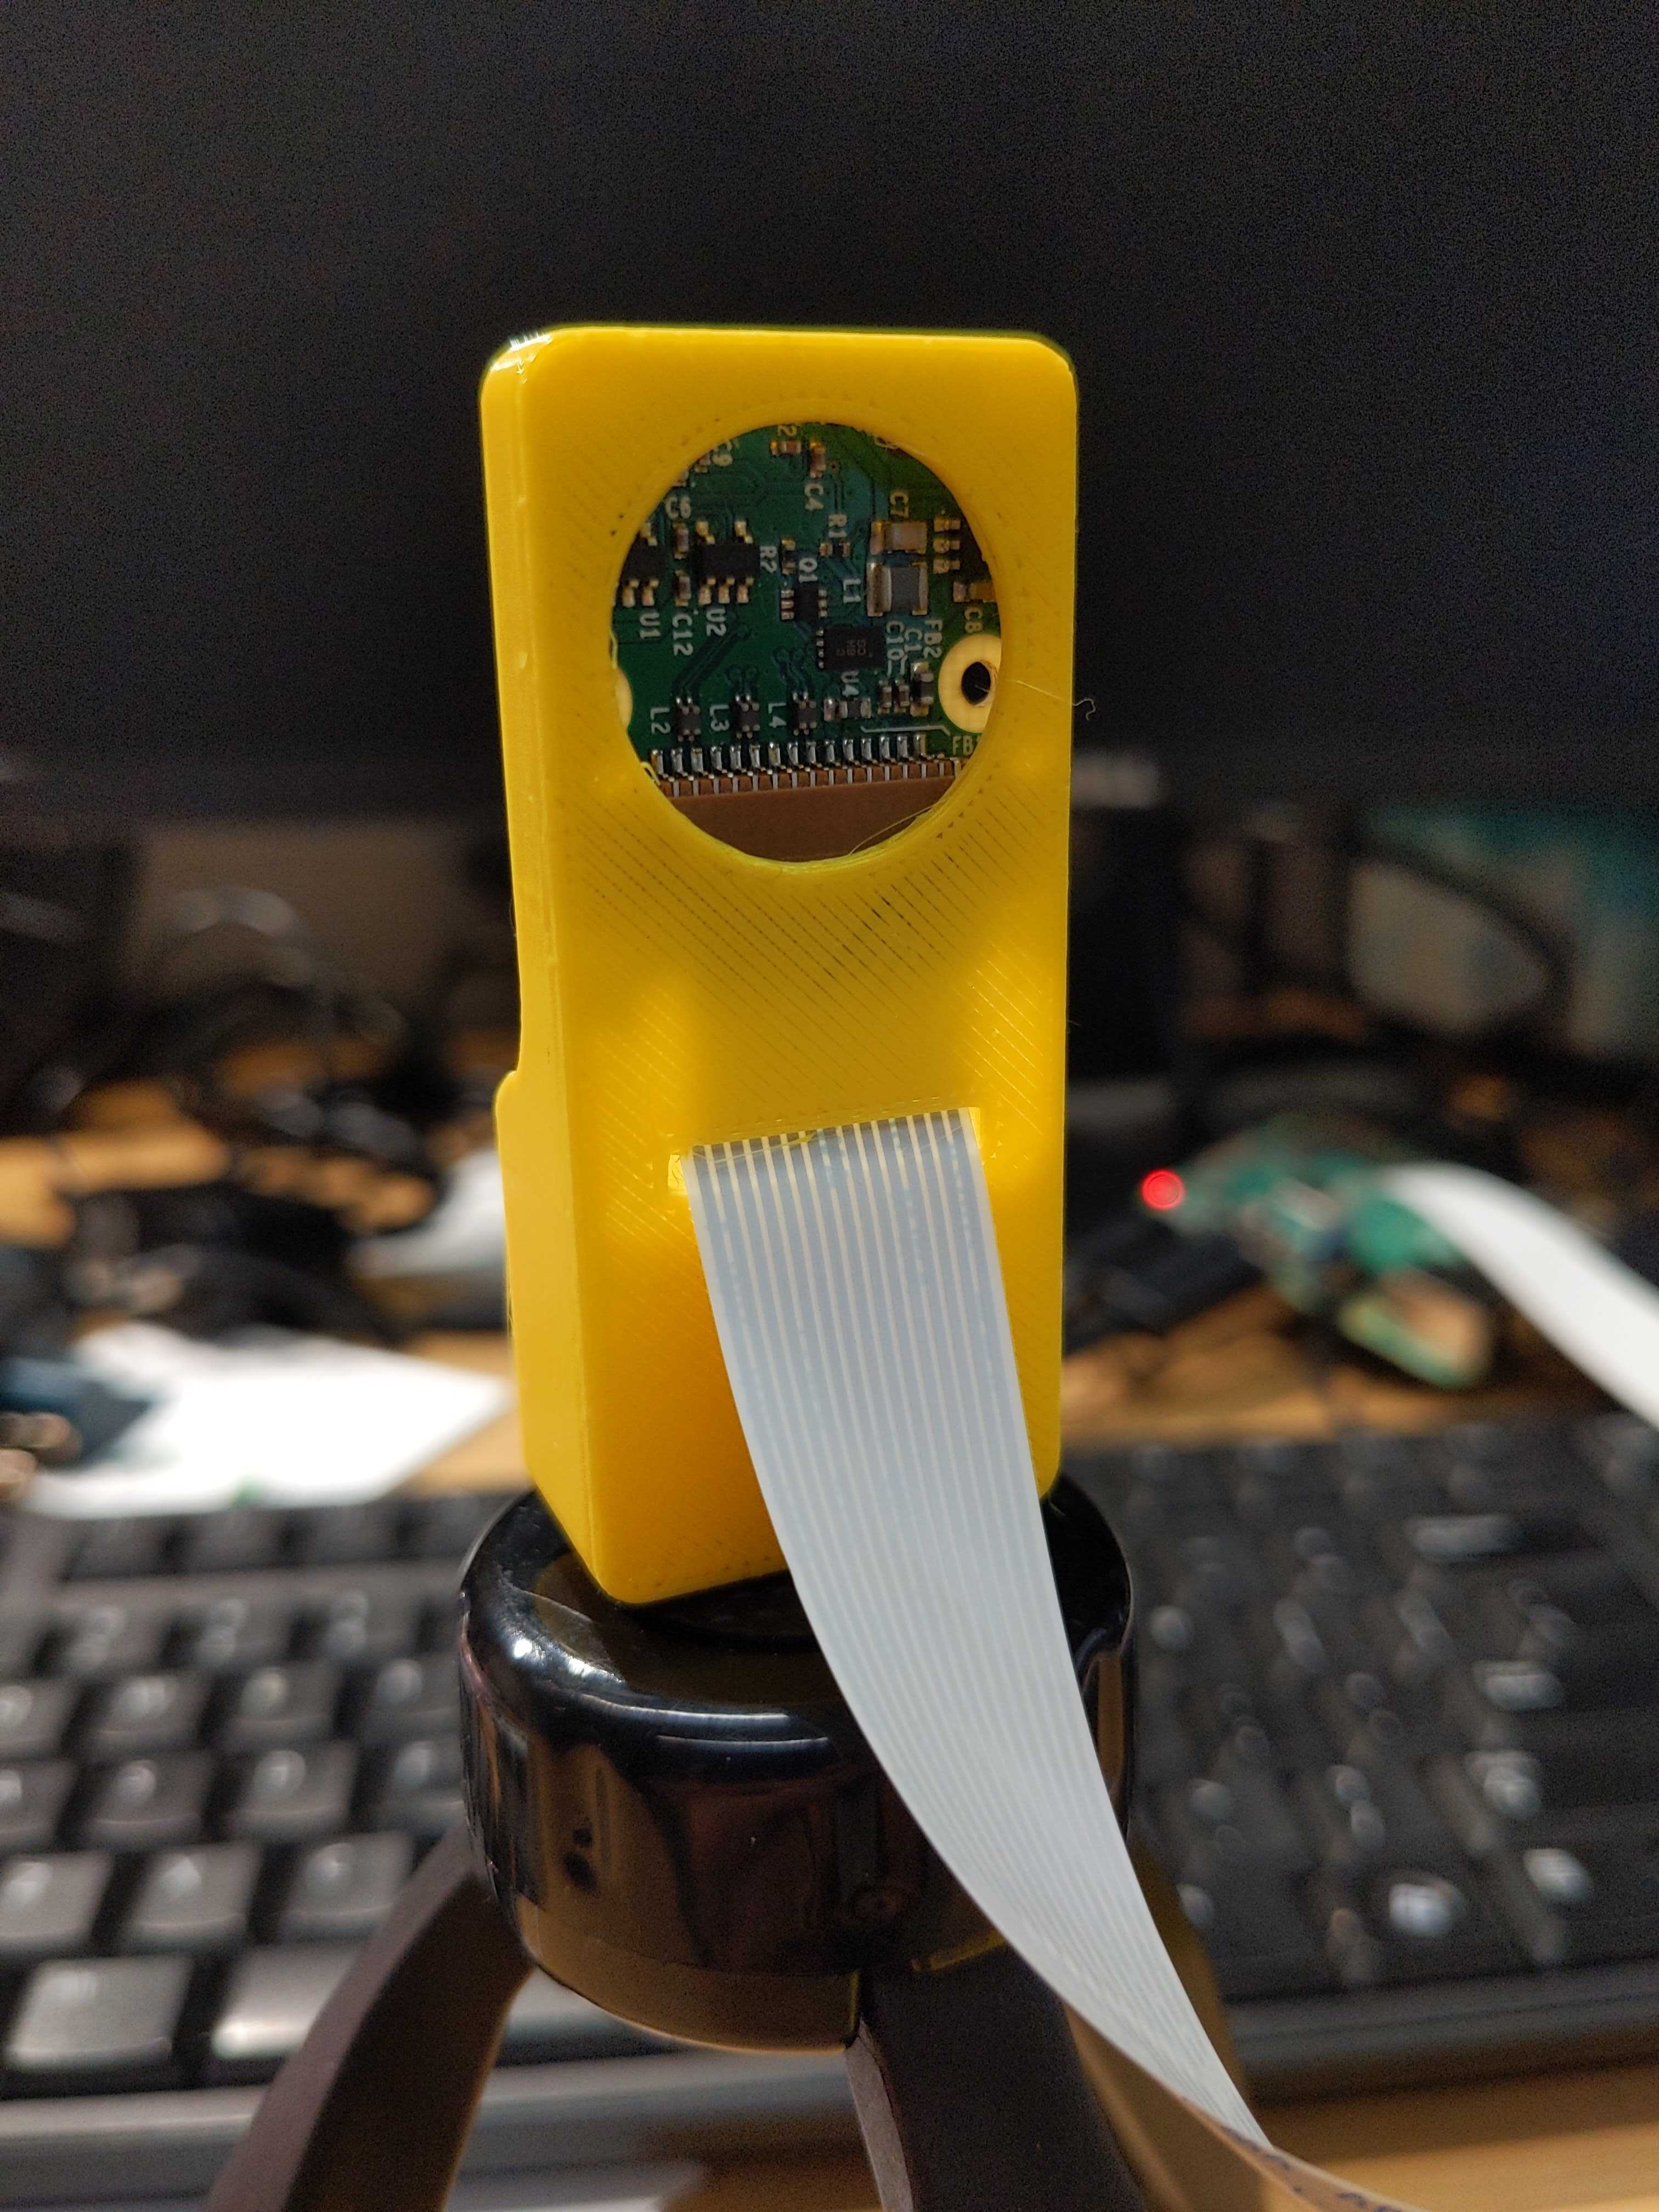
Outcome: Adding a large circular hole to the back makes it simple to poke a finger in the back and push out the camera module.
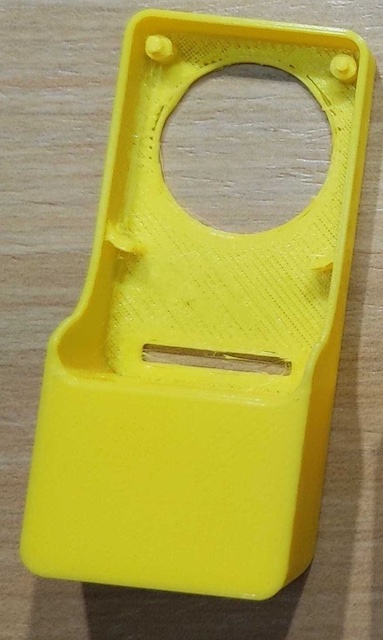
(This one didn’t print as nicely because it is missing a layer due to the filament breaking. I didn’t feel like restarting the print for a prototype.)
Further Iterations
This was meant to be a very quick and simple solution to a problem. The 4th iteration works perfectly. I don’t plan on making further iterations.
Additions/Expansions
If I do want to expand this project, I would make a little stand or tripod that can be completely 3D printed. But when these go into production on the 3D printers, they’ll use one of the 100’s of models out there for mounting cameras on a 3D printer.