
Beyond Paper and Pencil: 3D Paper Art
I only began my time at the TinkerTank this Fall, so it has been a very exploratory couple of months as I learned the various technologies it housed. I’ve gotten the opportunity to play around with these machines and find new ways to create with them, one, in particular, being the Cameo Silhouette machine.
I enjoy making art. It is a simple and flexible way to express yourself and give form to your thoughts, and art can come in many different forms/mediums that you probably have never thought about. Painting and drawing are likely the first to come to mind along with sculptures, photography, fashion, architecture, etc. However, there are very unique forms that utilize certain aspects of art, like 3D Paper Art. Better known to be used for lightboxes, 3D Paper Art is a form that takes advantage of silhouette form and real-life aspects of depth to create a three-dimensional illustration using various layers of paper.
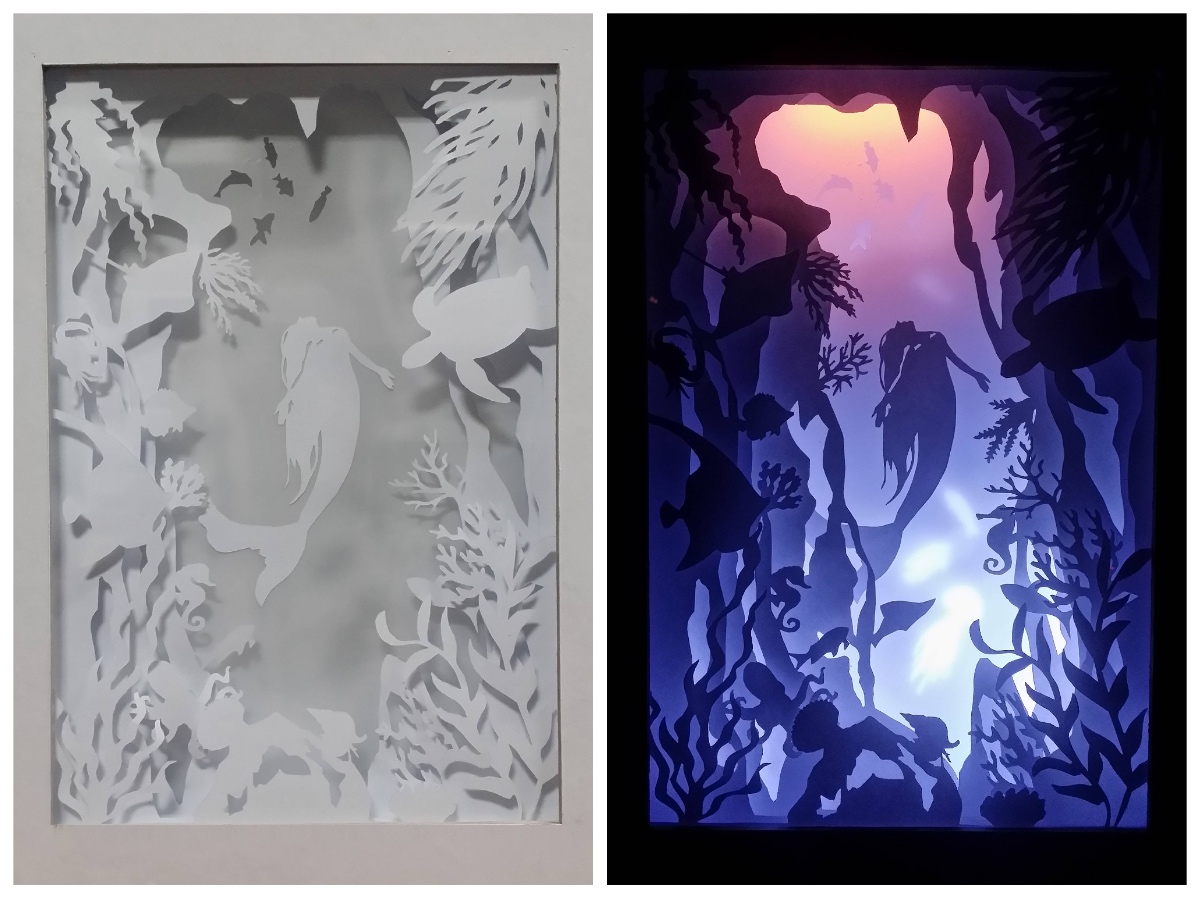
Figure 1. Shadow Box via Downtown District
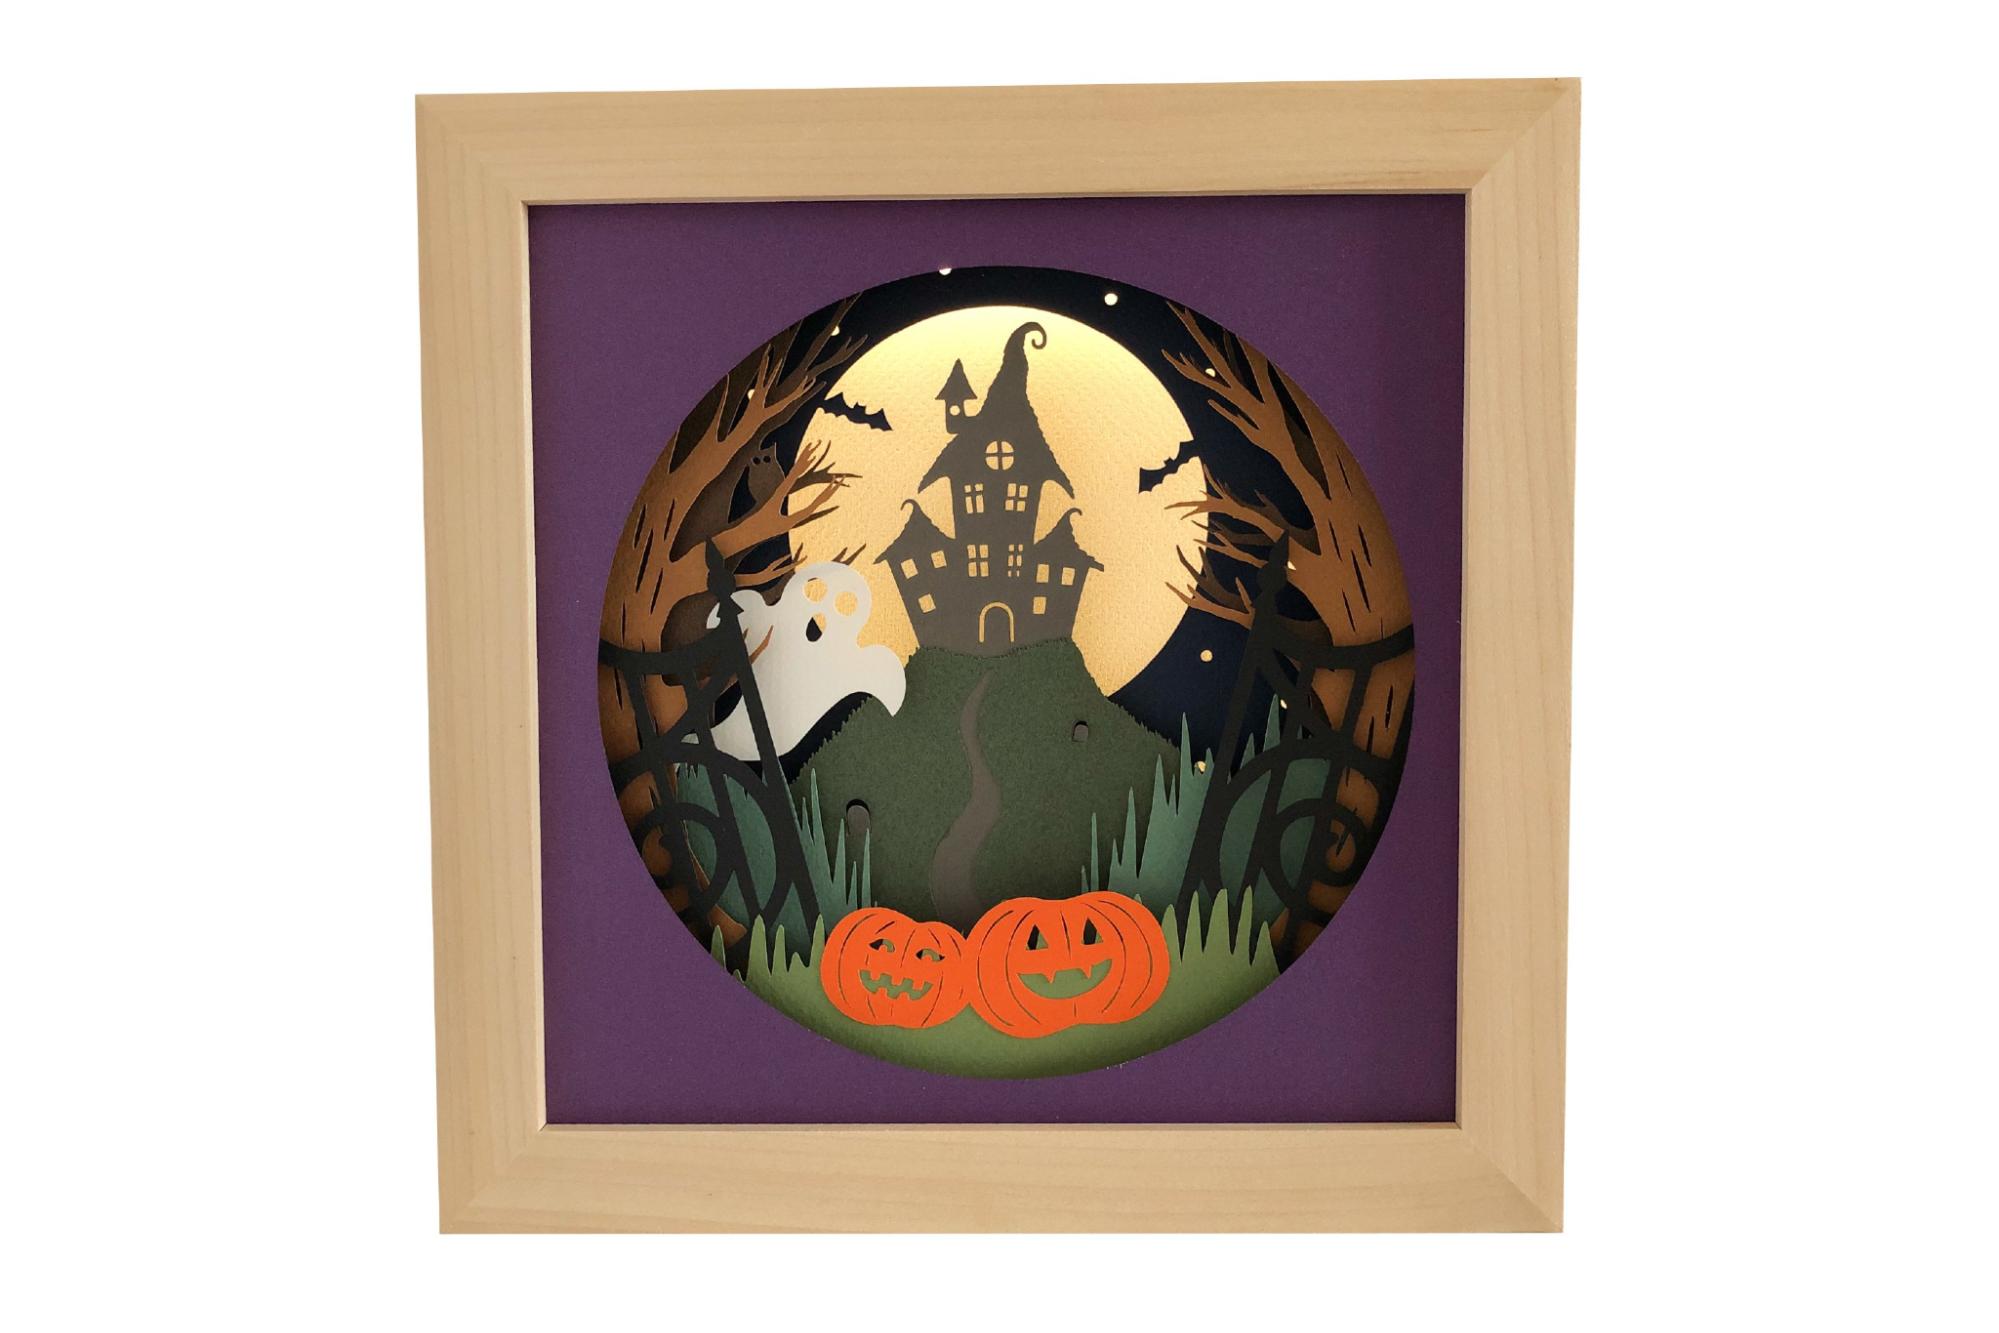
Figure 2. Layered Paper Art via Design Bundles
The idea sounds easier than it is. You have to keep in mind how these layers are going to be made. The easiest case is to use a paper cutting machine, like the TinkerTank Cameo Cutter. Before you jump in and start cutting your paper, the final image needs to be planned: how many layers, what goes on each layer, and making sure your layer is cut out friendly. It sounds like a lot, but fear not, as long as you follow a few simple rules, you’ll be making 3D art by the hour.
I started out by looking for inspiration online. Pinterest, Google, Youtube, you name it. The internet is brimming with new ideas and concepts you can incorporate into any creative endeavor. I had settled on a simple sunset-esque theme for the sake of a first try. I drew up my concept in Procreate to plan out how my silhouettes would look layered, shown below.
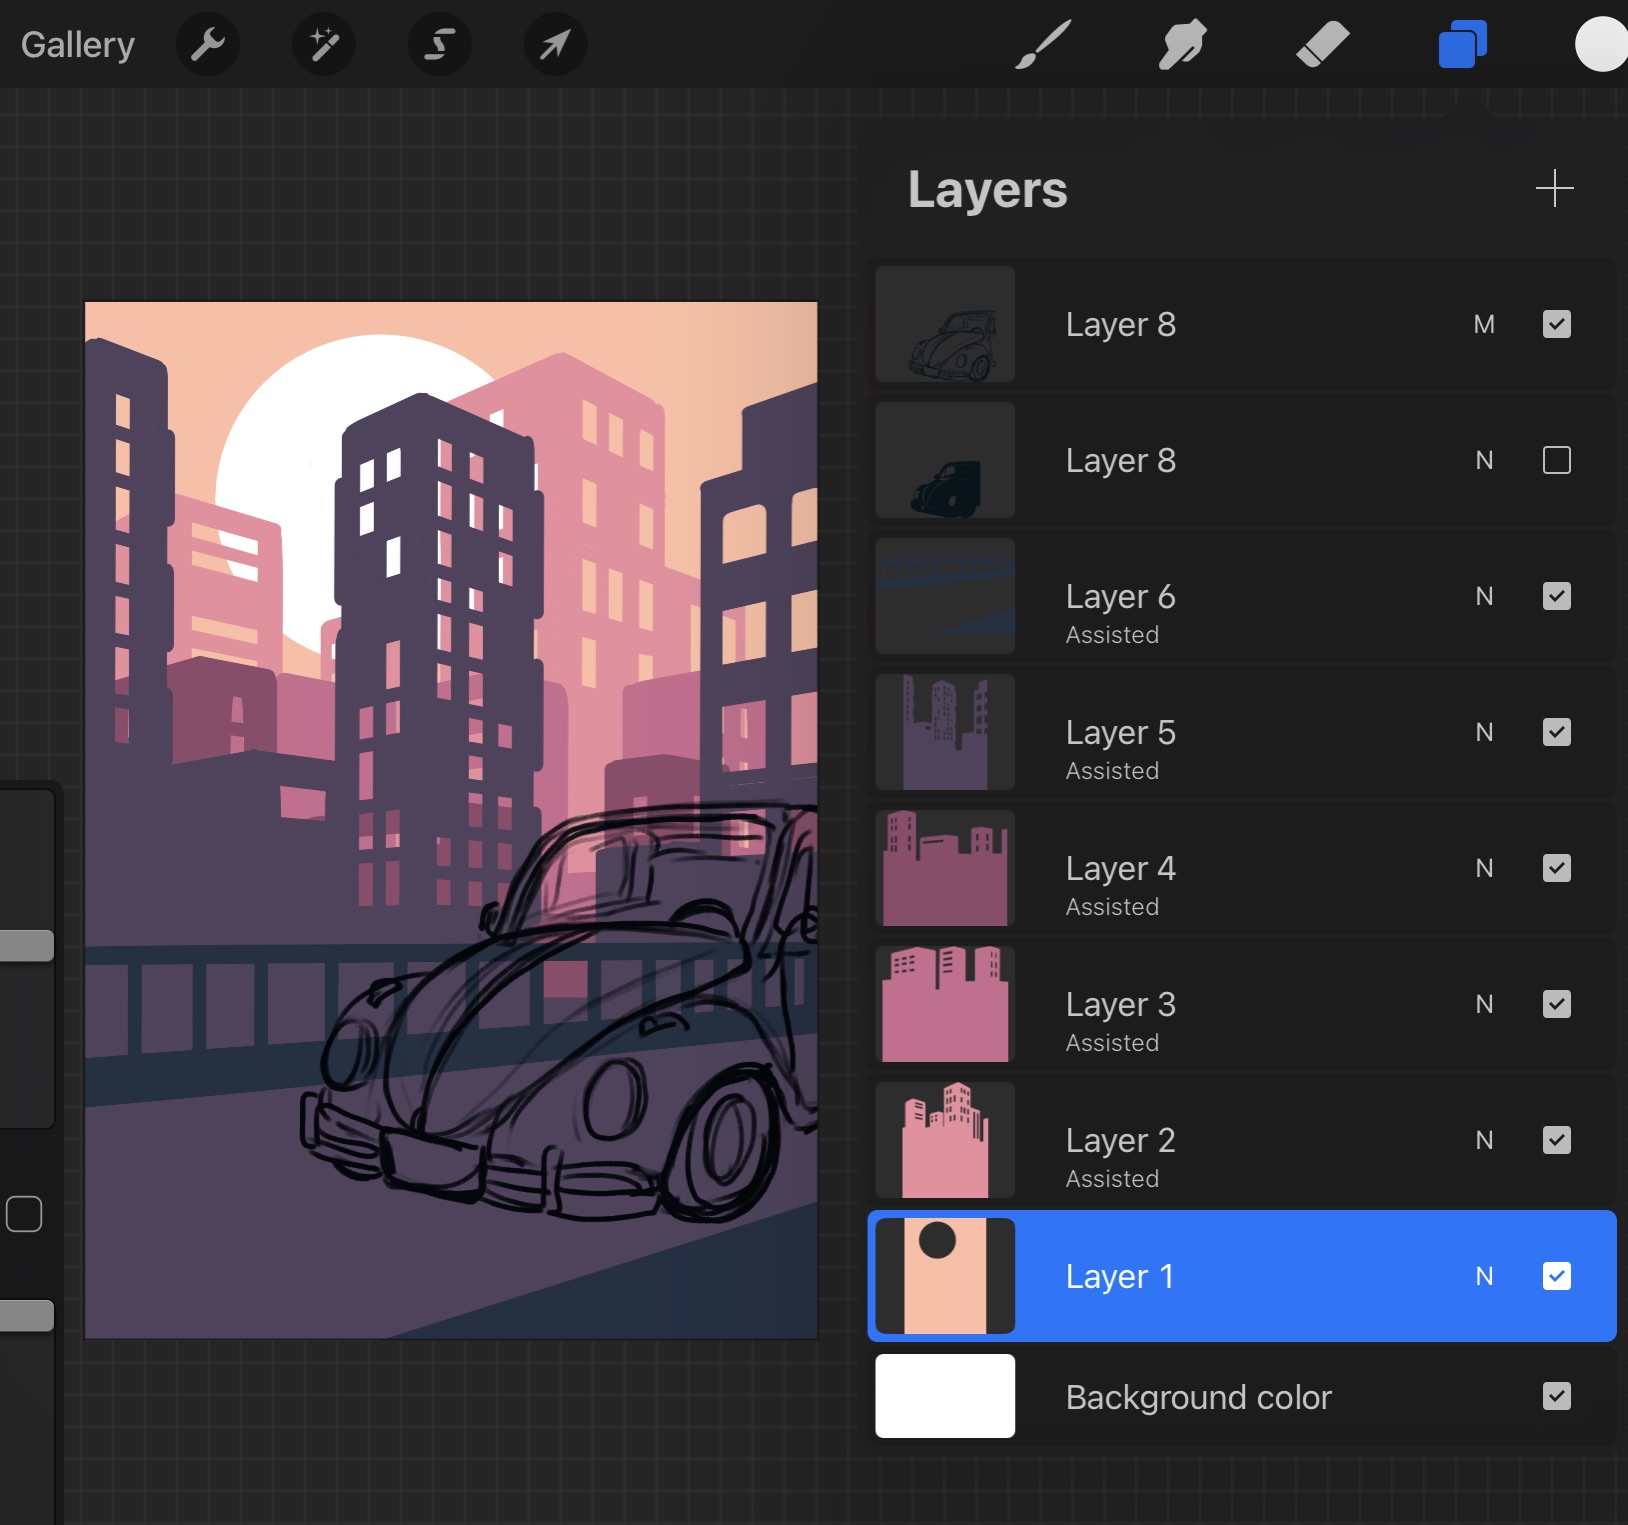
Figure 3. Procreate Concept
As you can see, I went for simple city buildings and varied the layers they would be on to give the scene more depth with a foreground. I tried to follow an idea of keeping layer zero the most simple with the sun and getting progressively more complex in my design and use of space as I reached the foreground. In a bit, you will see the choice for the foreground object change and why I made that decision.
After making my concept, I loaded each layer into Figma (basically a free Illustrator, highly recommend!) and vectorized my layers, shown in Figure 4. Notice how each layer is merely just a shape of the basic outline with cutouts. This is how we can visualize what pieces are going to be cut out. There is one problem, if these were to be cut out, there would not be much structure holding the images, so I added a frame that bordered the paper to give the images more common space(Figure 5).

Figure 4. Vectorized layers in Figma
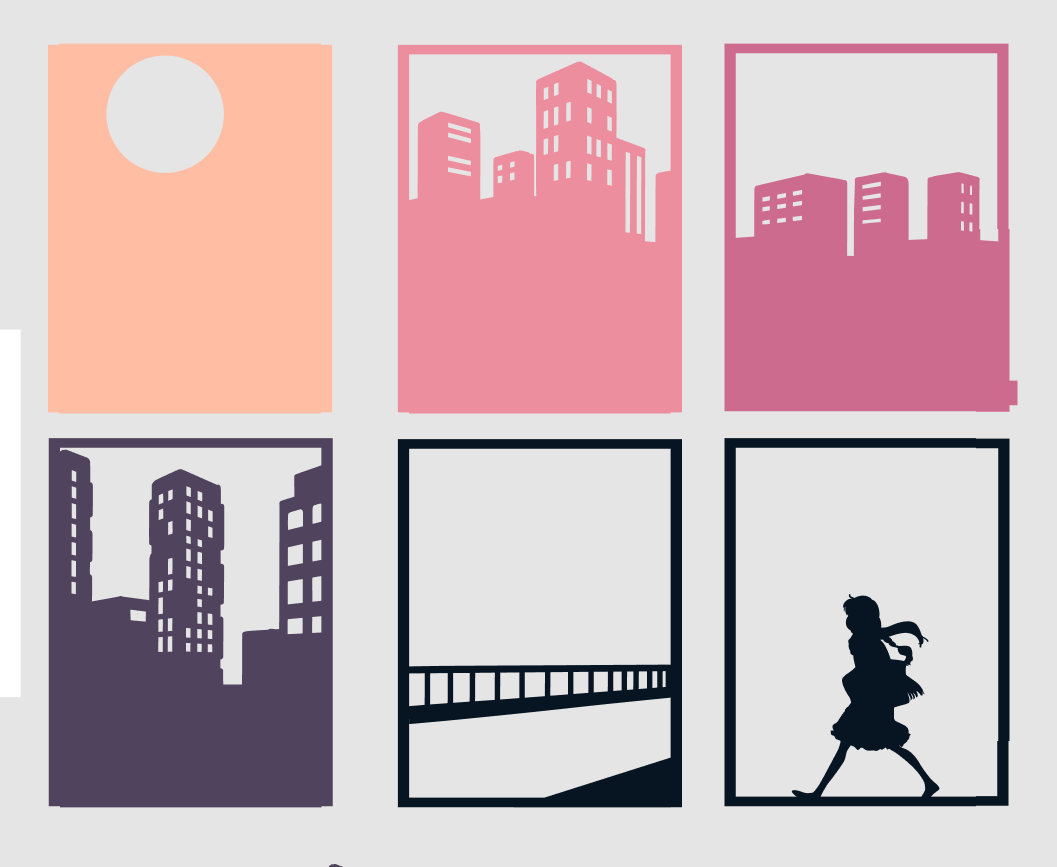
Figure 5. Bordered Vector Layers
Here you can see that I changed the Beetle Object to a girl. This was done by using a Figma Plugin called Image Tracer (Figure 6). I was thinking about the ability of the cutting machine here, and to minimize the error possibility, it is better to opt for a simpler outline without many precise or complex cutouts. Although, one thing I overlooked was the fact that this silhouette did not have much structure when it came to assembling the illustration later on.

Figure 6. Traced Girl Vector
The final flat image is shown in Figure 7 with the girl. When printing out, the two foreground images of the girl and railing were merged into one vector to provide a better structure.
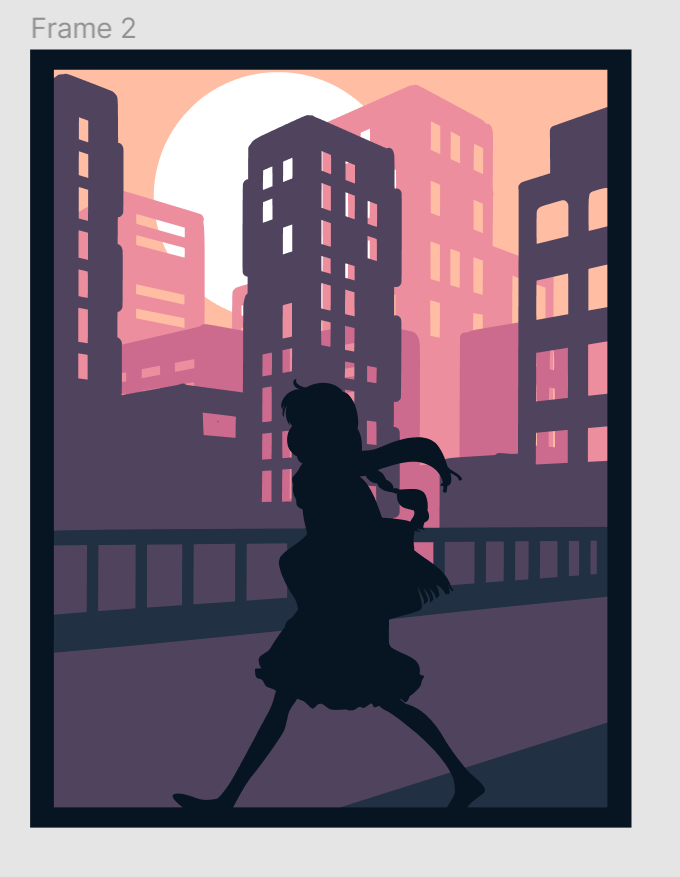
Figure 7. Flat Illustration Final
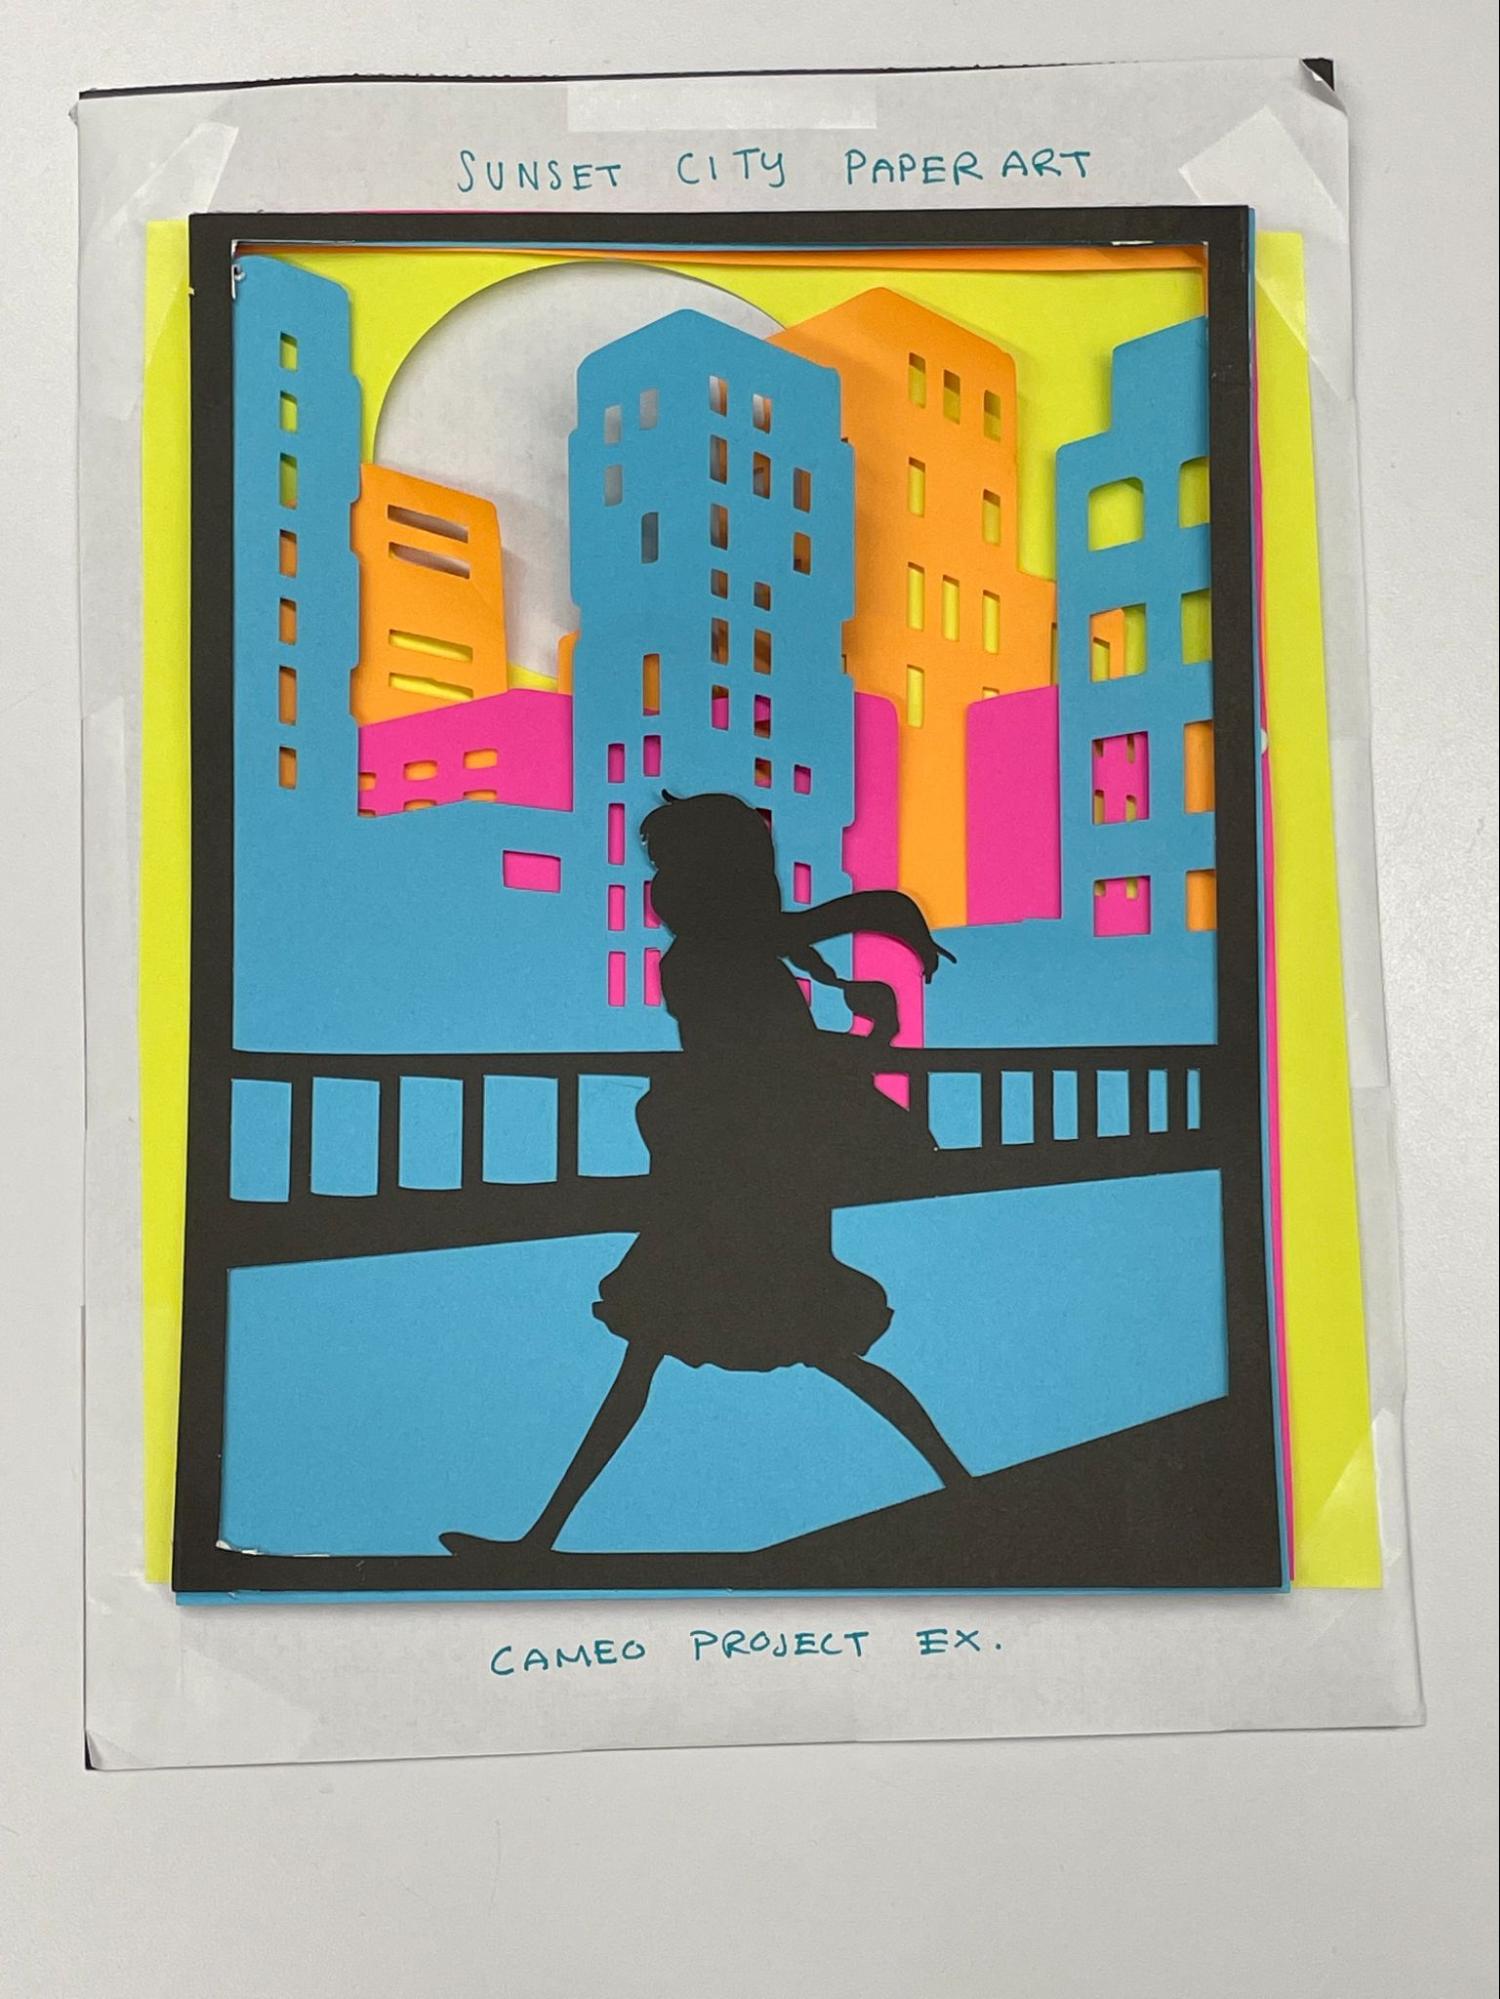
Now came the time to print out my concept. I loaded each layer image into the Cameo Software and loaded a different colored paper into the machine. It is important to watch the machine as it is cutting your layers. I ran into some issues as the machine itself was just a little rickety which is why we now have an oval for the sun instead of a circle. After cutting each layer and removing the additional pieces, I played around with the spacing of the layers to create the right 3D feeling. First I tried magnets and then finally assembled using craft sticky dots, shown below.

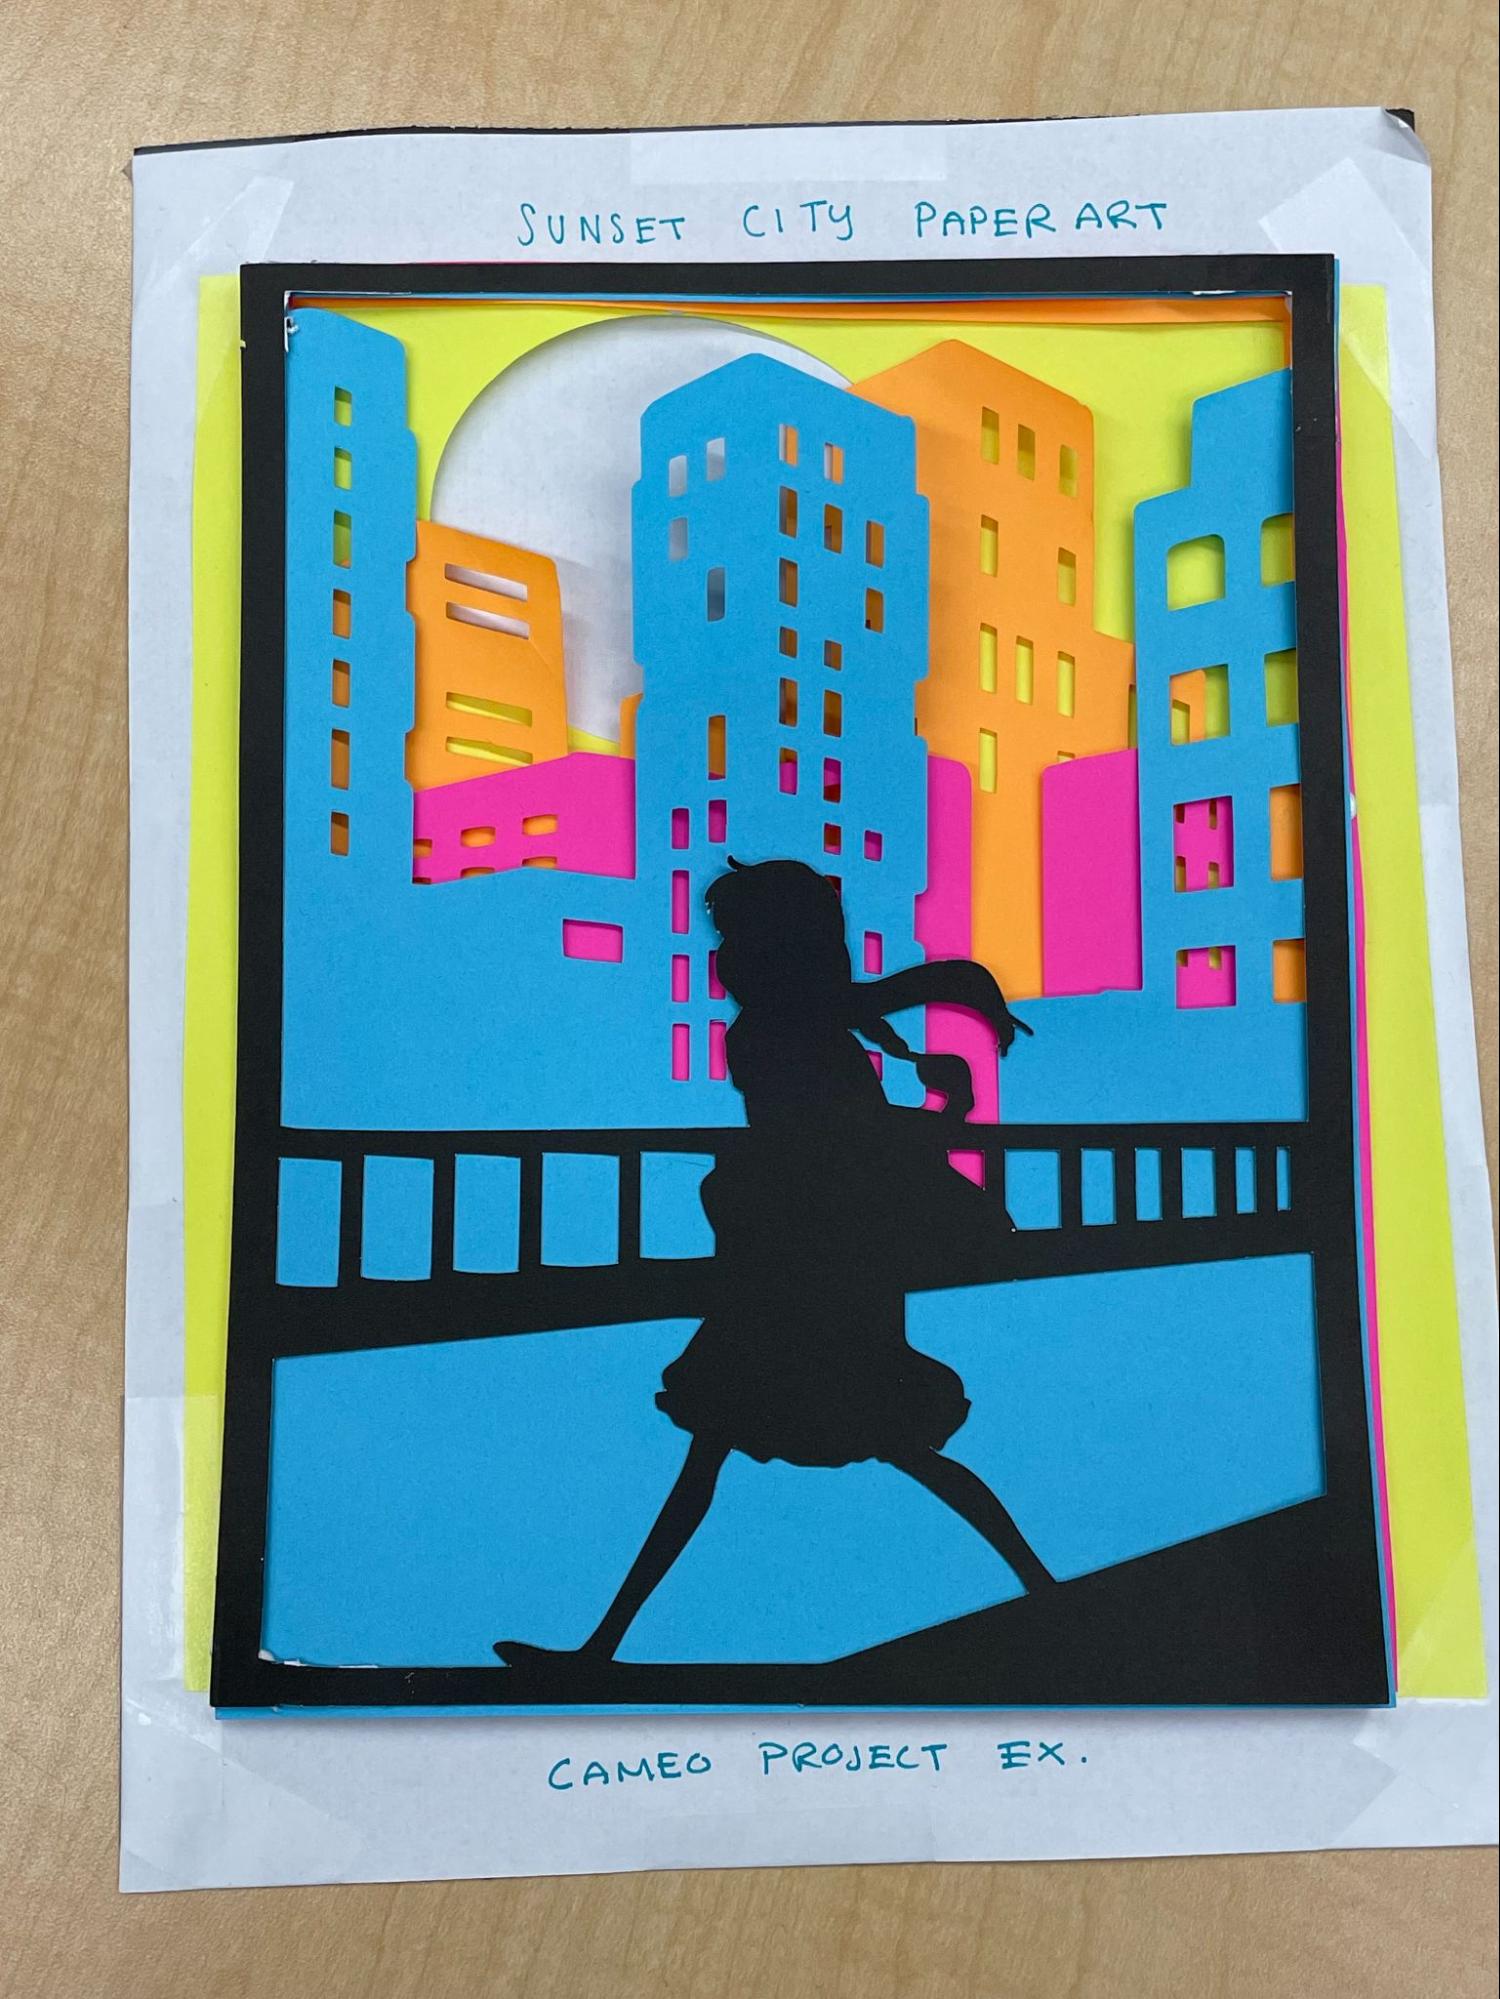
Figure 8. Assembled Layers, Test(left) and Final(right)
After spending a couple of days planning and executing this test project, I felt a great deal of satisfaction with the result. The colors and overall scene came out pretty much how I imagined it. I was slightly disappointed with the structural integrity of the final product. Looking forward to future projects, a sturdier paper like cardstock would be optimal for paper cutting. I also believe any 3D art would benefit from bigger layer separations to really give it that 3D feel and depth. I am currently looking into methods of using paper electronics to create a shadowbox using this project like the examples from Figure 1.
If you would like to recreate this project at the TinkerTank or on your own, refer to the documentation here. My layer files can be found here. If you have any questions, feel free to contact me at kra7ejt@virginia.edu or visit the TinkerTank and explore our options for creative projects!