Sharing a Unity Project
Sharing a Unity Project
Working collaboratively on a creative project not only makes the whole process a lot more fun but it also opens up space for ideas to bounce off of each other and potentially create something far more interesting! Here is an easy way in which you can build your own team of collaborators for a Unity project.
- To begin, make sure you have created a free Unity account and are logged in. The free account allows you to build a team of up to three collaborators
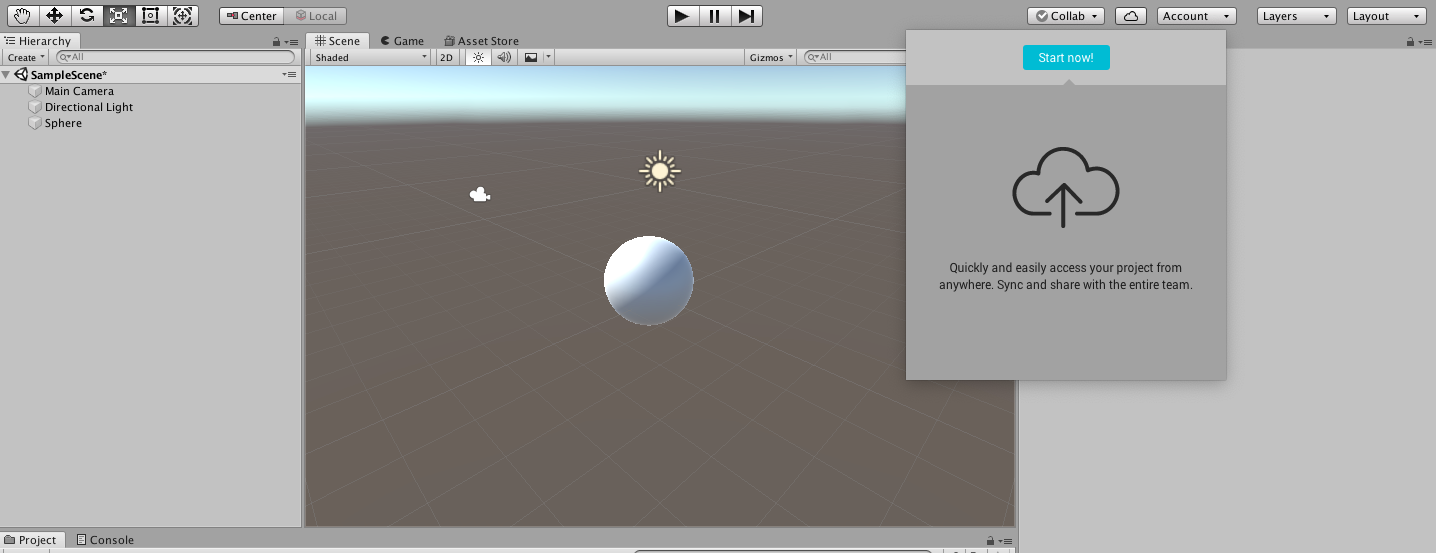
- Click on the Collab button on the Unity window of the project you want to share and then on “Start Now”
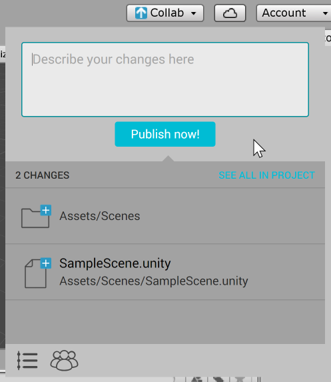
- You will be able to “Publish” your project at this point
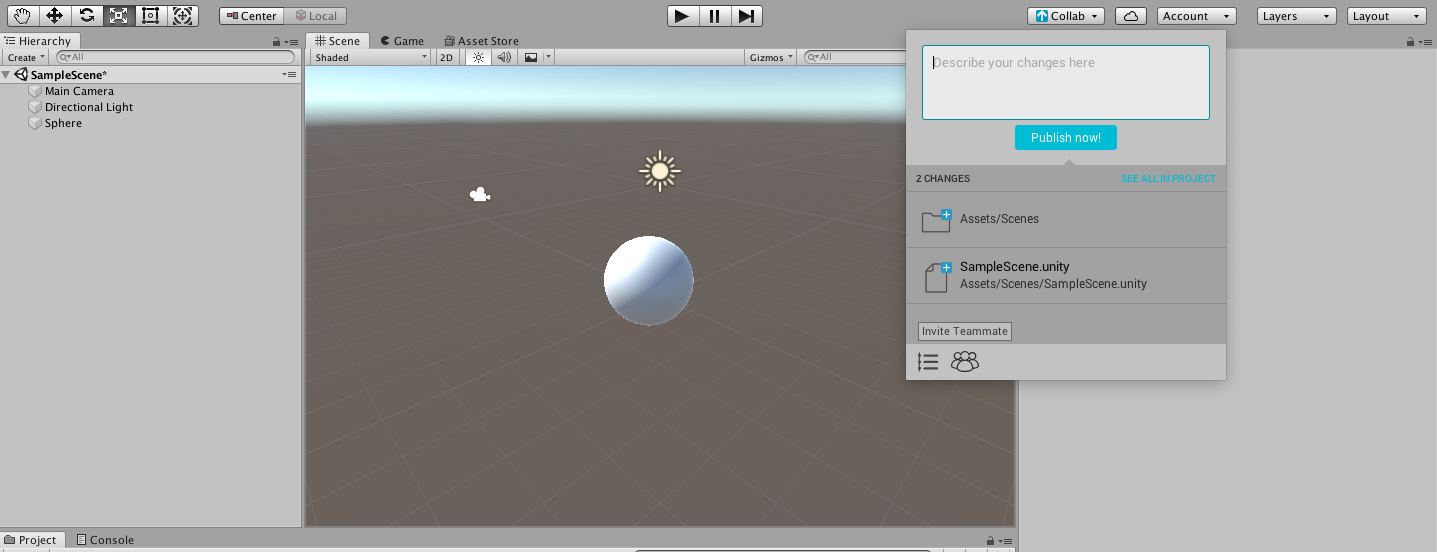
- You can then create a team that will be able to access the project by clicking on the “Invite Teammate” icon at the bottom
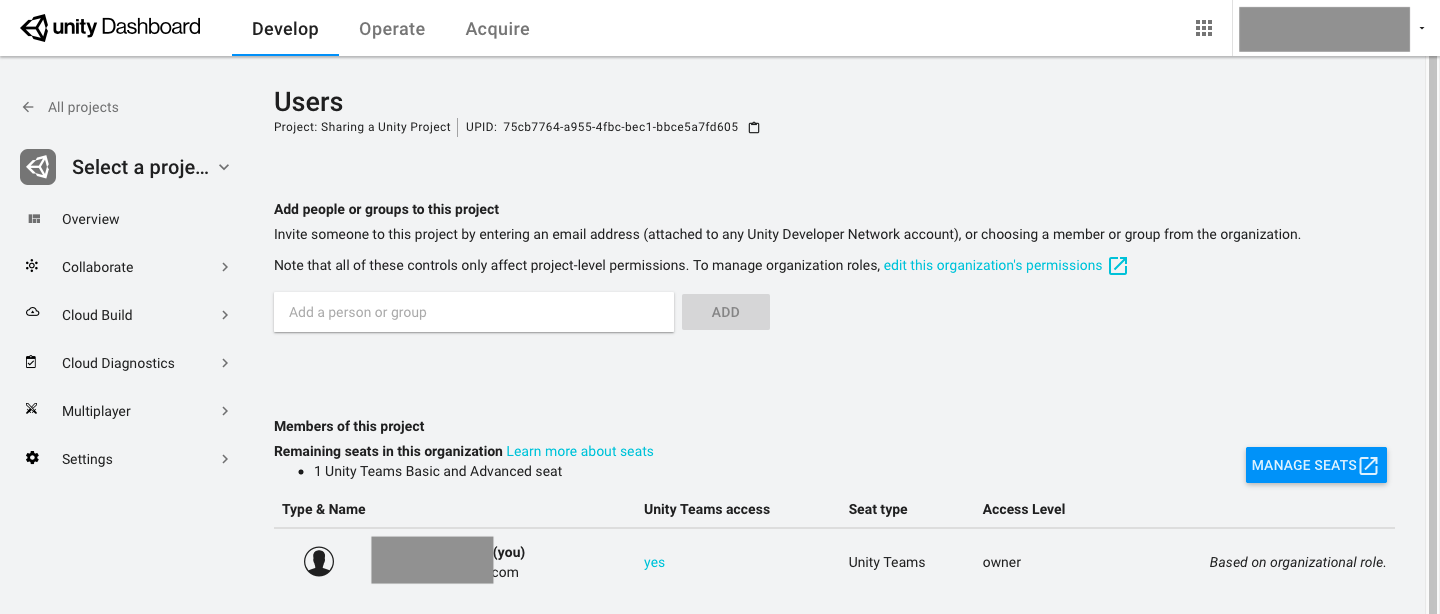
- This will take you to the Unity online Dashboard where you can add members to your team
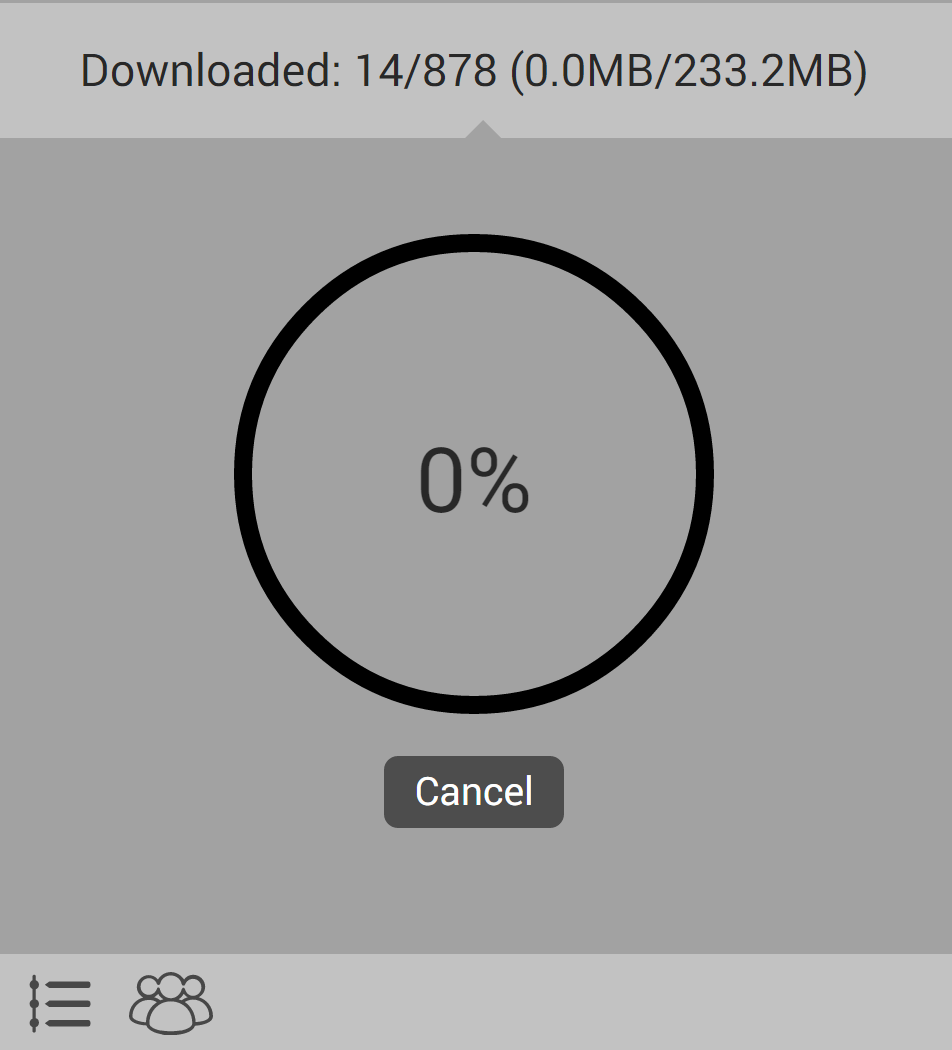
- Your teammates will be able to download the project once they have accepted the invitation
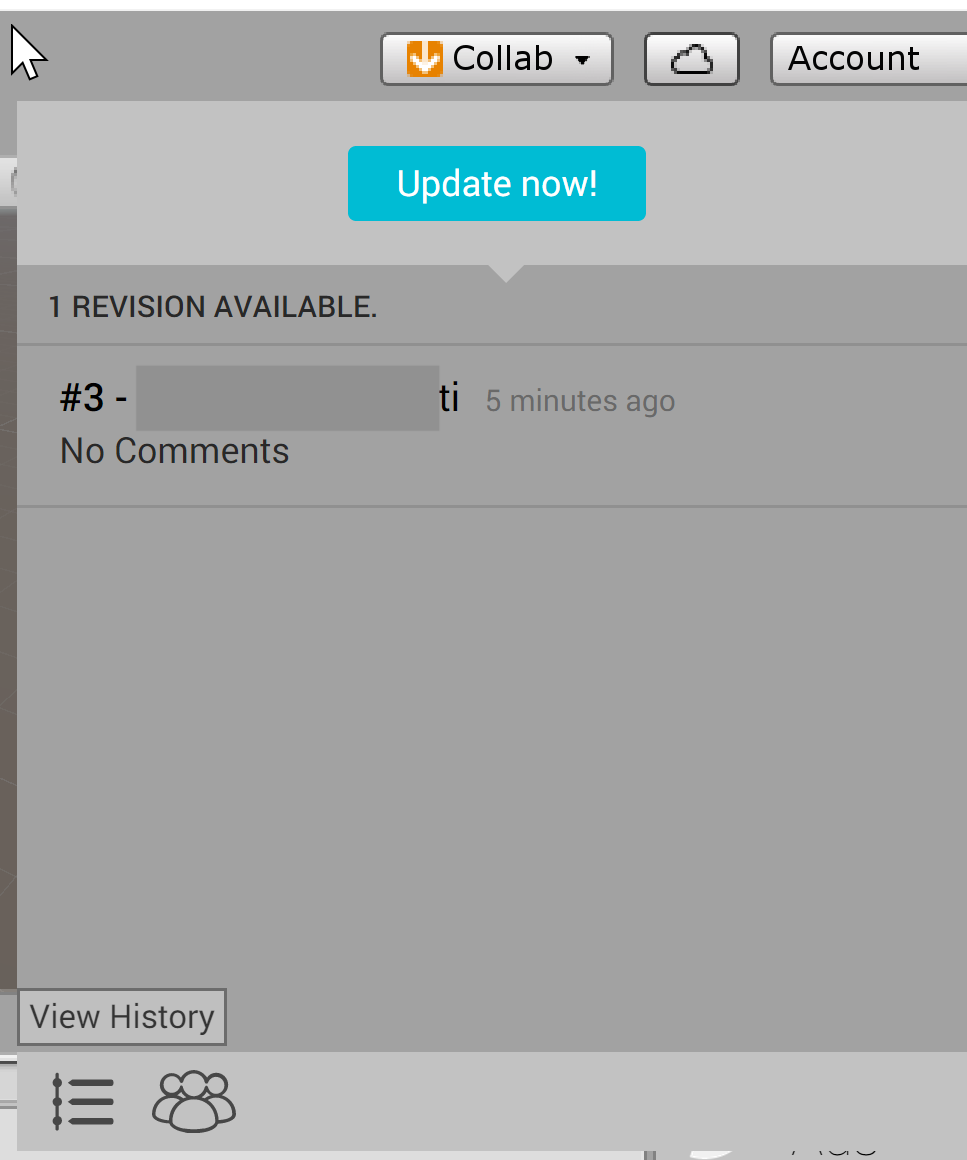
- Remember to publish and download changes as they occur - the Collab icon will change colors to alert you of possible changes that your teammates have made