
Connecting a Raspberry Pi to UVA’s Eduroam WiFi

As of 2023, these instructions do not work any more. In 2025, the best instructions are found here: https://galileo.phys.virginia.edu/compfac/faq/linux-eduroam.html
This tutorial cobbles together a few of different online instructions needed to get the latest version of RaspbianOS connected to UVA’s eduroam WiFi network.
The four instructions to follow are here:
- My own, now outdated instructions
- Prof. Luther A. Tychonievich instructions for setting up Linux on eduroam
- This reddit guide for setting up Linux on eduroam
- This guide to installing NetworkManager
Preparing the Pi
There are a couple of things to do before you can get the Pi up and running on eduroam. The most important is to switch the default network management software. Fortunately, the software we install makes it super easy to manage networks from here on out. Unfortunately, you have to have a network connection on your Raspberry Pi in order to install the software.
This is not an insurmountable obstacle, and this step may be all you really need to do if all you want is a quick network connection.
RaspbianOS setup
If you are starting with a clean install of RaspbianOS, make sure to complete the Welcome to Raspberry Pi setup instructions. Most importantly is to set a password. You can skip the Network setup and the OS upgrading for now.
Quick connect the Pi to the Internets
Here are a couple of options to get the Pi temporarily connected to the Internet. Maybe this is all you need? :)
- Ethernet: If you can, just plug the Pi into an Ethernet port to get the install going.
- Hotspot: The easiest way is to turn your phone into a hotspot while it is connected to eduroam or some other network connection. There should be an option in your phone’s settings to do this.
- Go somewhere with Ethernet or easy connect WiFi (like a coffee place or fast food joint or public library).
Register your Pi
Following the steps on my original post, add your Pi to UVA’s list of approved devices.
You can do this step from any computer/phone connected to the internet.
You’ll need the Pi’s MAC address, which you can get by typing this into the terminal:
ip address
Follow this link to the ITS Registration page: https://netreg.itc.virginia.edu/cgi-bin/mac_registration.cgi?alien=1
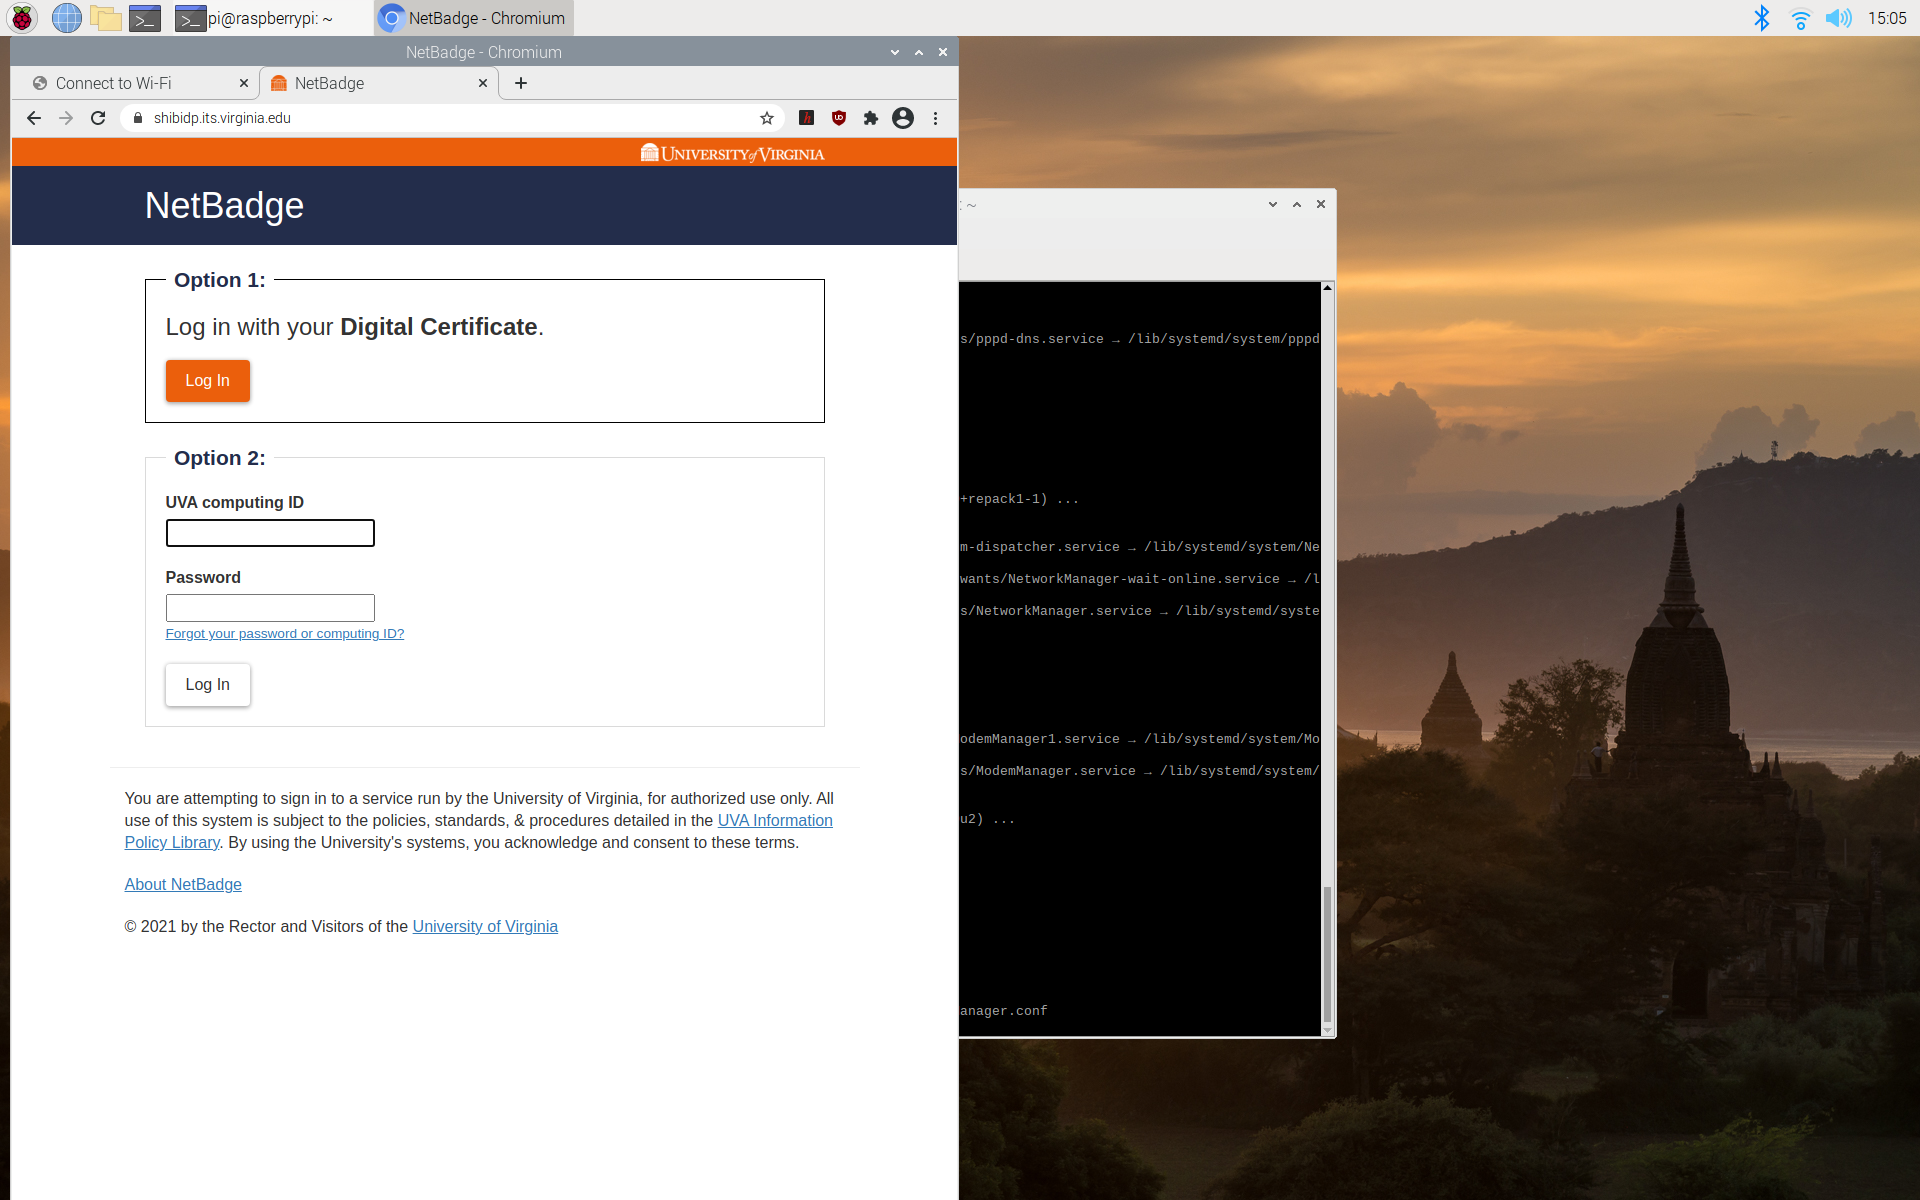
The steps are pretty simple after you log in with NetBadge:
- Physical/Hardware Address = MAC address (You can also register the Ethernet MAC.)
- This is a wireless device = Yes
- Asset Tag (optional) = You can leave blank
- Serial Number (optional) = You can leave blank
- Identifying Notes = You can leave blank
Click the submit button and you are good to go.
Install NetworkManager
For this step, we are back on the Raspberry Pi and we’ll need a connection to the internet (hotspot, ethernet, etc.).
To make life easier, let’s install NetworkManager. It also provides a really good GUI for managing the network.
For this step, we’ll follow the instructions for installing NetworkManager from JJSanderson.
Open a Terminal on your Raspberry Pi. Then type in the following commands one at a time, followed by the Enter key.
sudo apt update
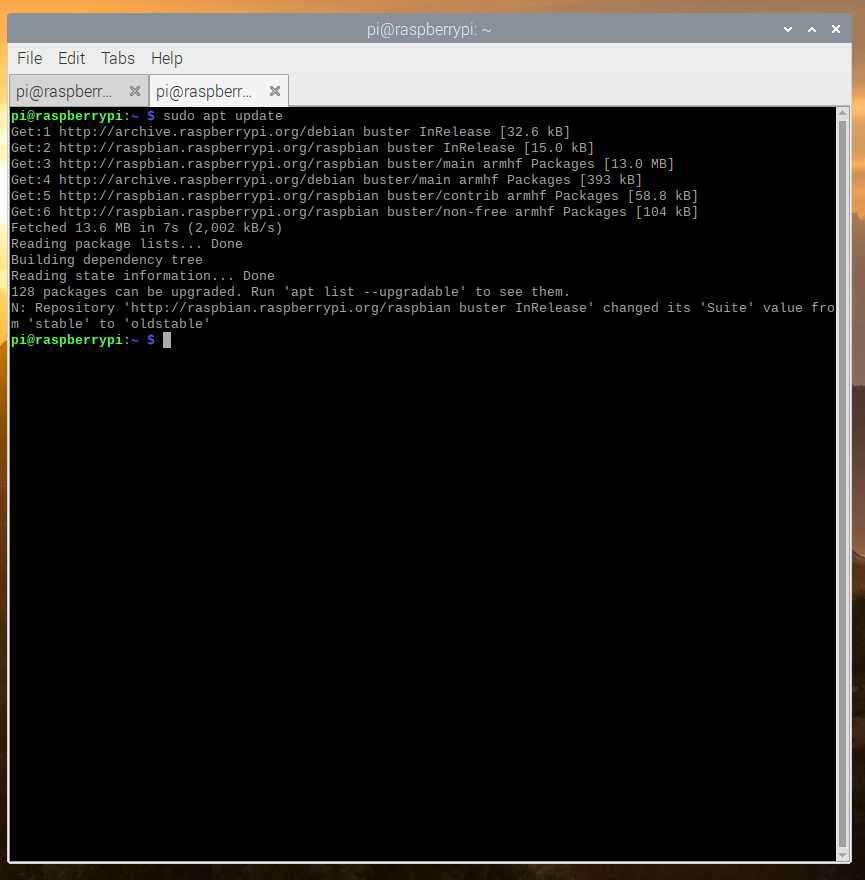
Wait for that process to finish, then type
sudo apt install network-manager network-manager-gnome
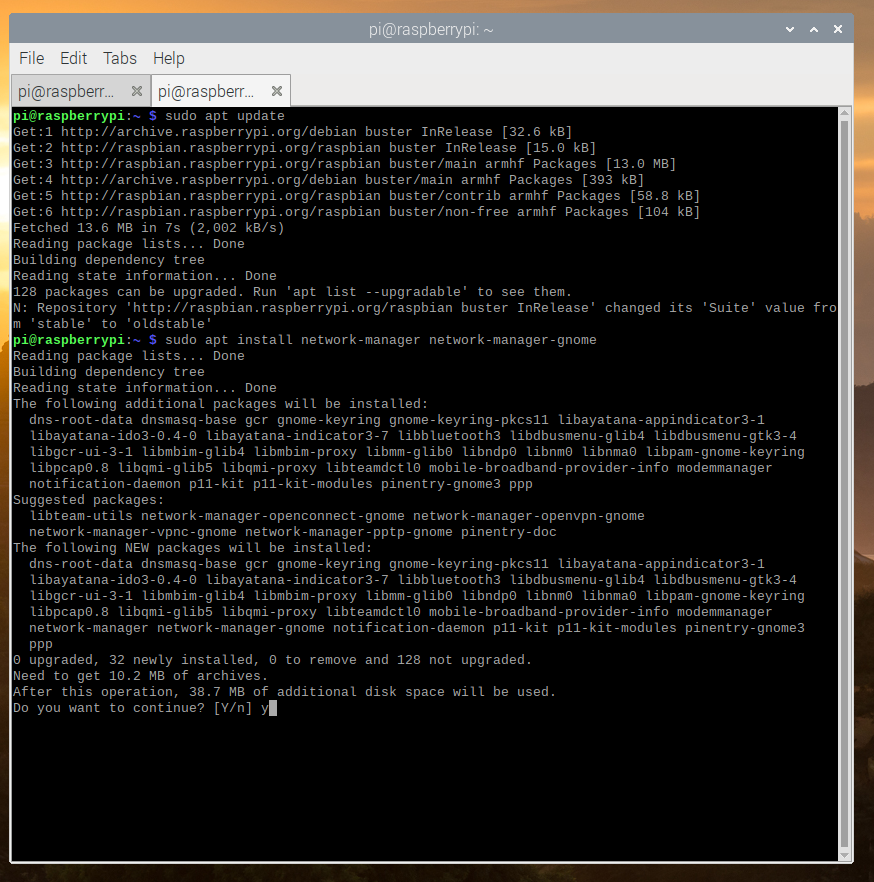
You’ll be prompted if you want to install the many packages. Just type y and Enter.
Disable dhcpcd
Next we’ll disable the dhcpcd program from handling the wireless network card, which is called wlan0.
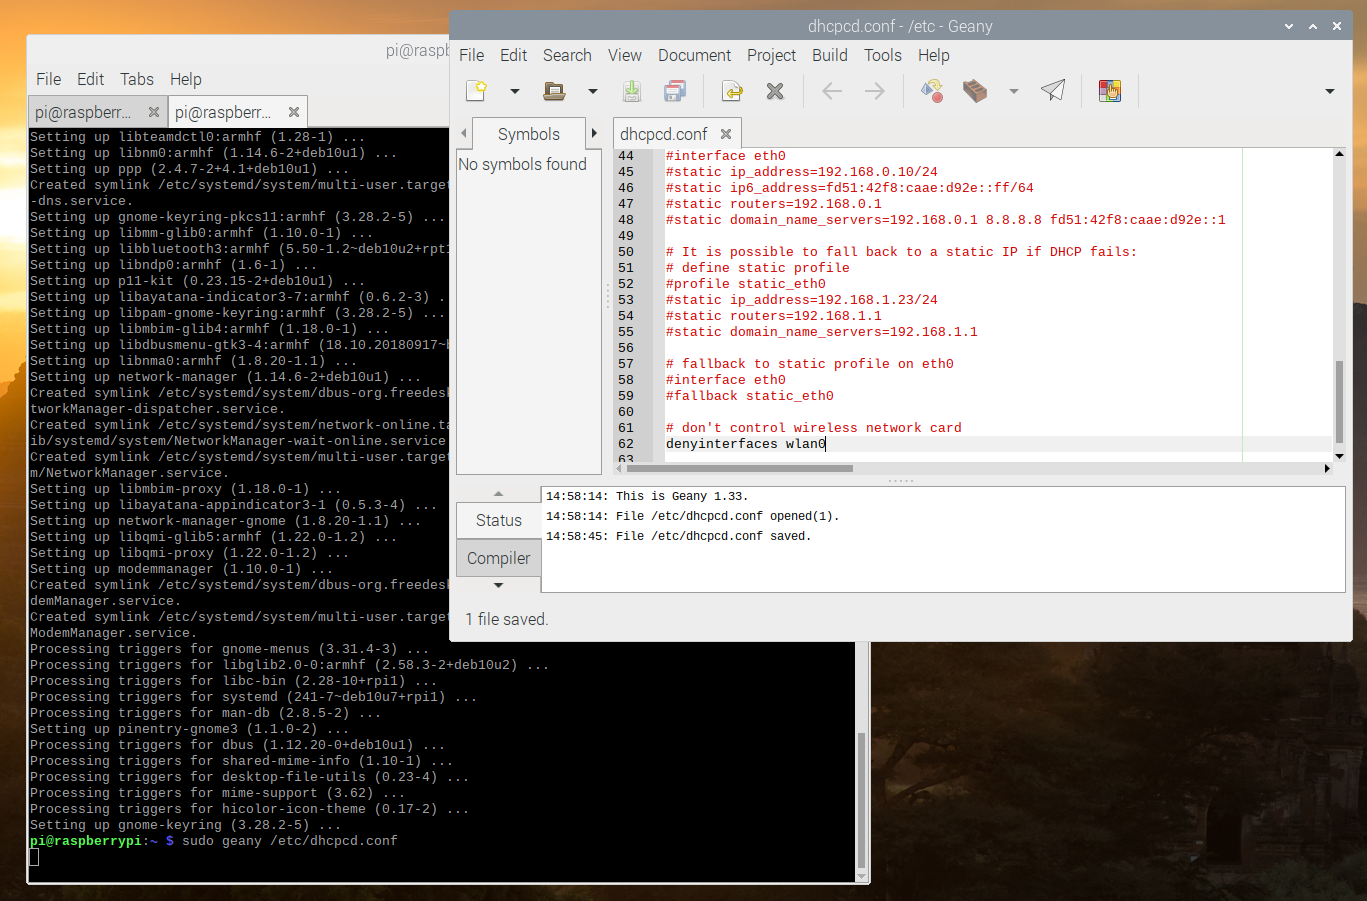
In the terminal, open the /etc/dhcpcd.conf file,
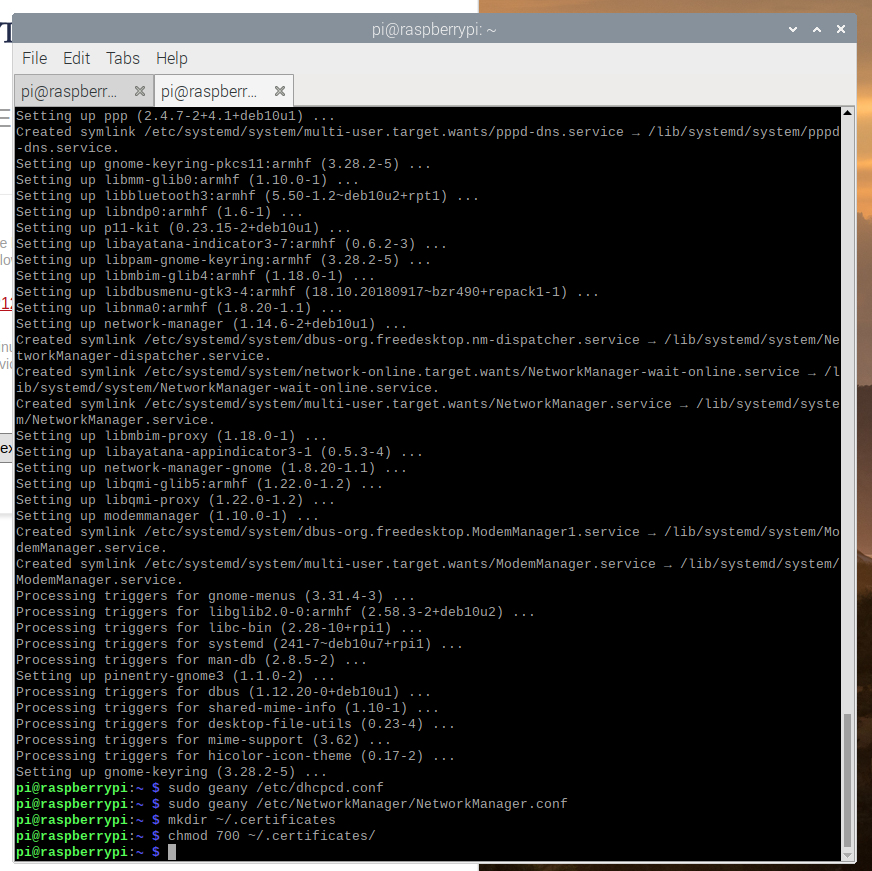
sudo geany /etc/dhcpcd.conf
Alternatively, you can open the file using nano, vim (need to install), or any other text editor you have on the Raspberry Pi. By default, Geany and nano are installed.
Add this line to the bottom of the file, then save and close.
denyinterfaces wlan0
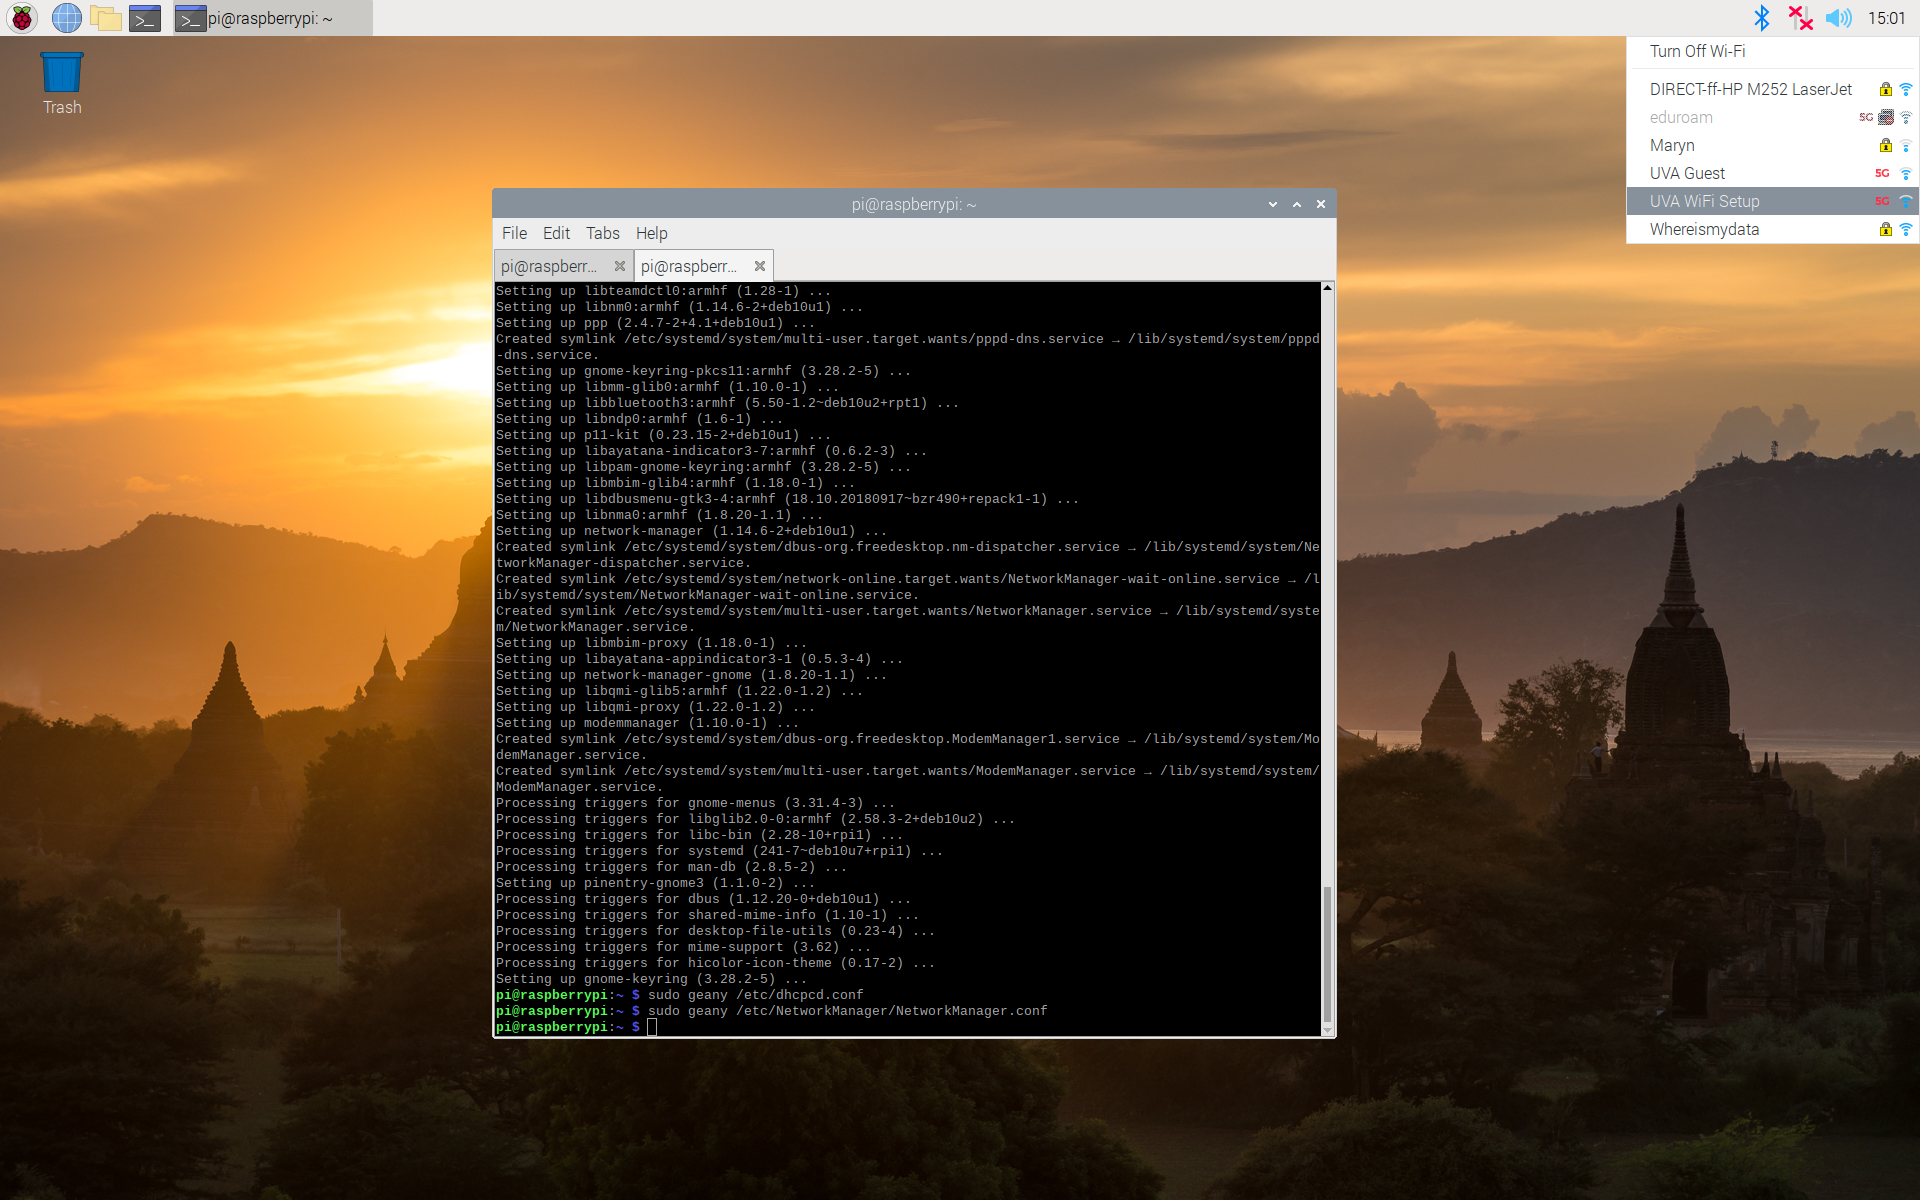
Edit NetworkManager.conf
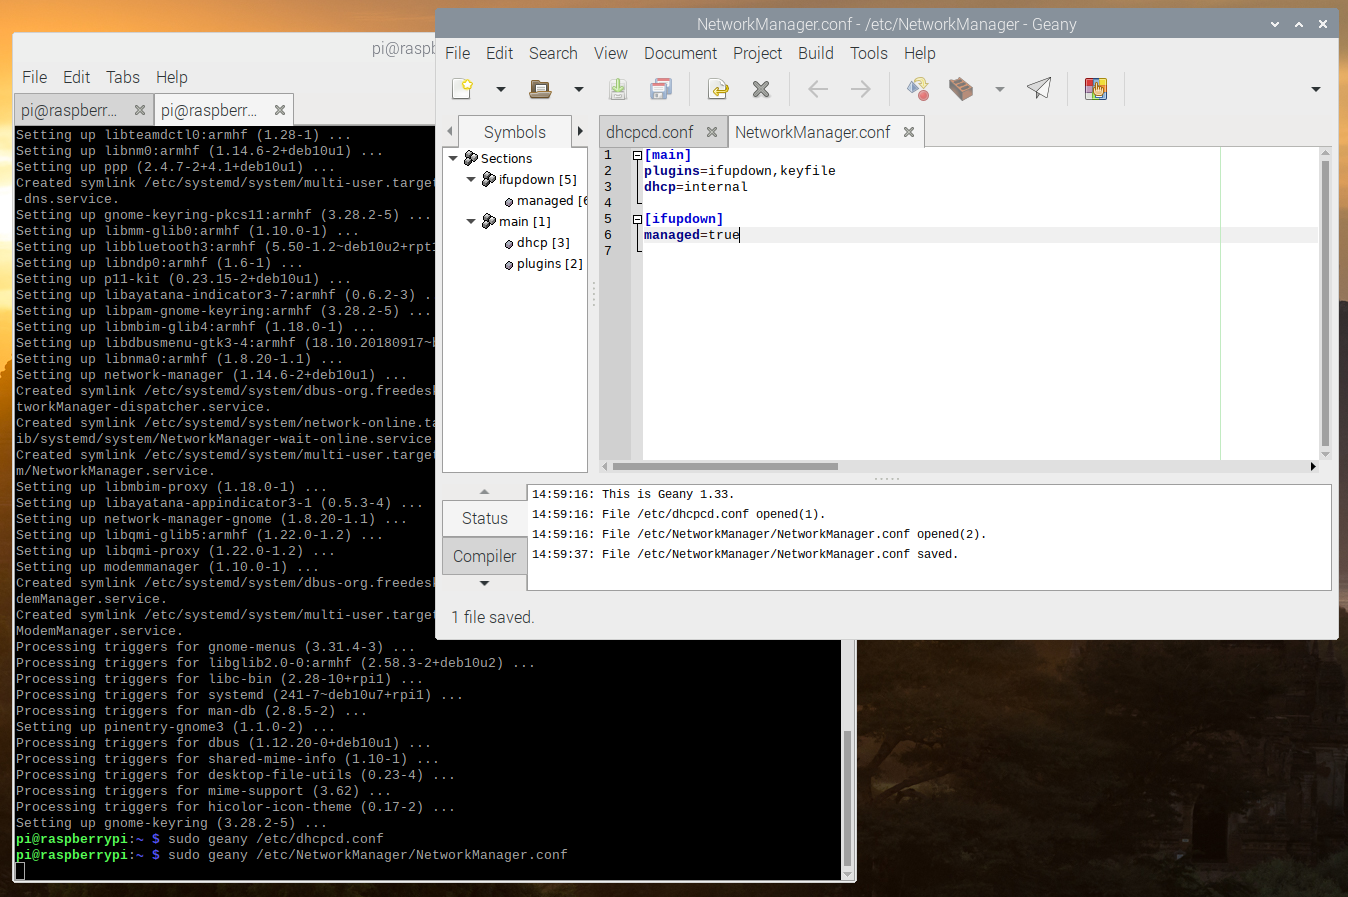
sudo geany /etc/NetworkManager/NetworkManger.conf
Add dchp=internal to the file and change managed to true, then save and close the file.
It should look like this
[main]
plugins=ifupdown,keyfile
dhcp=internal

[ifupdown]
managed=true
Now you can manage the WiFi connections and other internet related tasks using NetworkManager.
Generate a personal certificate
Next, we’ll follow step 2 from Prof. Tychonievich’s tutorial.
In this step, we are still on the Raspberry Pi. Disconnect it from any Ethernet or other WiFi network.
If you are on Grounds, connect to the “UVA WiFi Setup” network. If you are off grounds, follow the instructions provided on Prof. Tychonievich’s site.
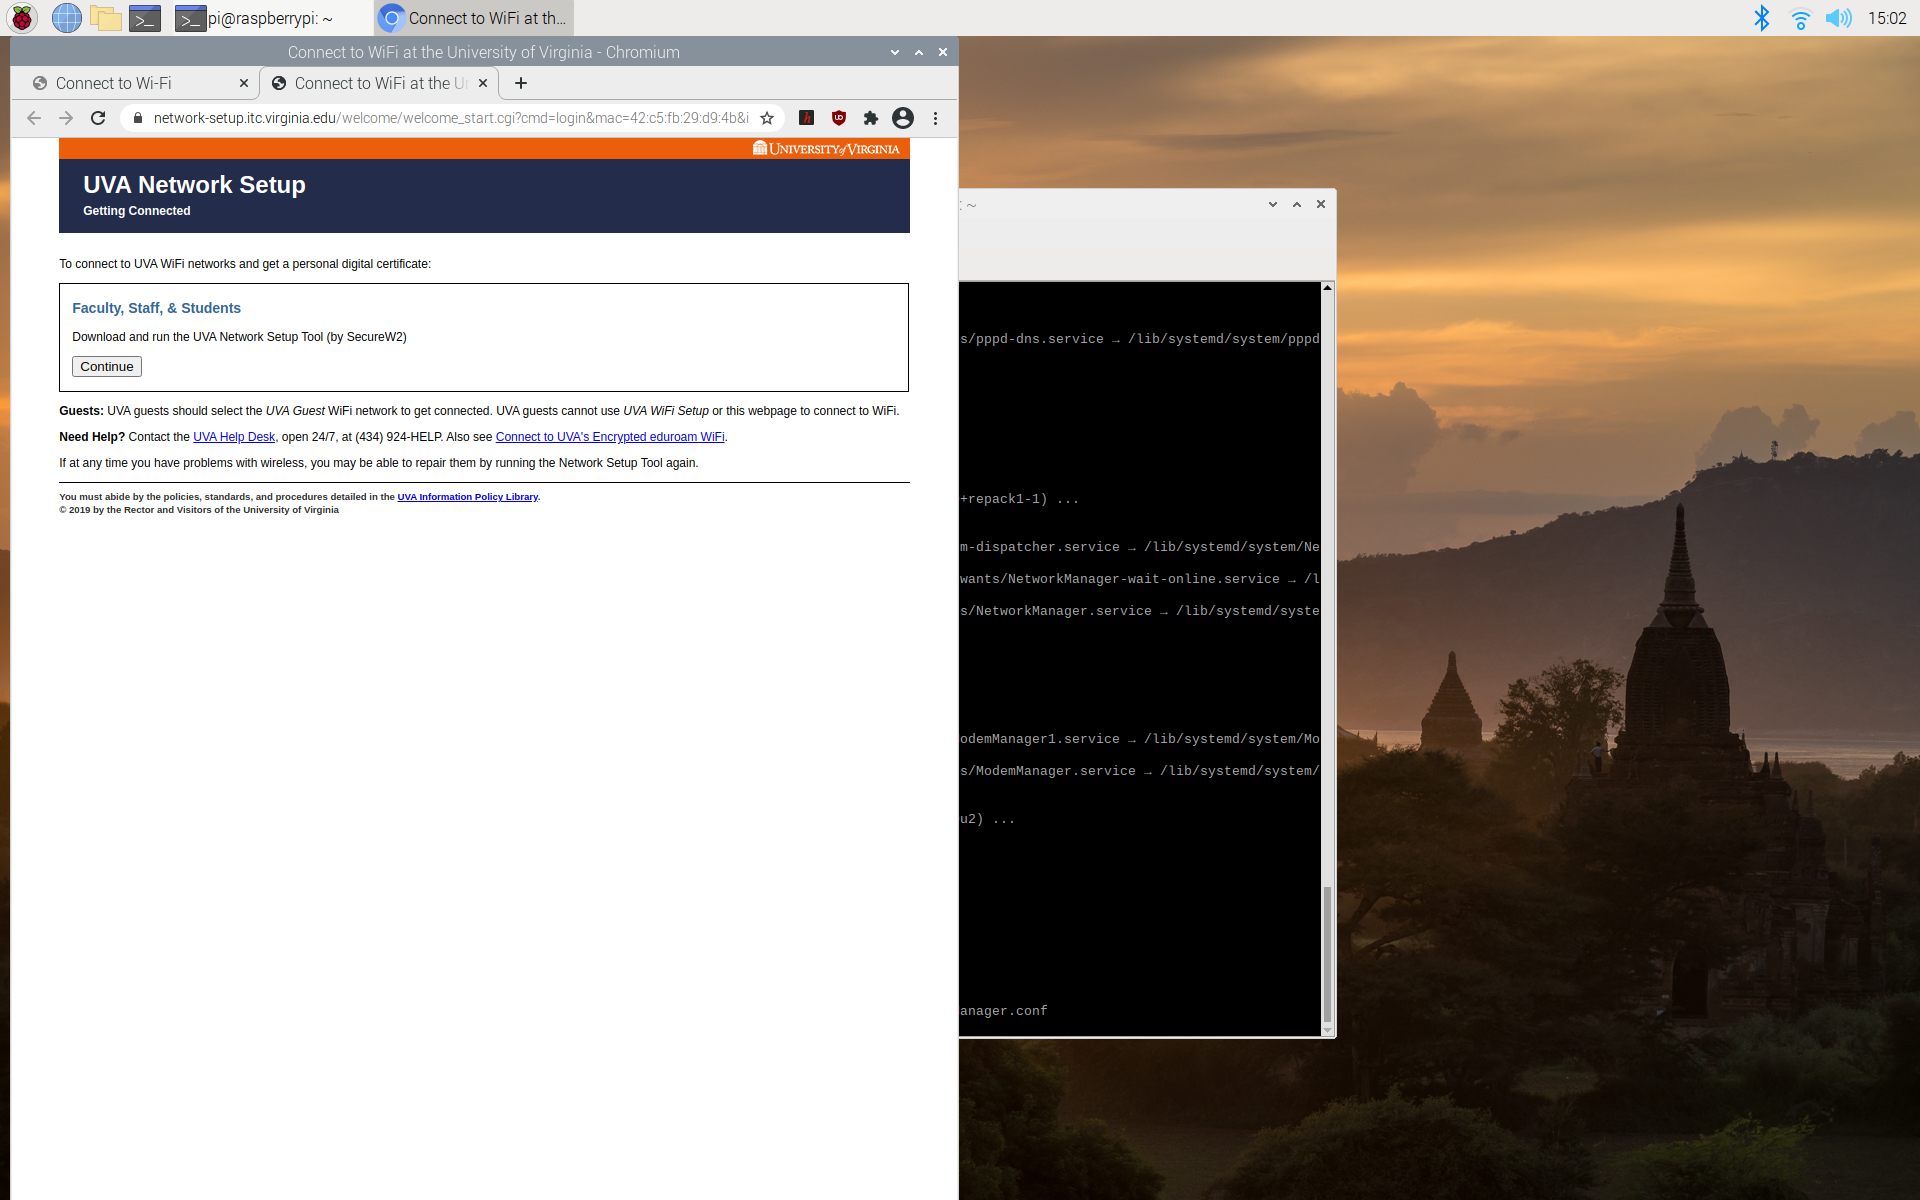
Then browse to this site in a browser https://cloud.securew2.com/public/82116/limited/.
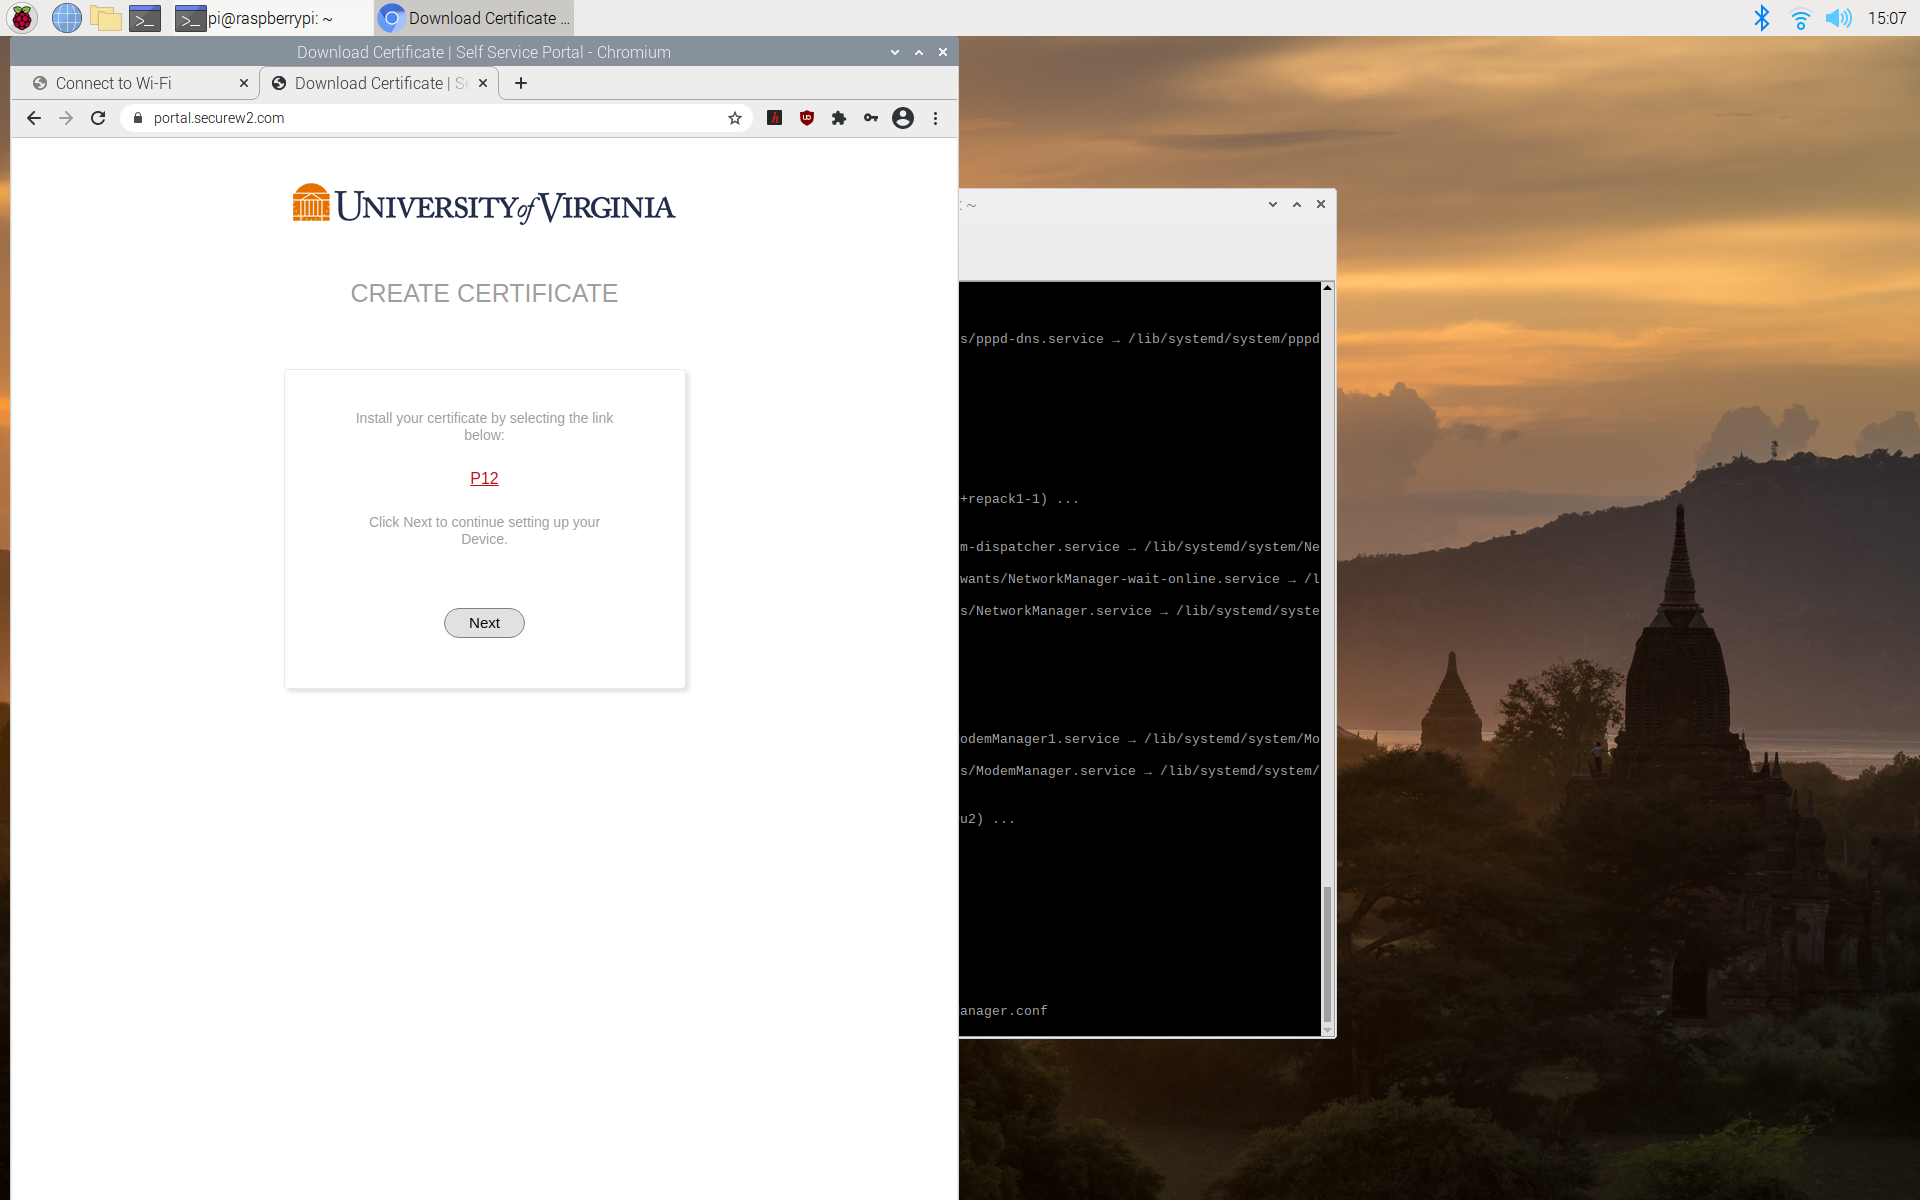
Next, follow the steps to generate and download a personal certificate.
- Click the button to continue.
- Click the Sign In button
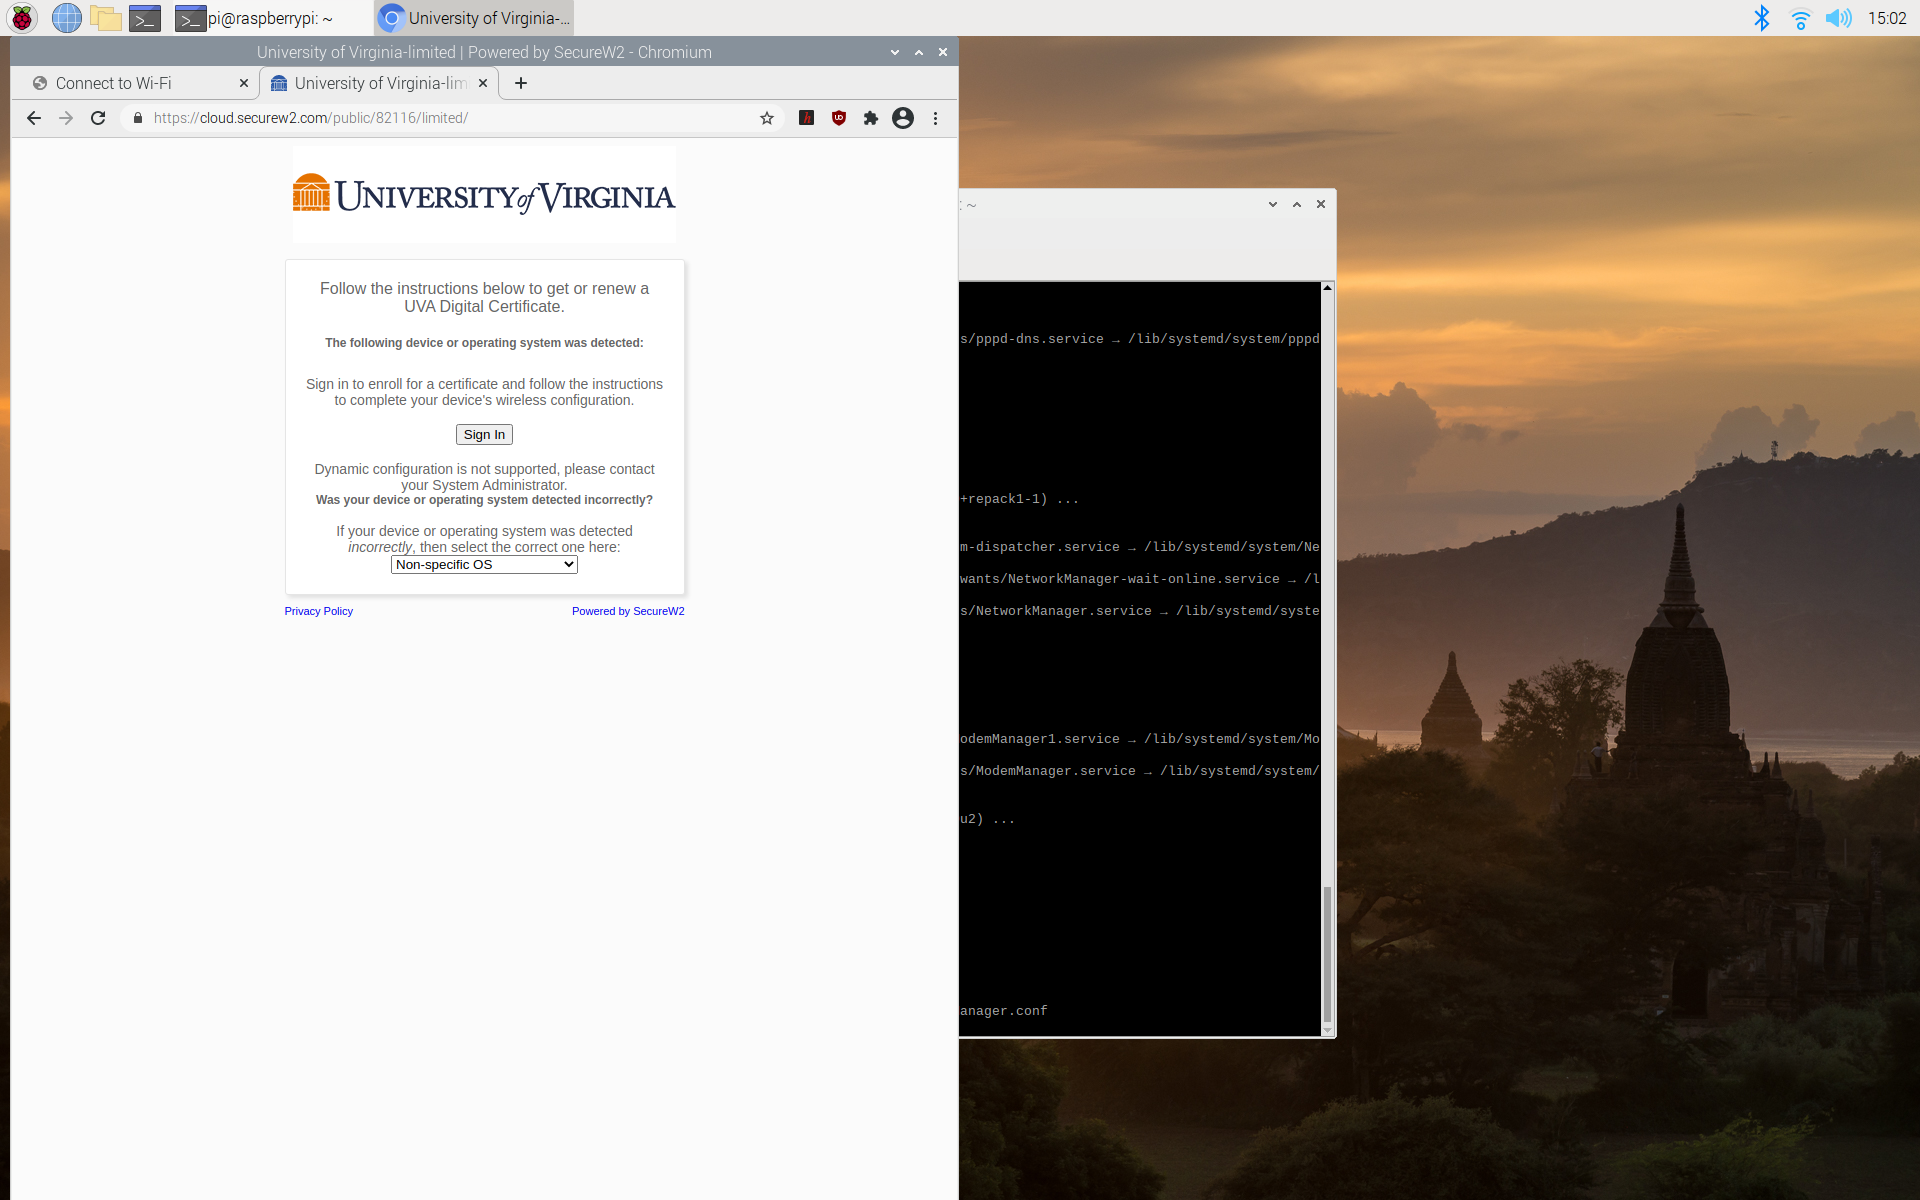
- Sign in with computing ID and password
- Add a User Description, something like (Your Name Raspberry Pi) You don’t need to fill in the MAC Address. Just click the Create button.

- Enter a passphrase. You’ll need to remember this! Then hit the Submit button

- Click the P12 link to download the certificate to your Downloads directory.
You’ll want to keep this secret. Follow the advise to save the certificate in a hidden directory and change permissions so only your user can access it.
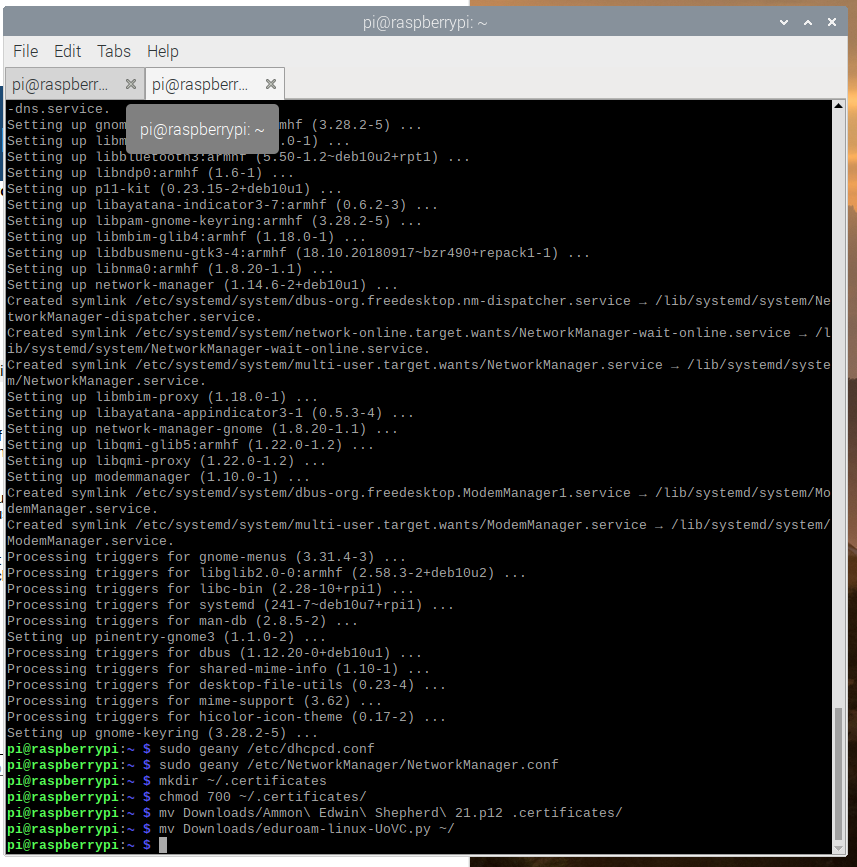
In the terminal type the following. This creates a ‘hidden’ folder in your home directory.
mkdir ~/.certificates
chmod 700 ~/.certificates
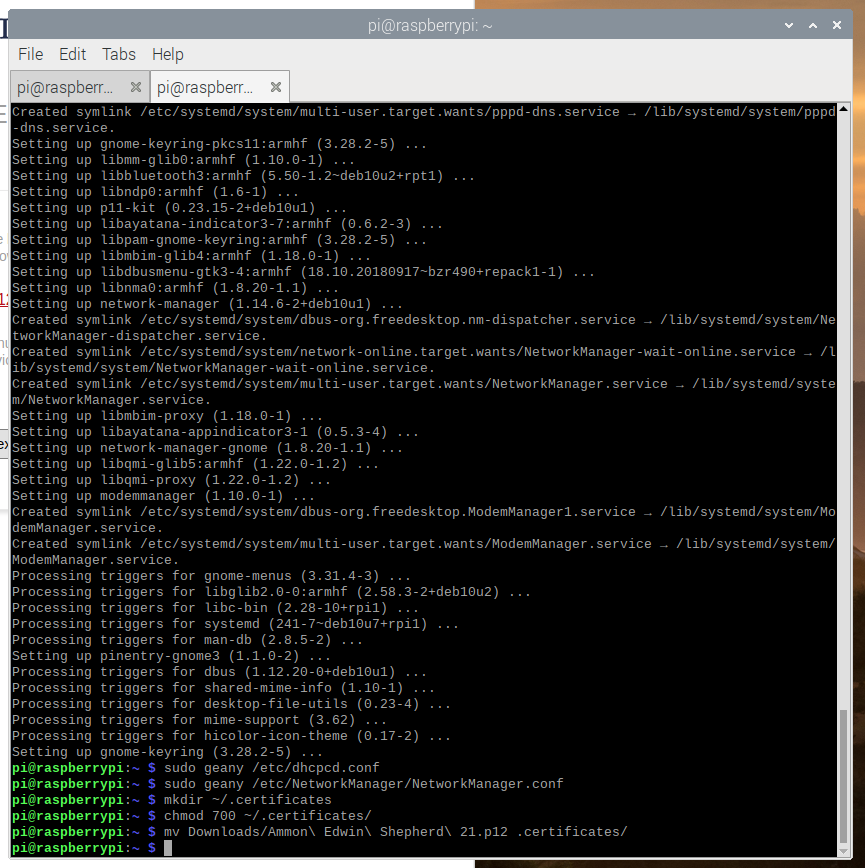
Move the certificate you downloaded from the Downloads folder to the .certificates folder.
Run the eduroam set up tool
For this step, reconnect the Raspberry Pi to the hotspot, or other option for connecting to the internet.
Now, follow this reddit guide to install some needed files for eduroam. The tool is created by Eduroam and specific for connecting to UVA’s eduroam on the main campus in Charlottesville.
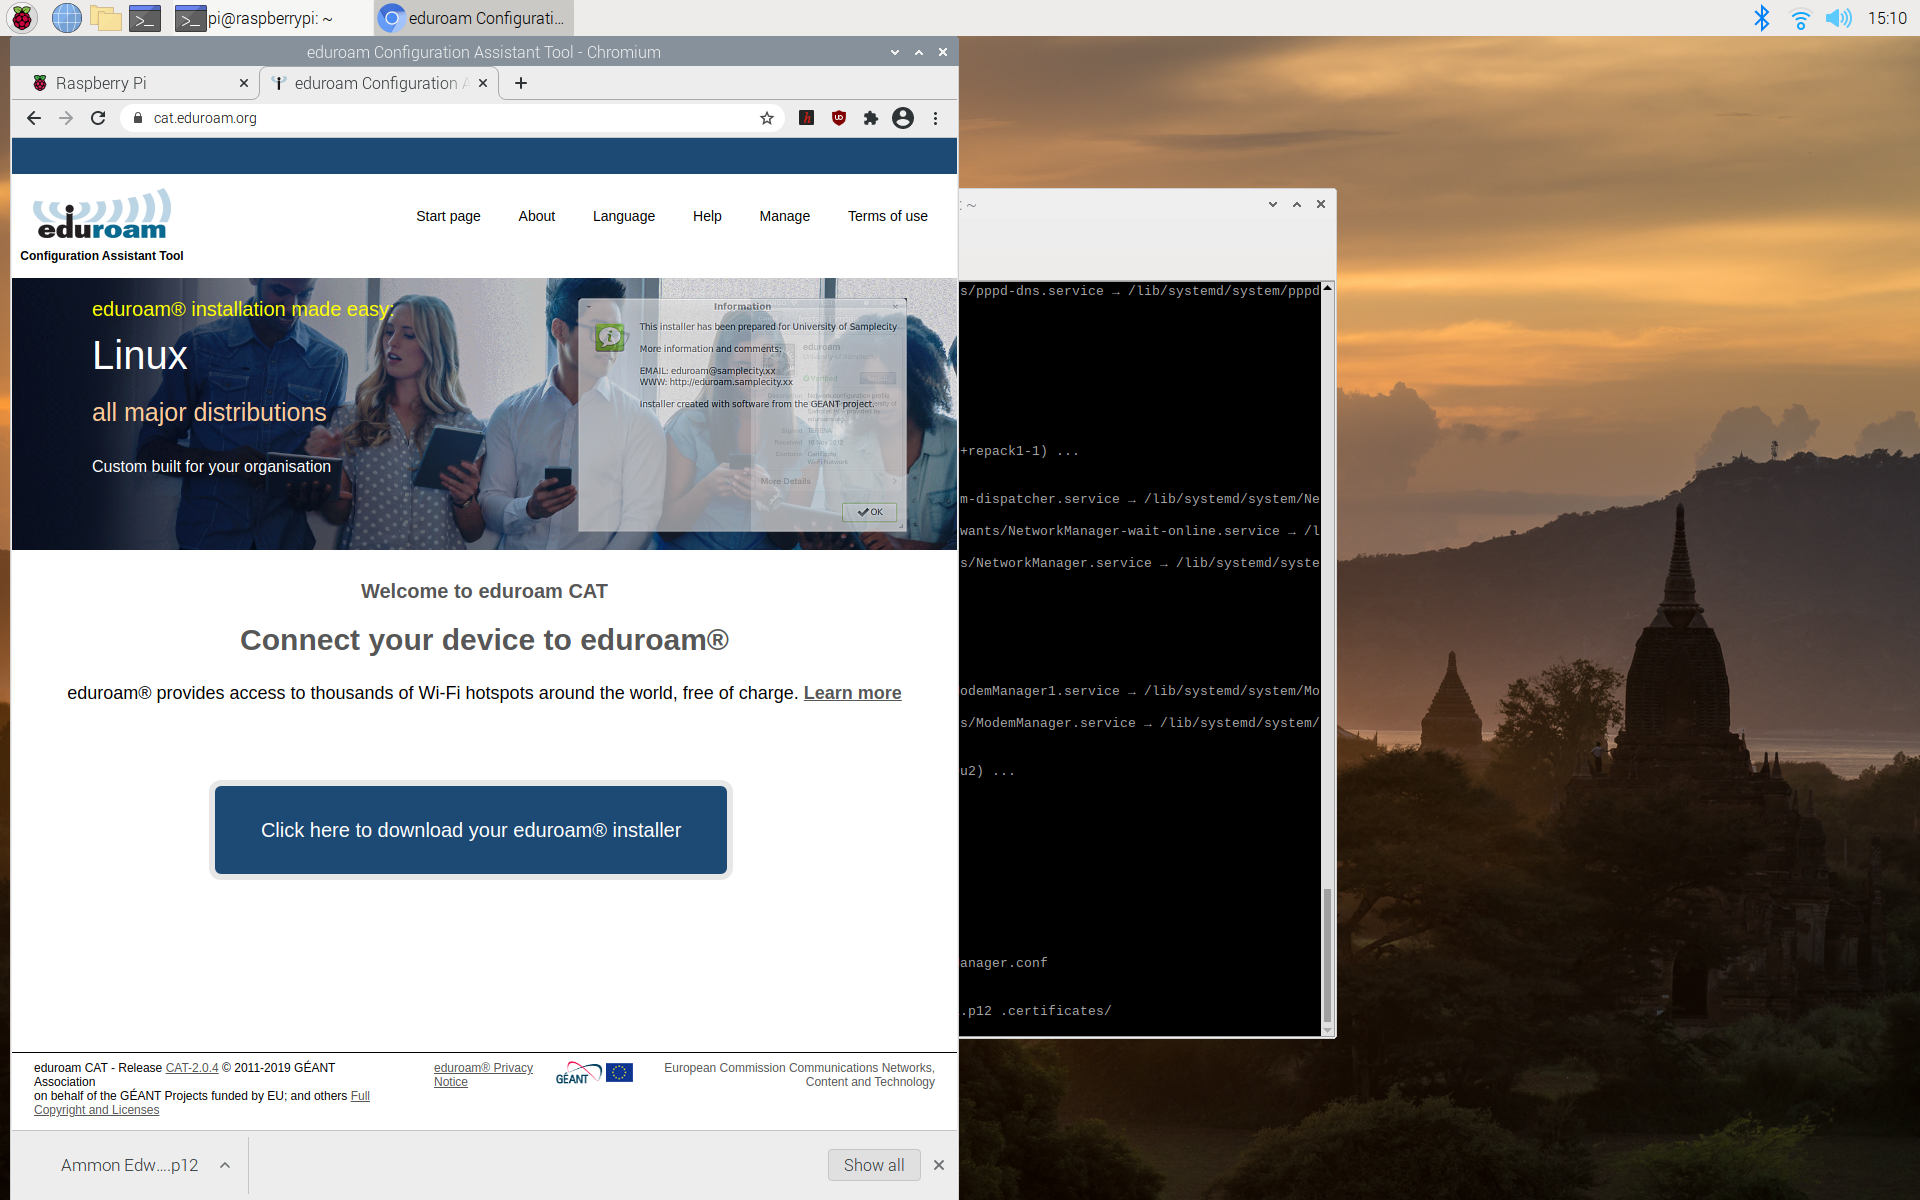
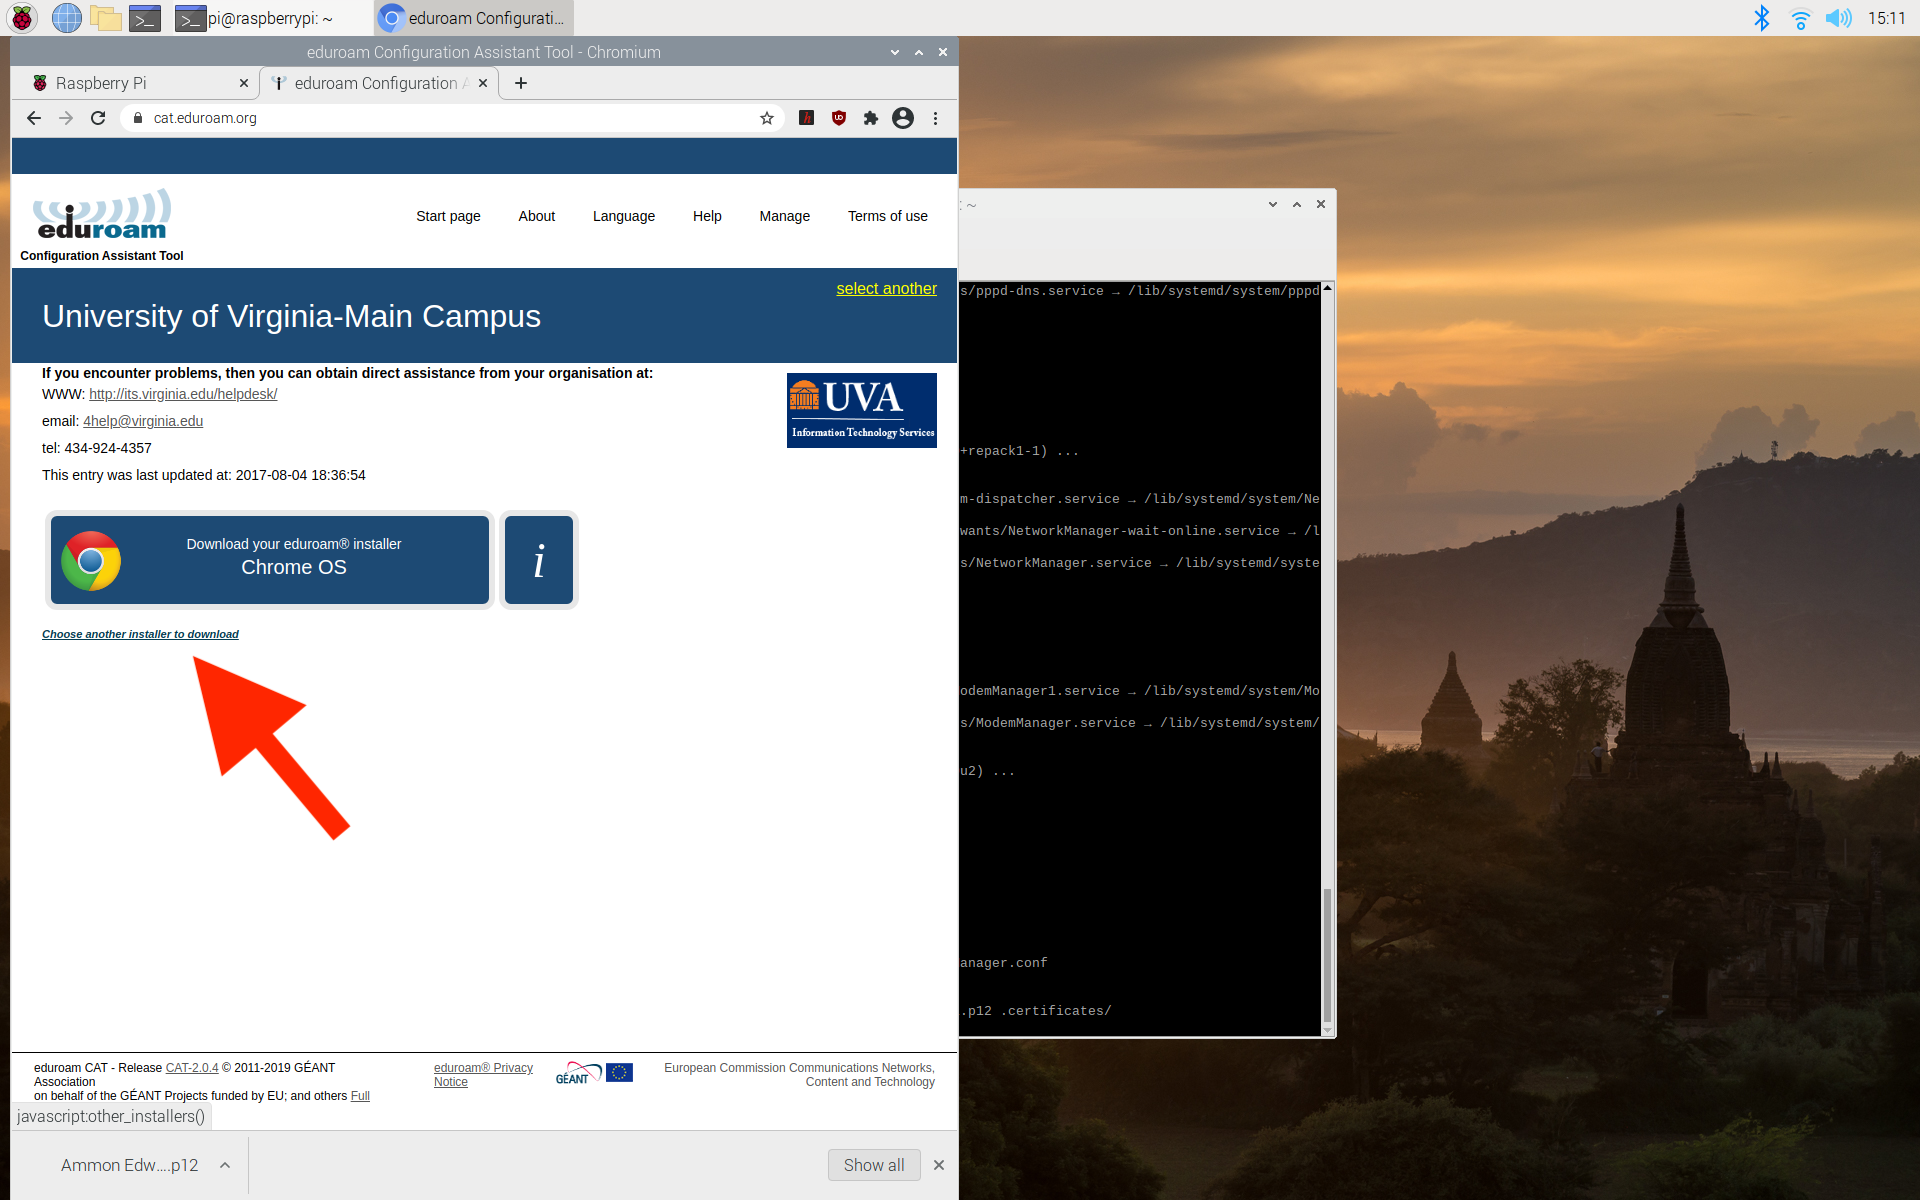
Download the tool by browsing to https://cat.eduroam.org/ in a browser on your Raspberry Pi.
- Click the button to download the eduroam installer.
- Select the option of “University of Virginia-Main Campus”.

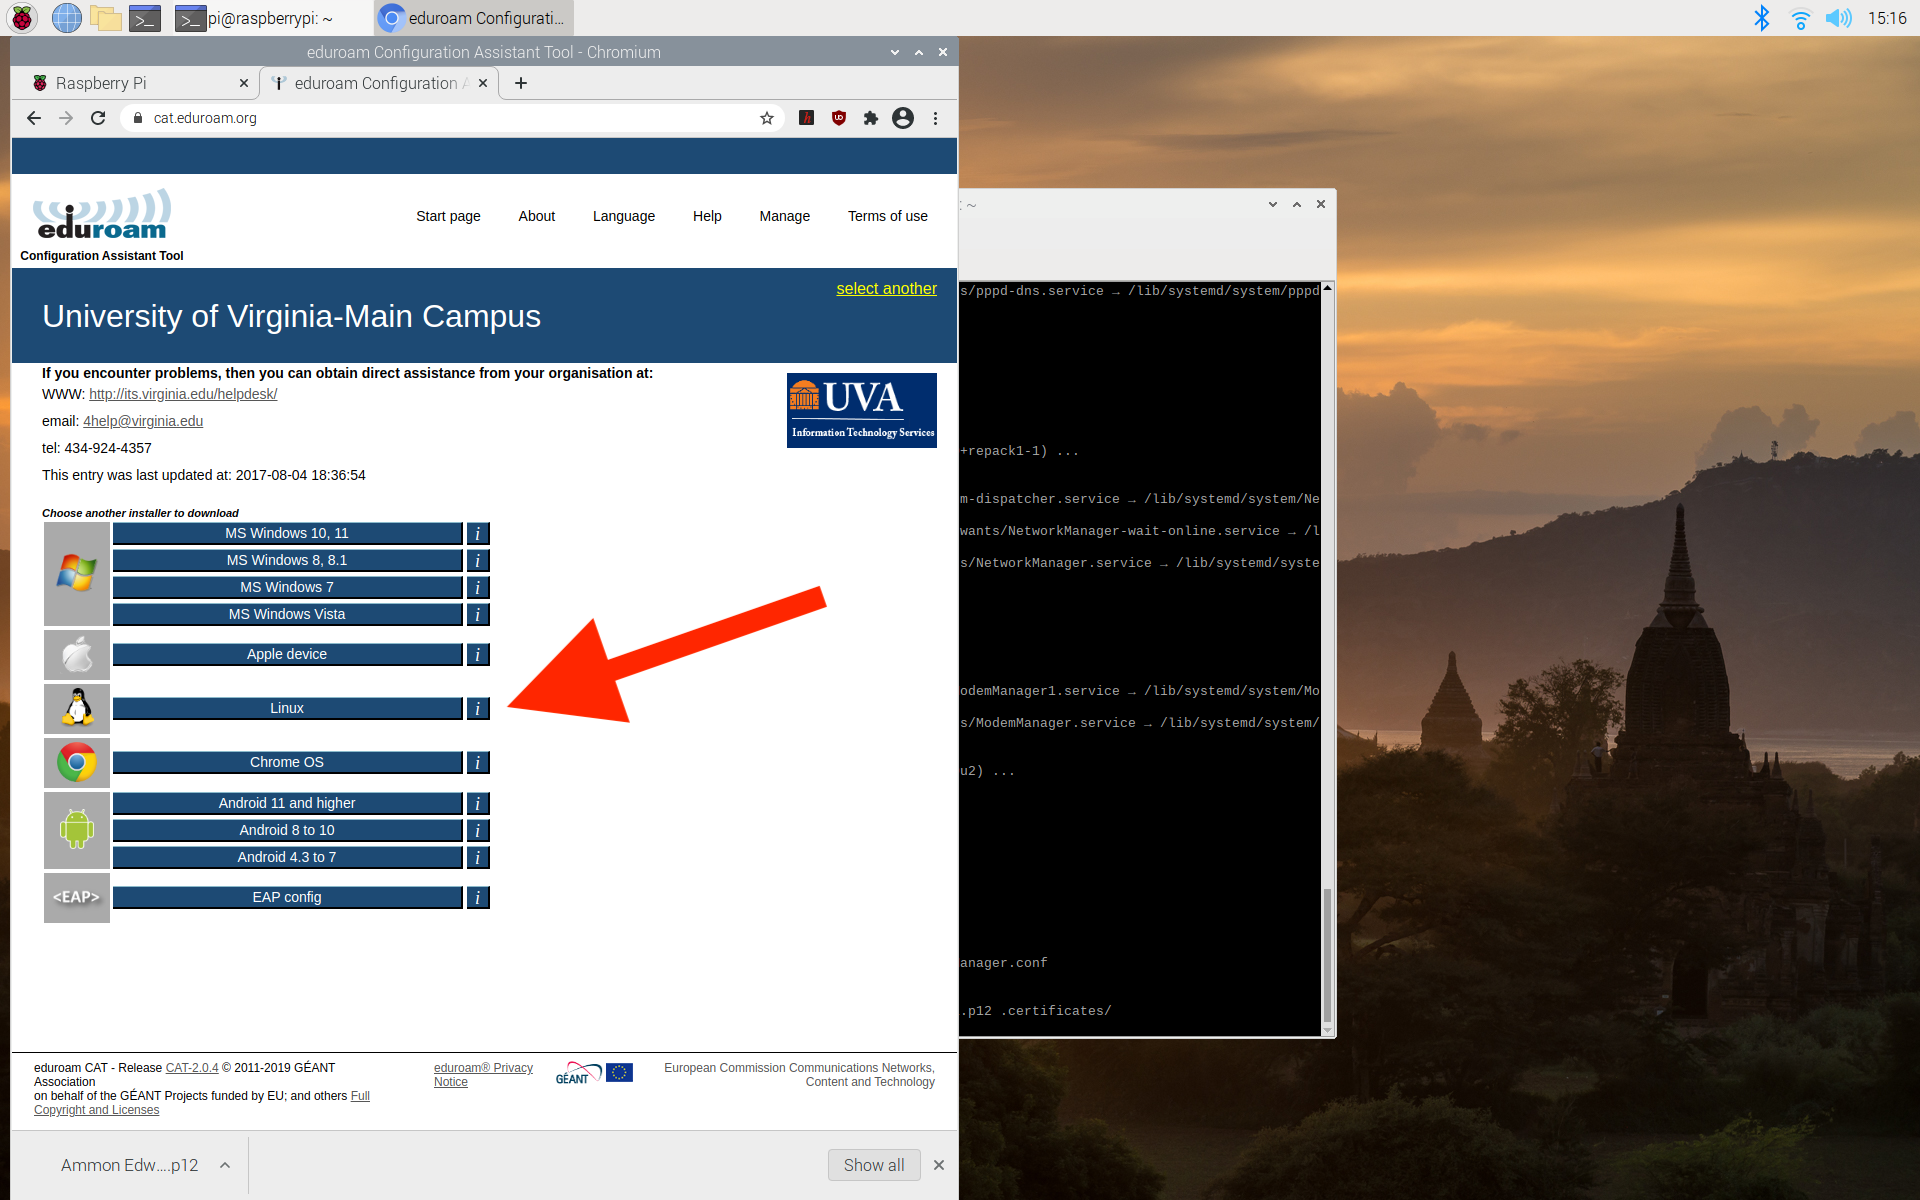
- Click the link to “Choose another installer to download”.
- On this next screen, click the Linux button.
The browser will prompt you to Keep or Discard the file. Click Keep.
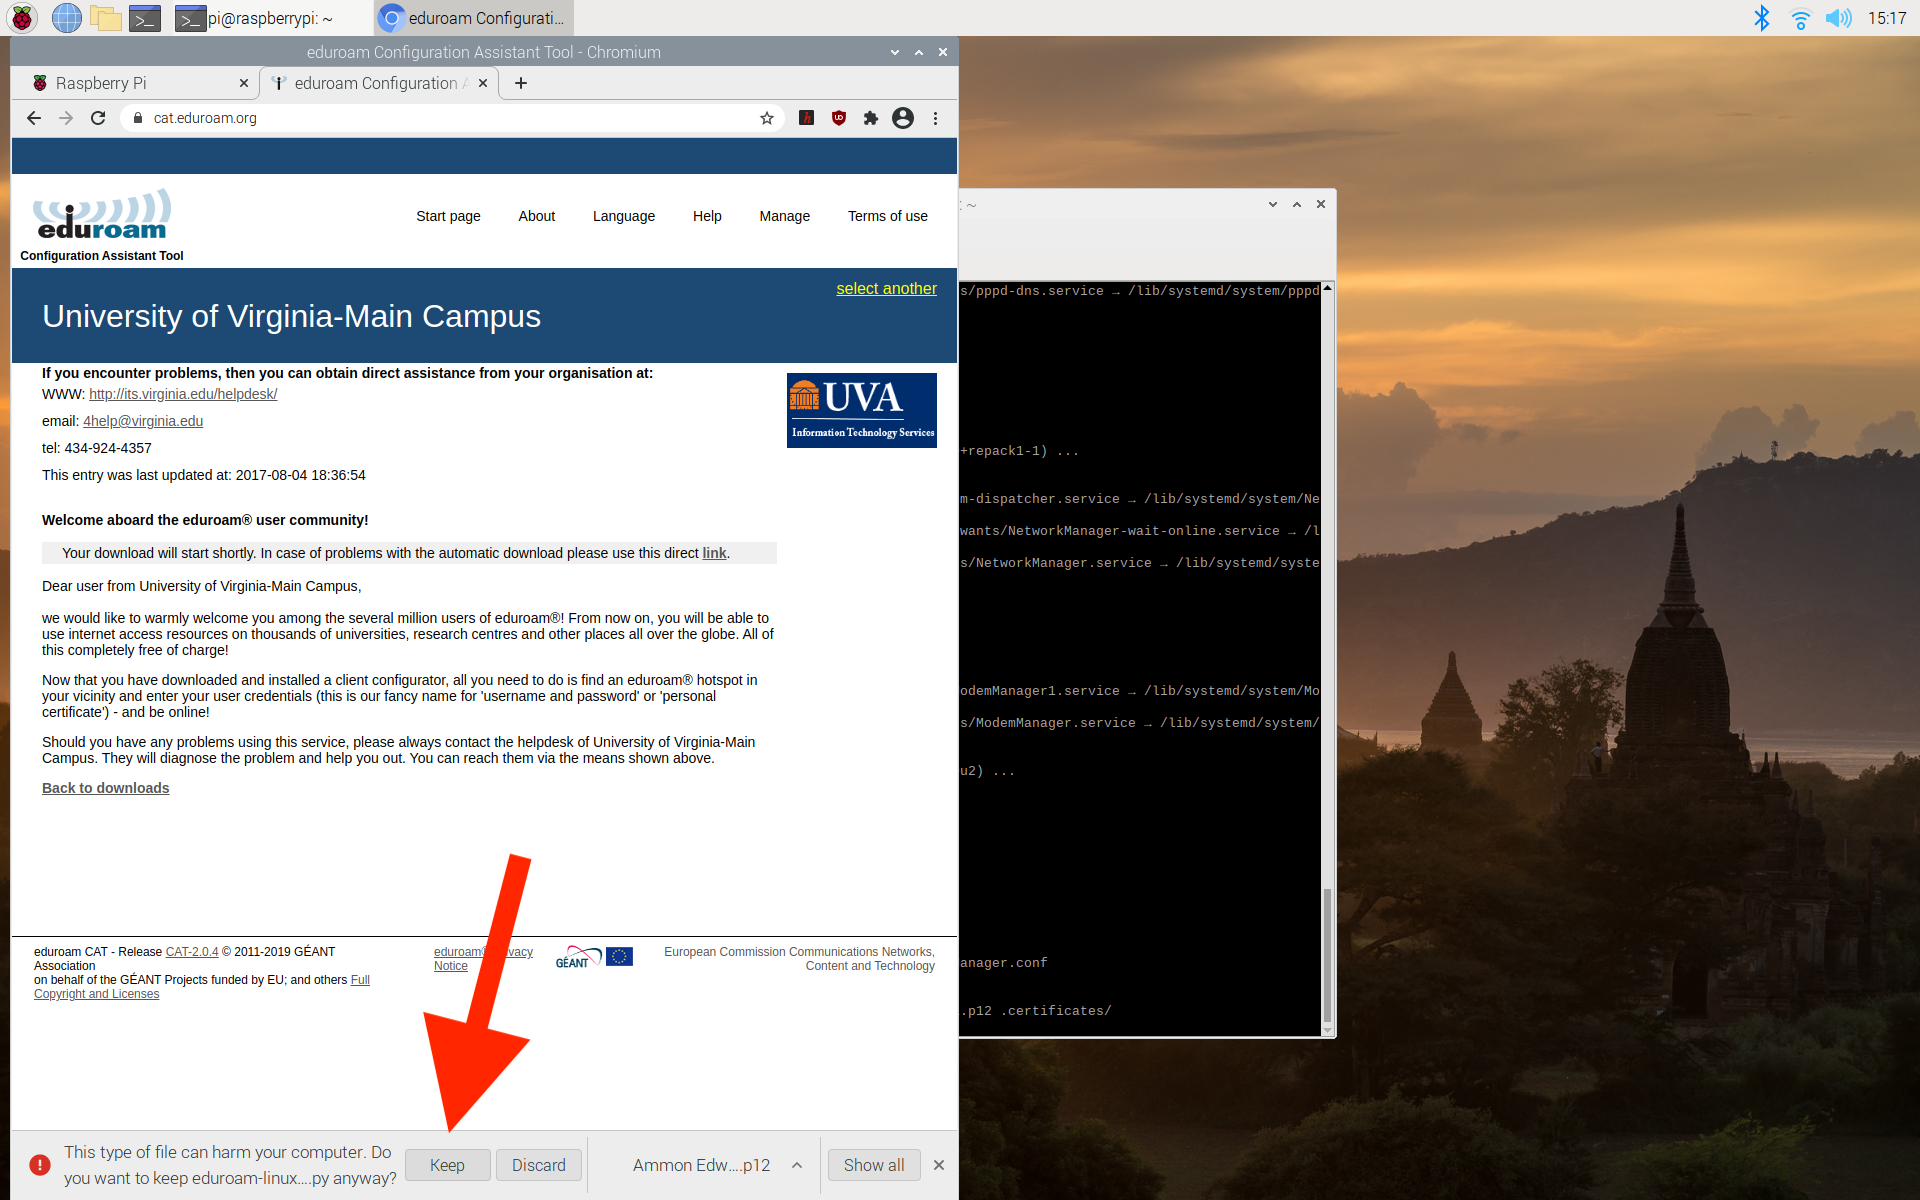
Make note of where you download this file. By default it downloads to the Downloads folder in your home directory.
Move the file to your home directory. You can use the file explorer GUI, or the terminal to do this.
To move into the home directory on terminal type in cd in the terminal.
If you are in the home directory in terminal, type:
mv Downloads/eduroam-linux-UoVC.py ~/
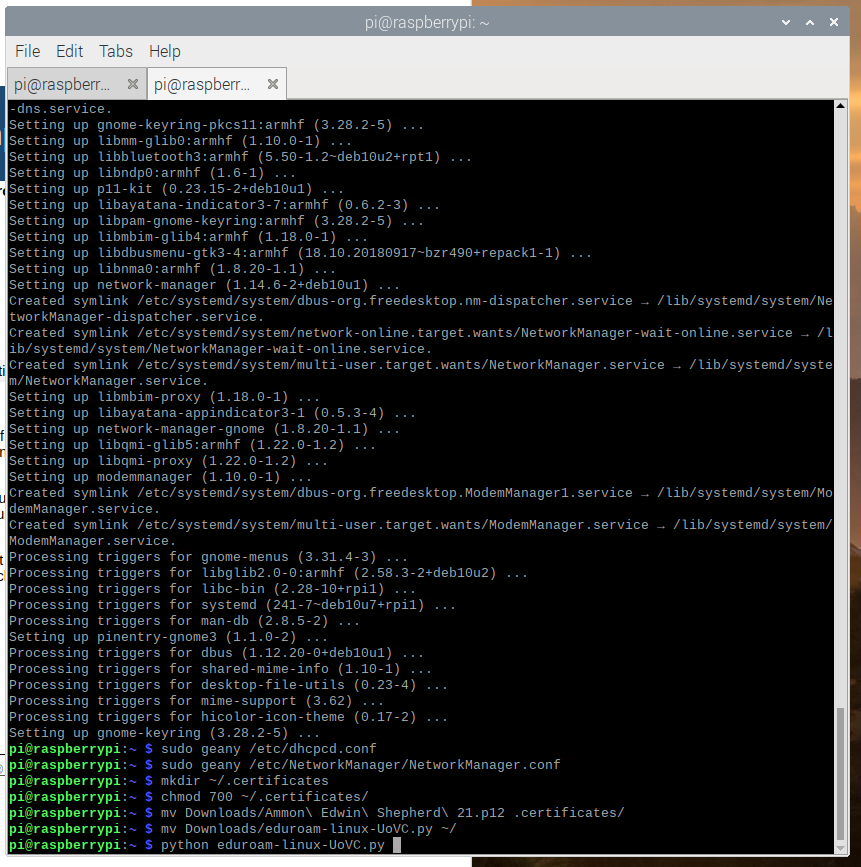
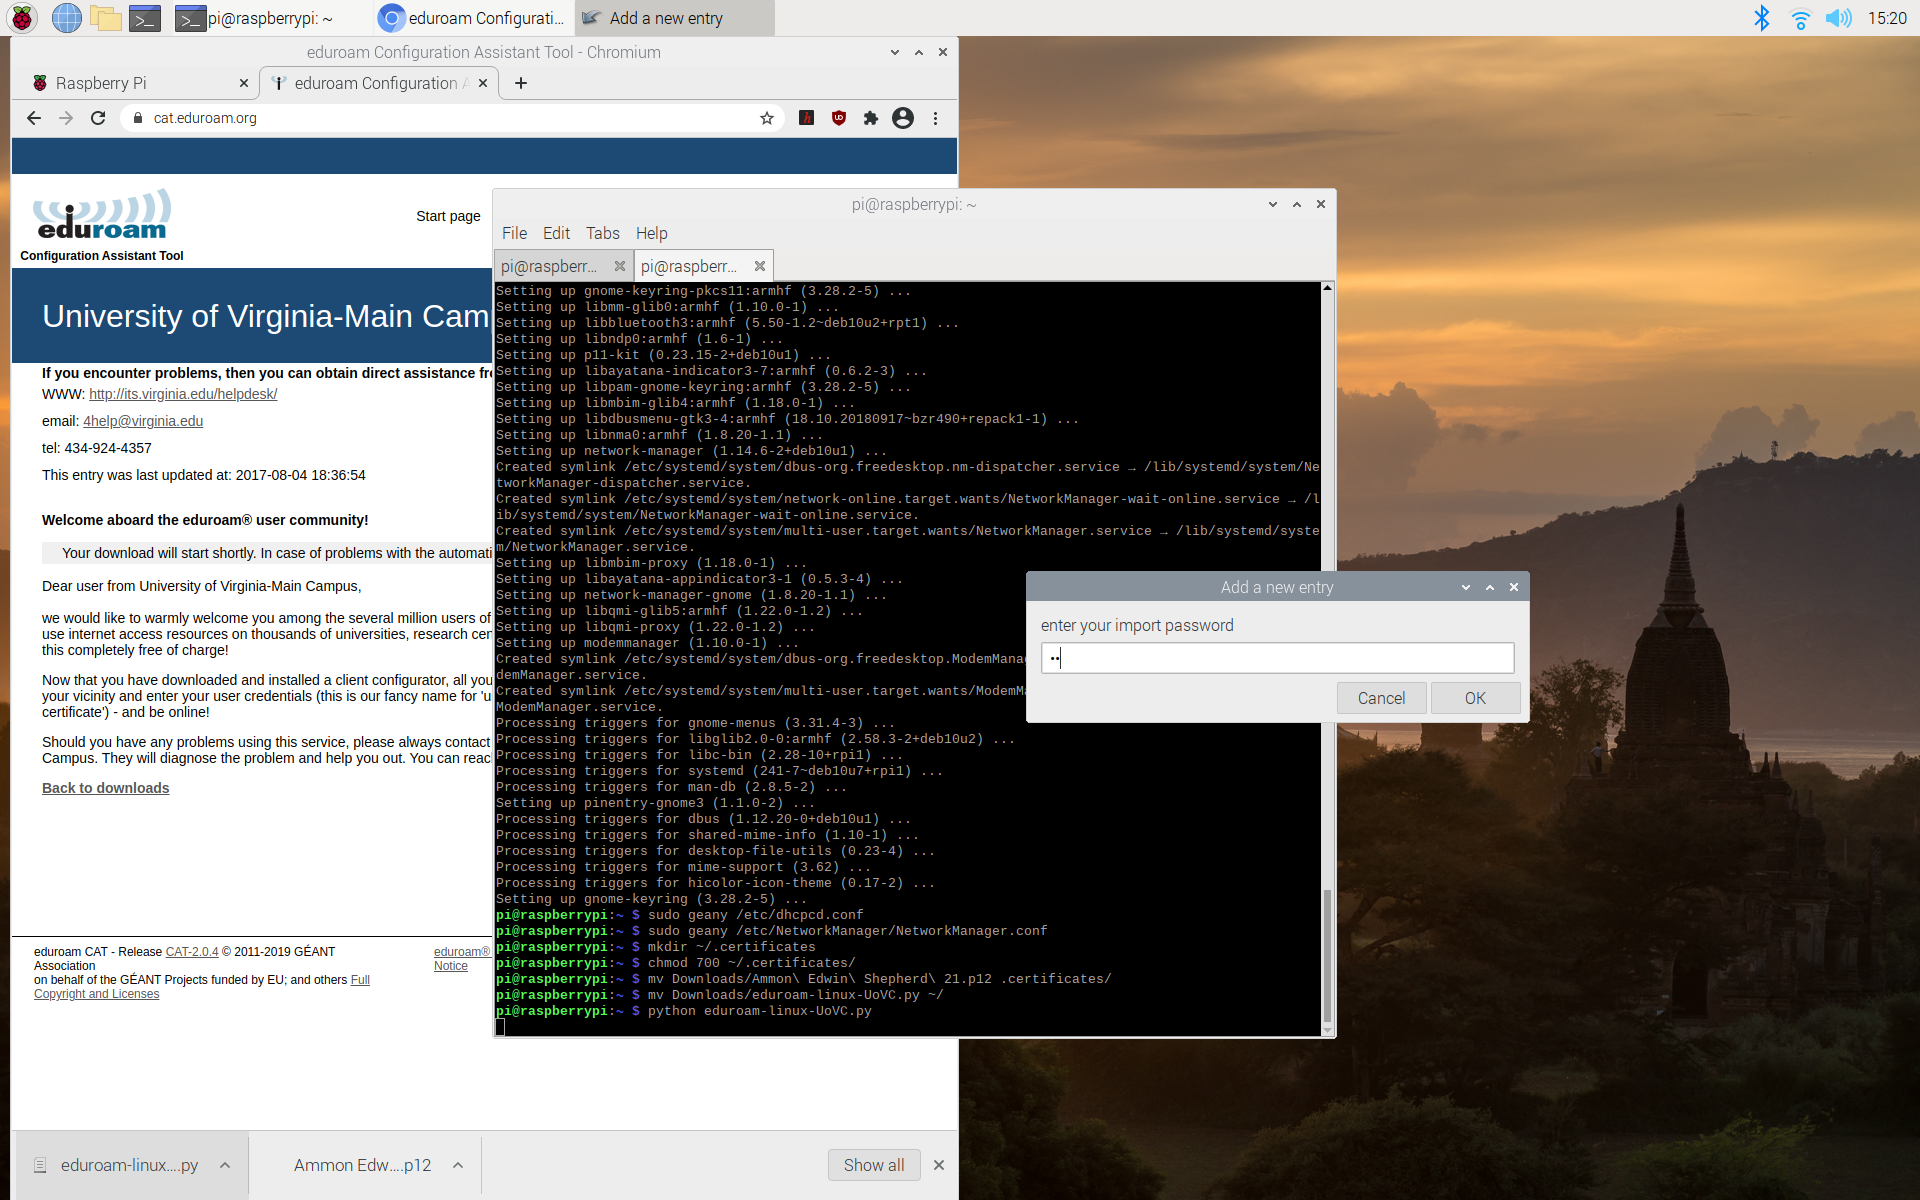
Now, in the terminal, you can run the script
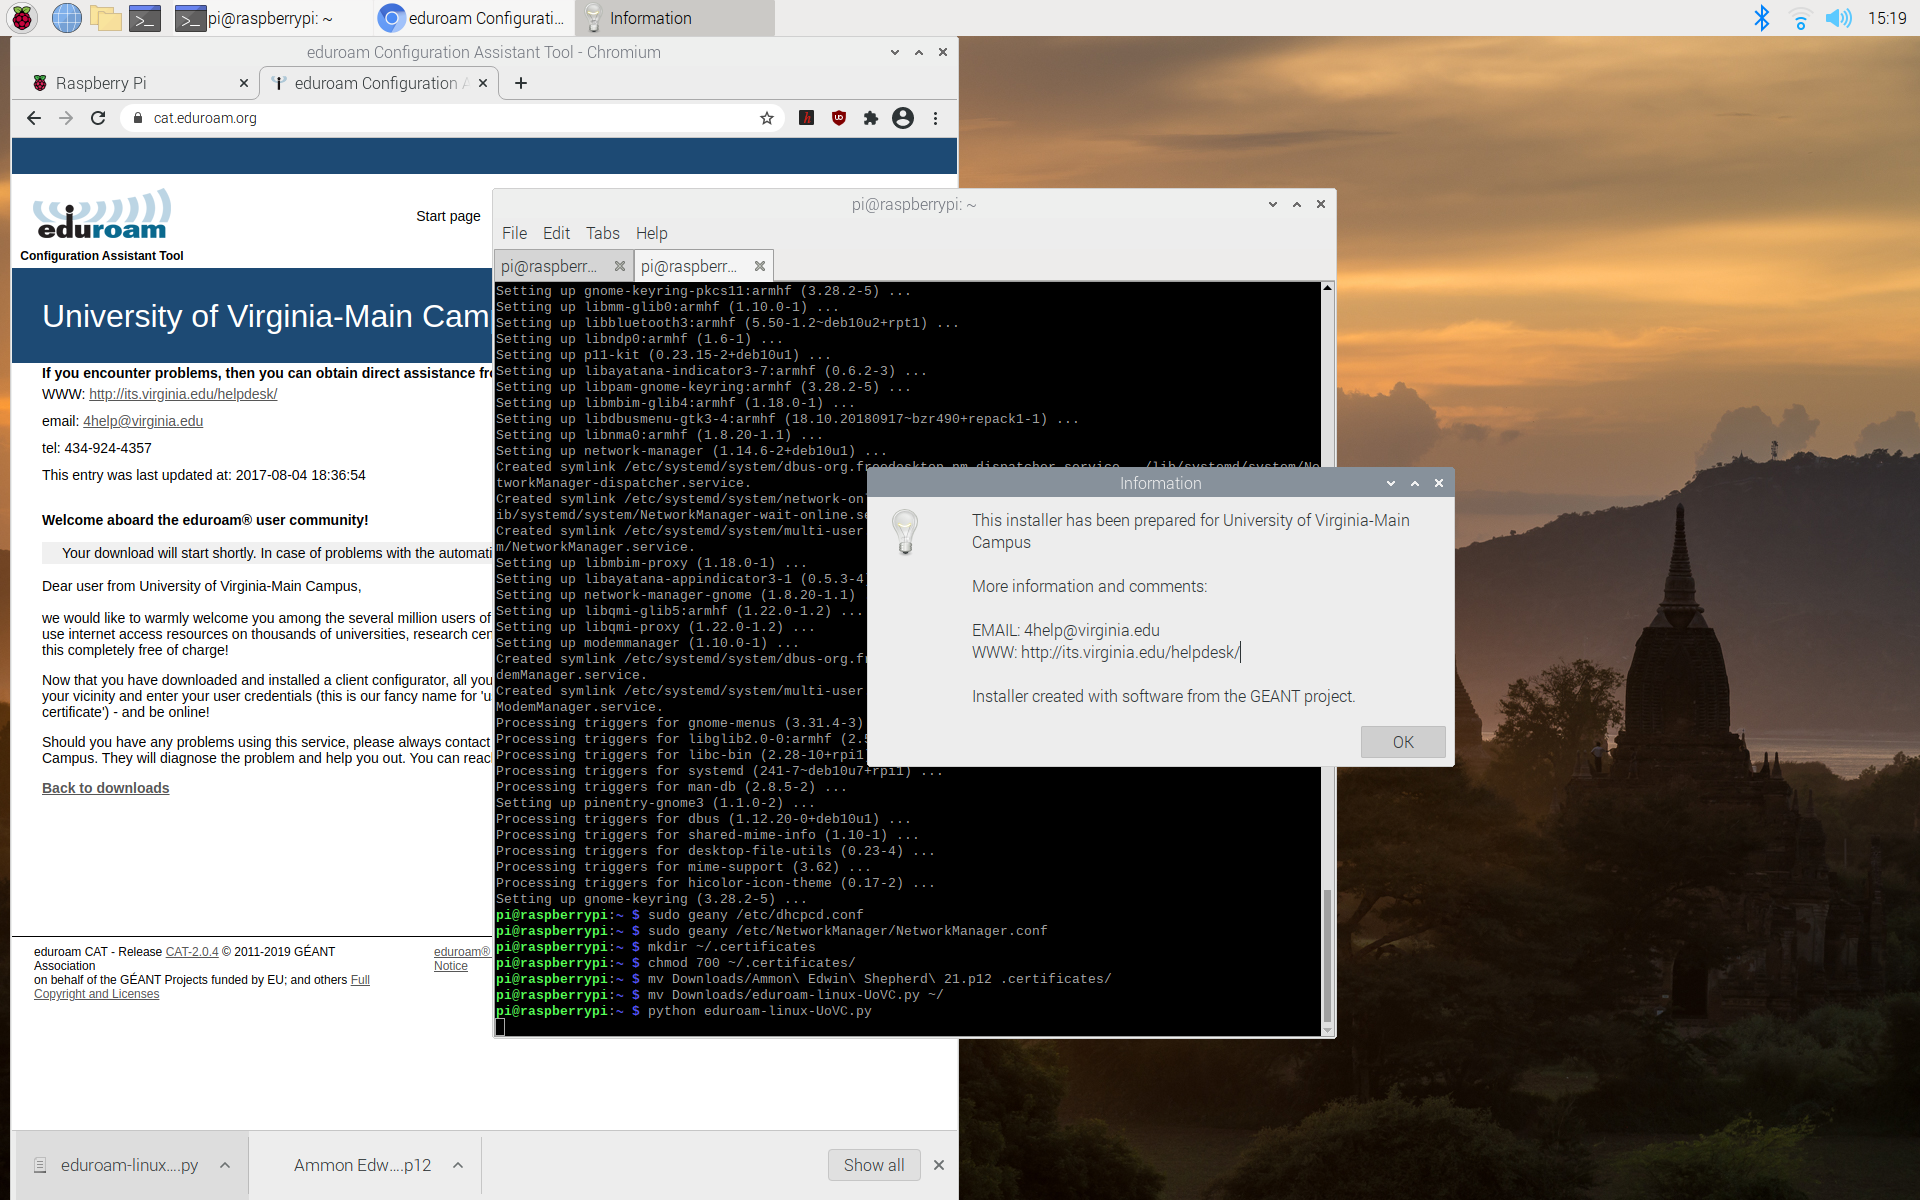
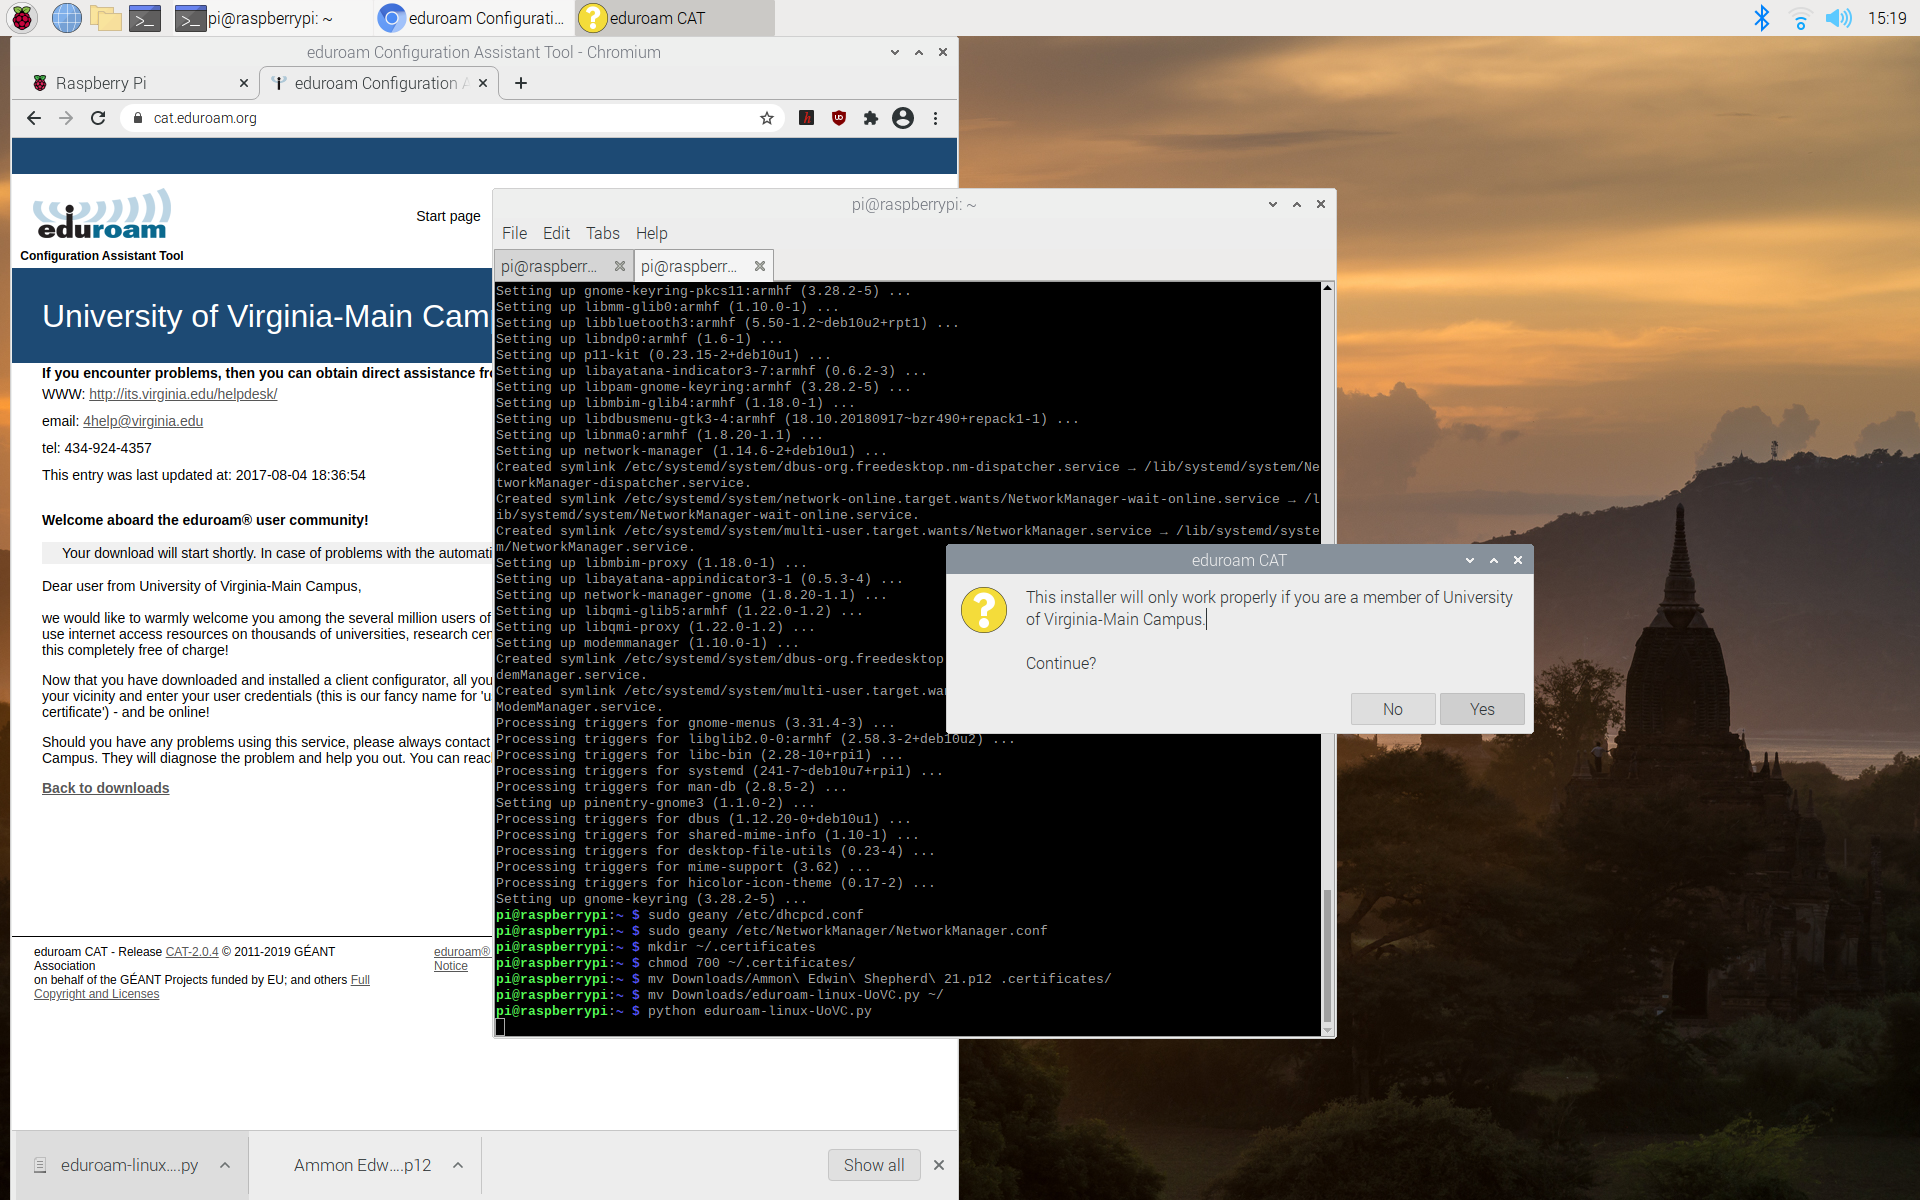
python eduroam-linux-UoVC.py
Accept all of the prompts.
You’ll need to allow the finder to show hidden files. Do this by right clicking anywhere in the screen and select the “Show Hidden Files” checkbox. Then browse to your certificate you downloaded and put in the .certificates folder.

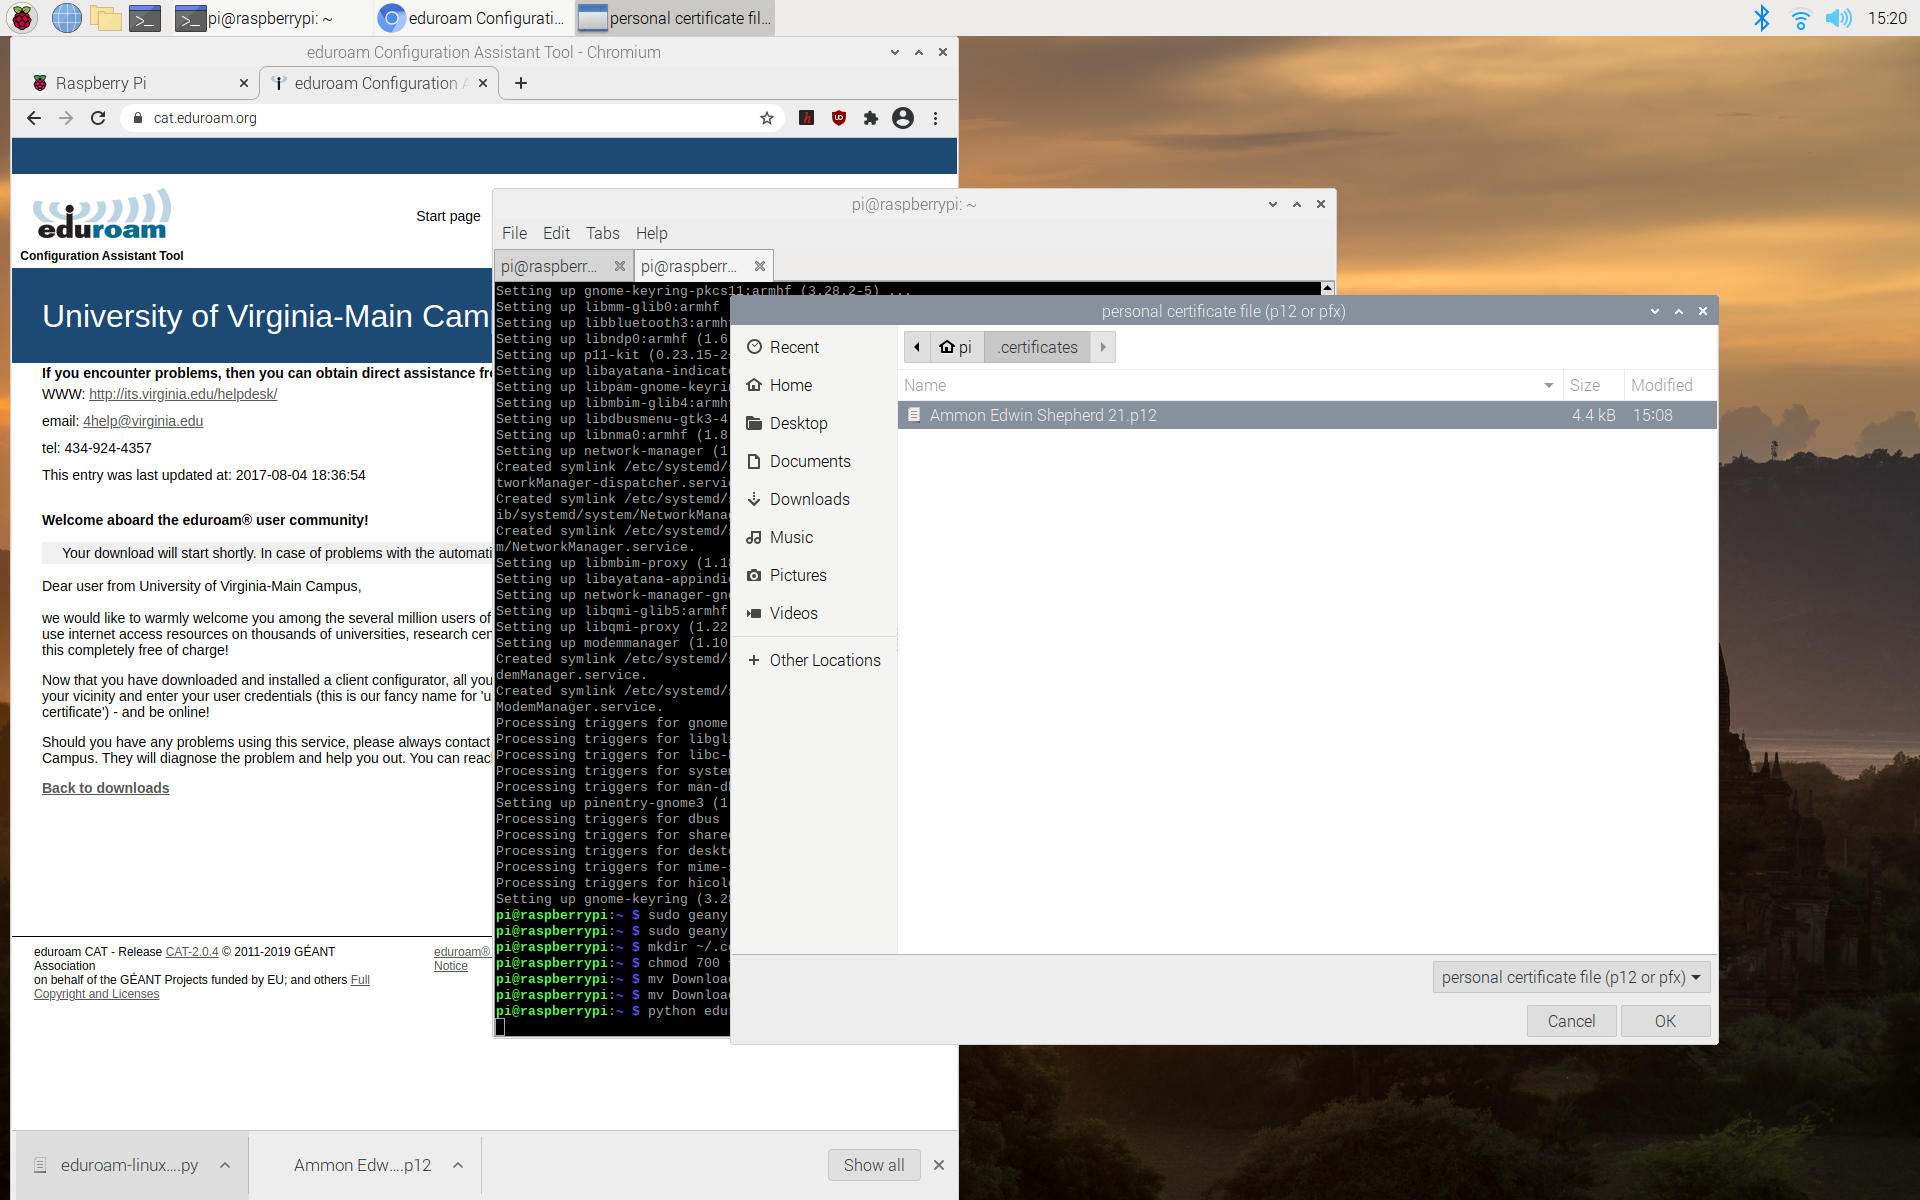
Enter your passphrase you used to create the certificate.
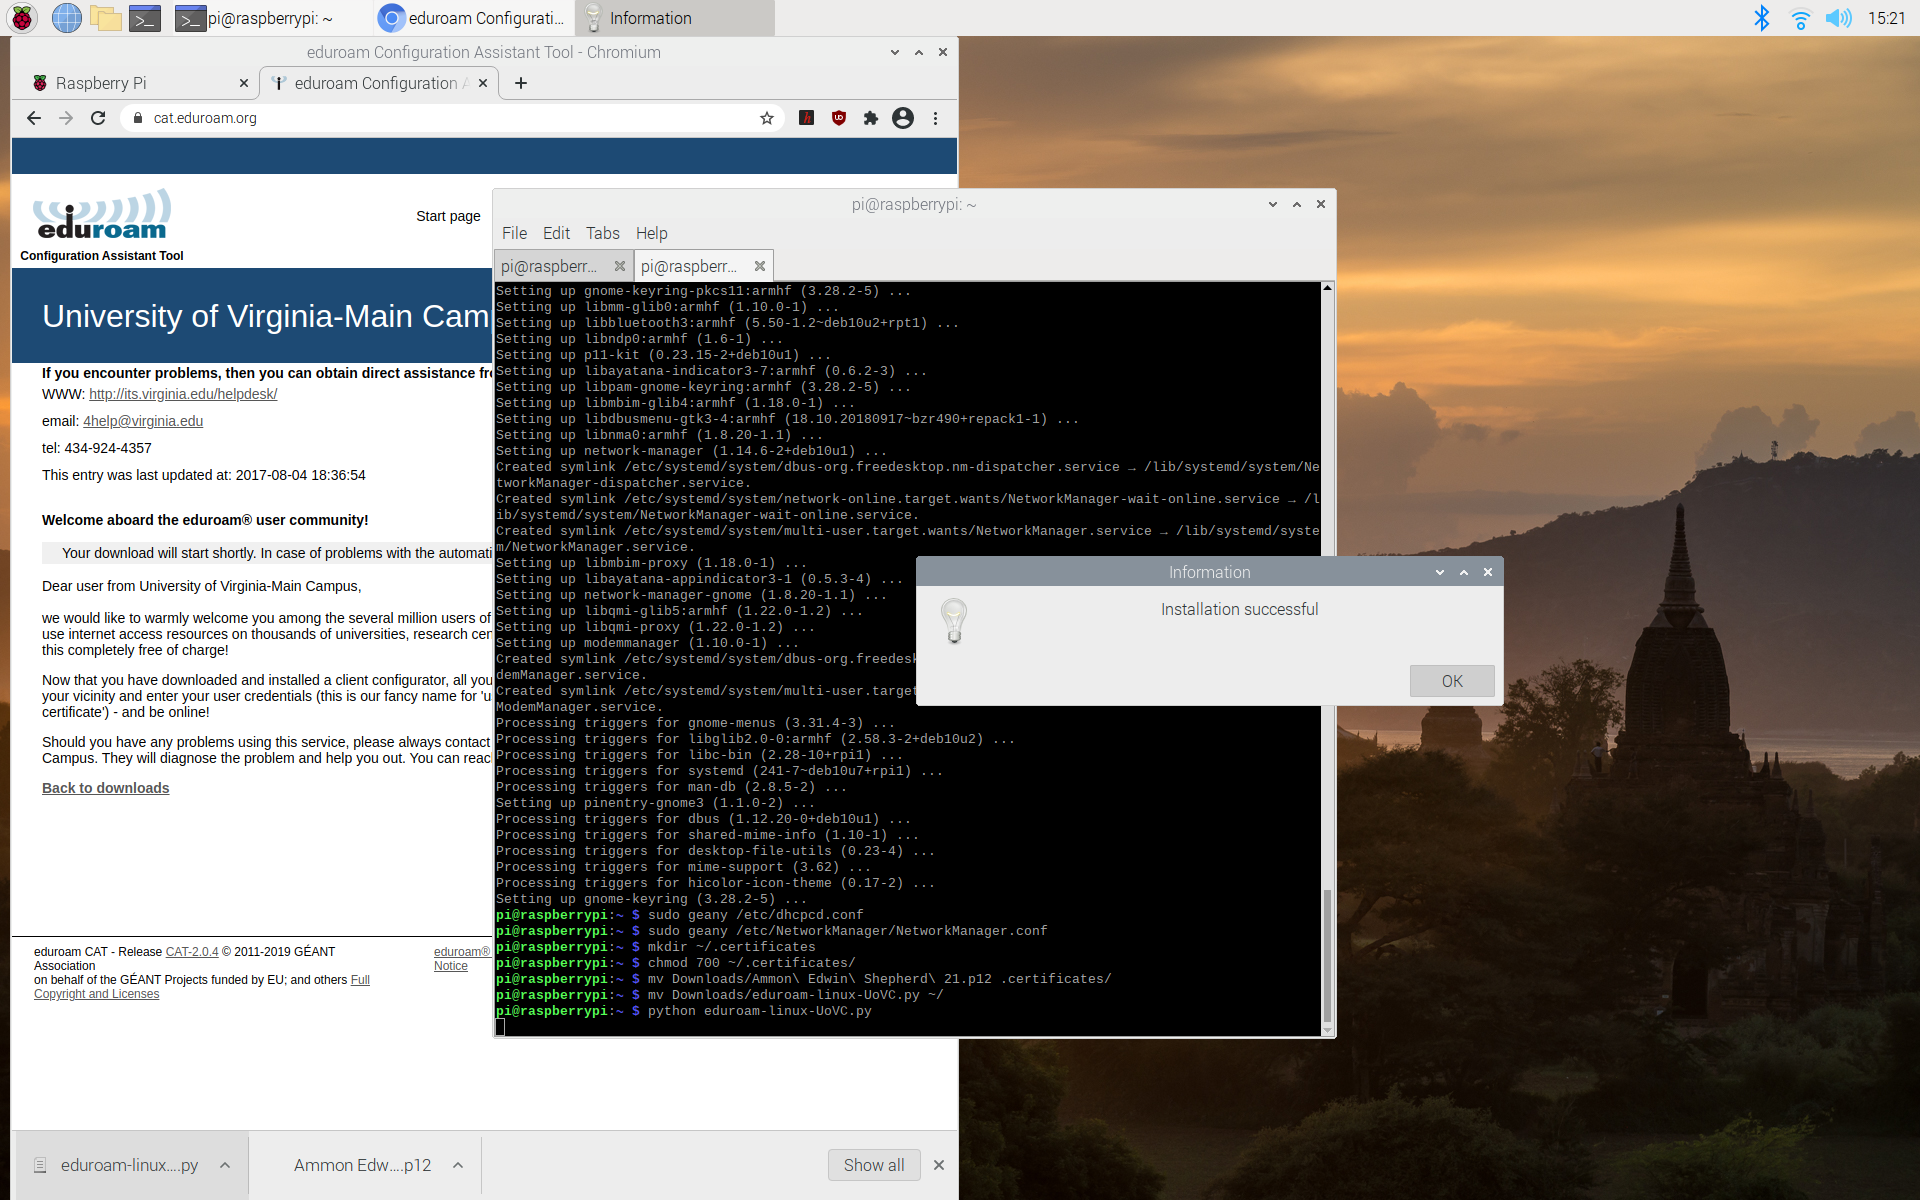
This process creates a ‘.cat_installer’ folder with two files in it. ca.pem and user.p12.
We’ll use the ca.pem file in the next step. The user.p12 file is unused.
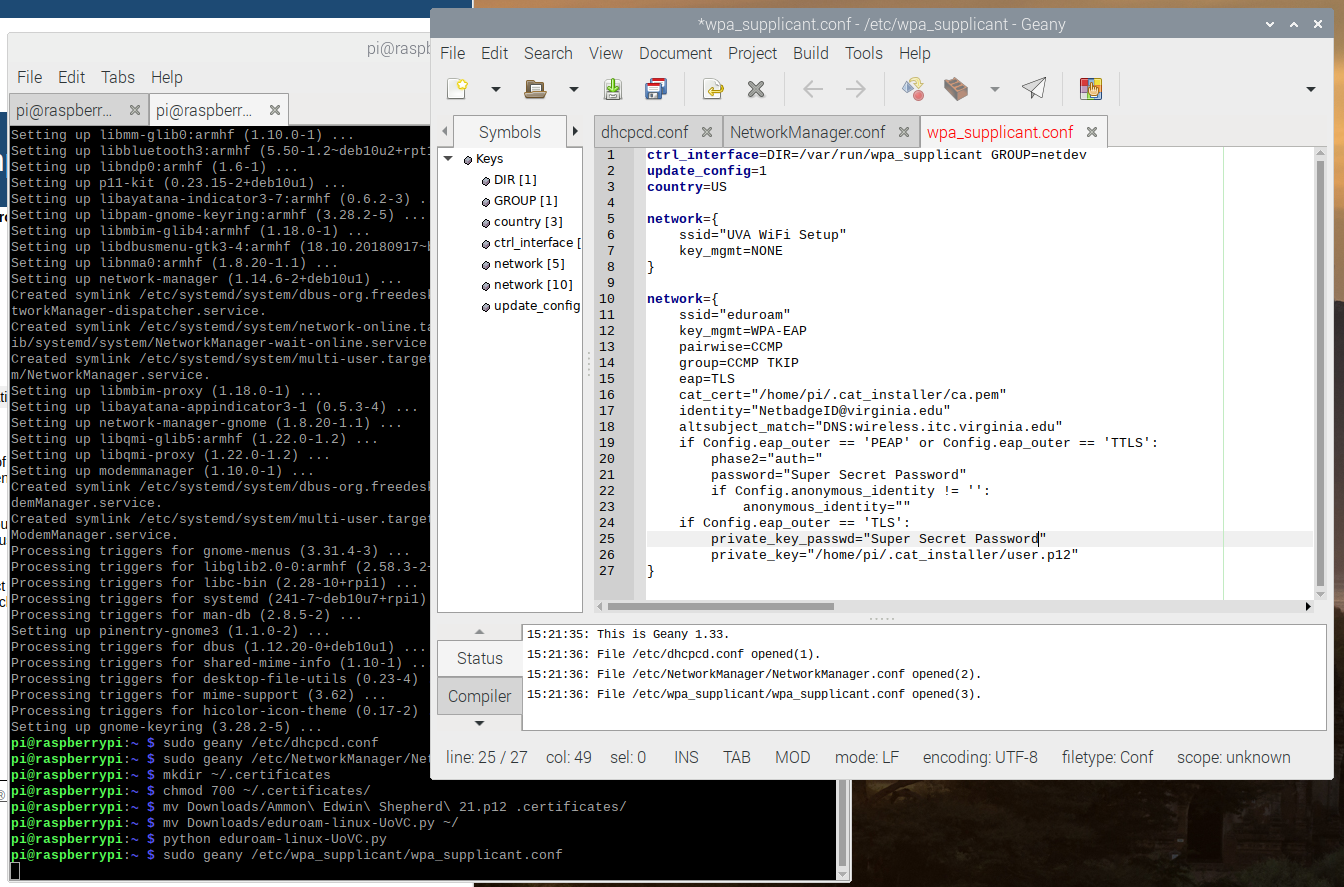
Edit the wpa_supplicant file
Next we’ll need to edit the wpa_supplicant file.
In the terminal, open the file
sudo geany /etc/wpa_supplicant/wpa_supplicant.conf
and add the content below to the bottom of the file.
network={
  ssid="eduroam"
  key_mgmt=WPA-EAP
  pairwise=CCMP
  group=CCMP TKIP
  eap=TLS
  cat_cert="/home/pi/.cat_installer/ca.pem"
  identity="YourComputingID@virginia.edu"
  altsubject_match="DNS:wireless.itc.virginia.edu"
  if Config.eap_outer == 'PEAP' or Config.eap_outer == 'TTLS':
    phase2="auth="
    password="Your passphrase here"
    if Config.anonymous_identity != '':
      anonymous_identity=""
  if Config.eap_outer == 'TLS':
    private_key_passwd="Your passphrase here"
    private_key="/home/pi/.cat_installer/user.p12"
}
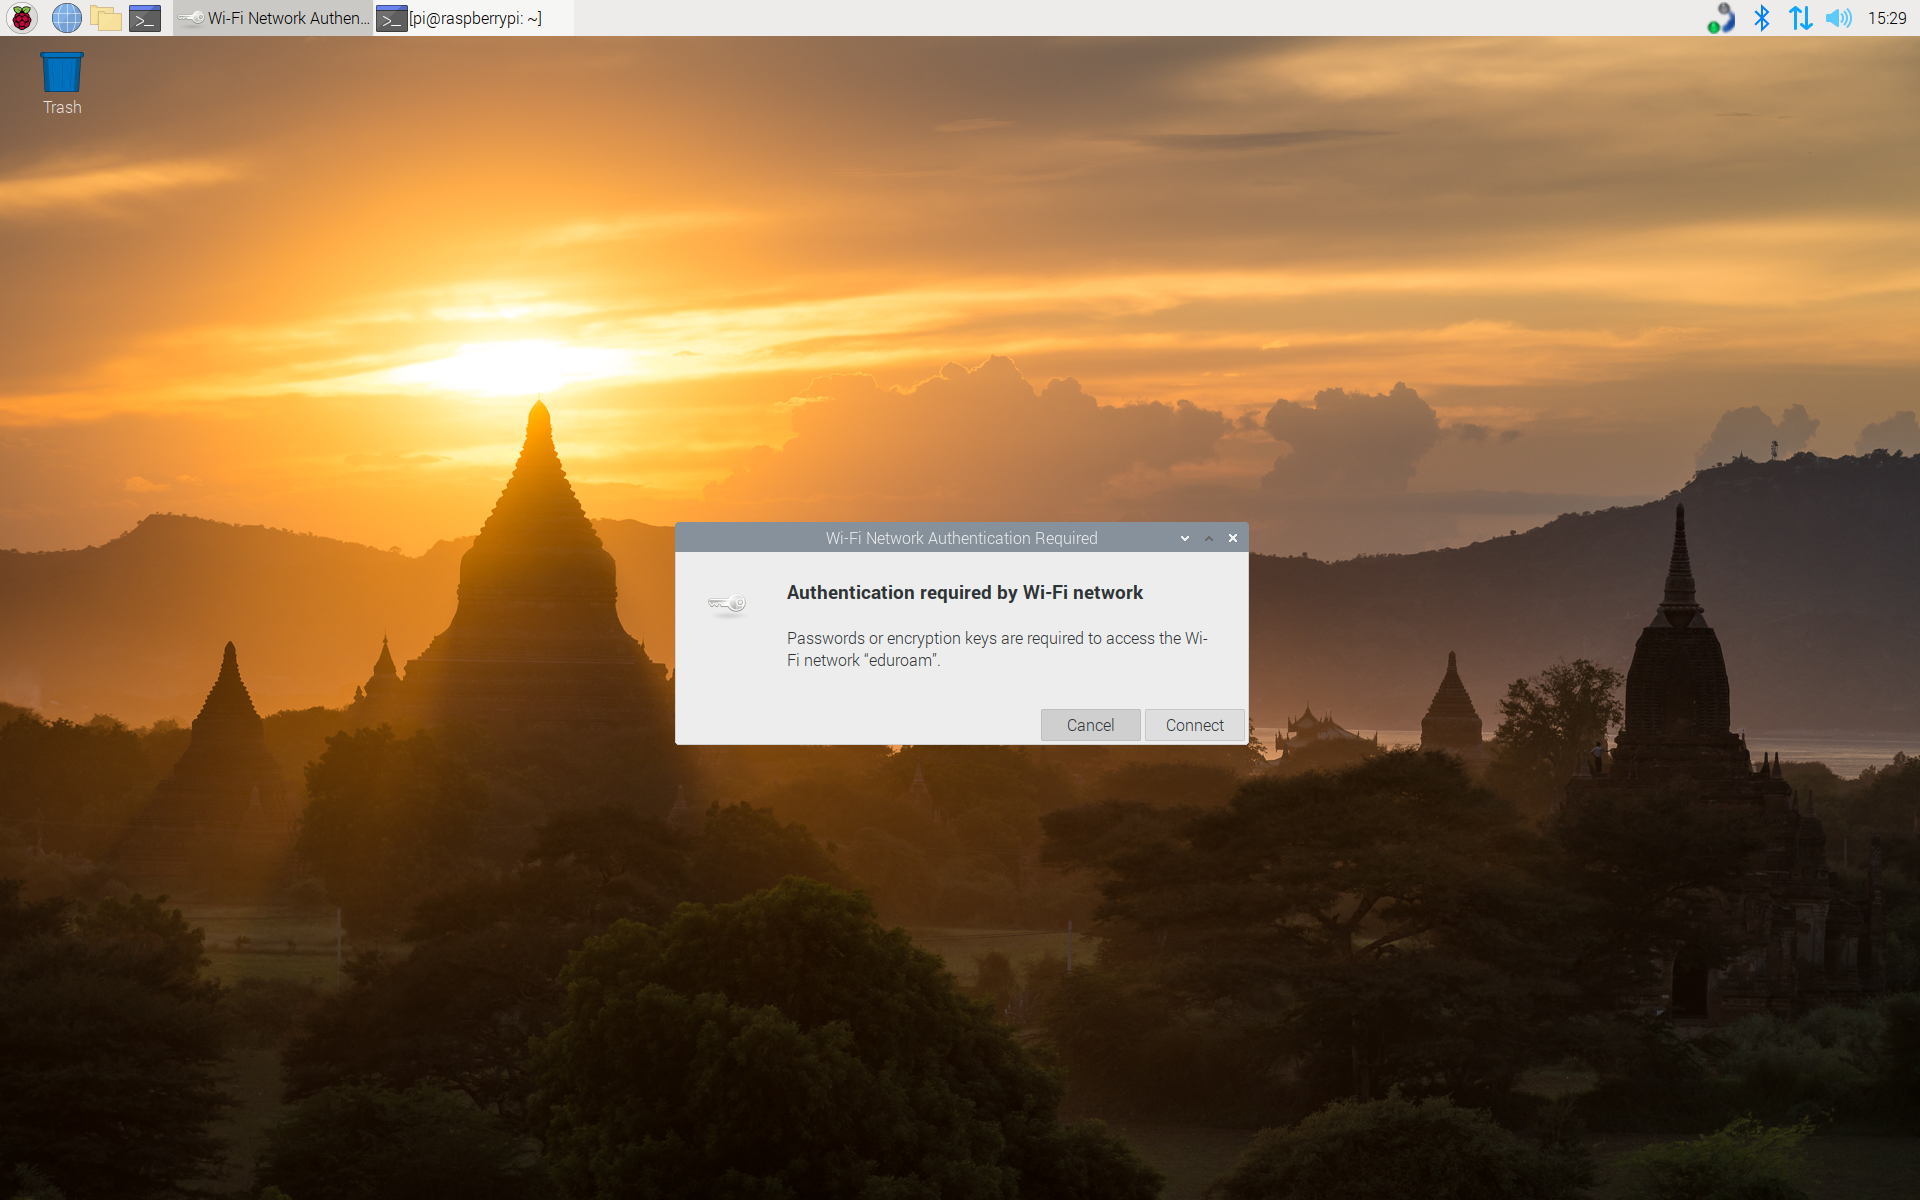
After editing this file, reboot the Pi.
Run NetworkManager tool
Next we’ll go back to the tutorial from Prof. Tychonievich.
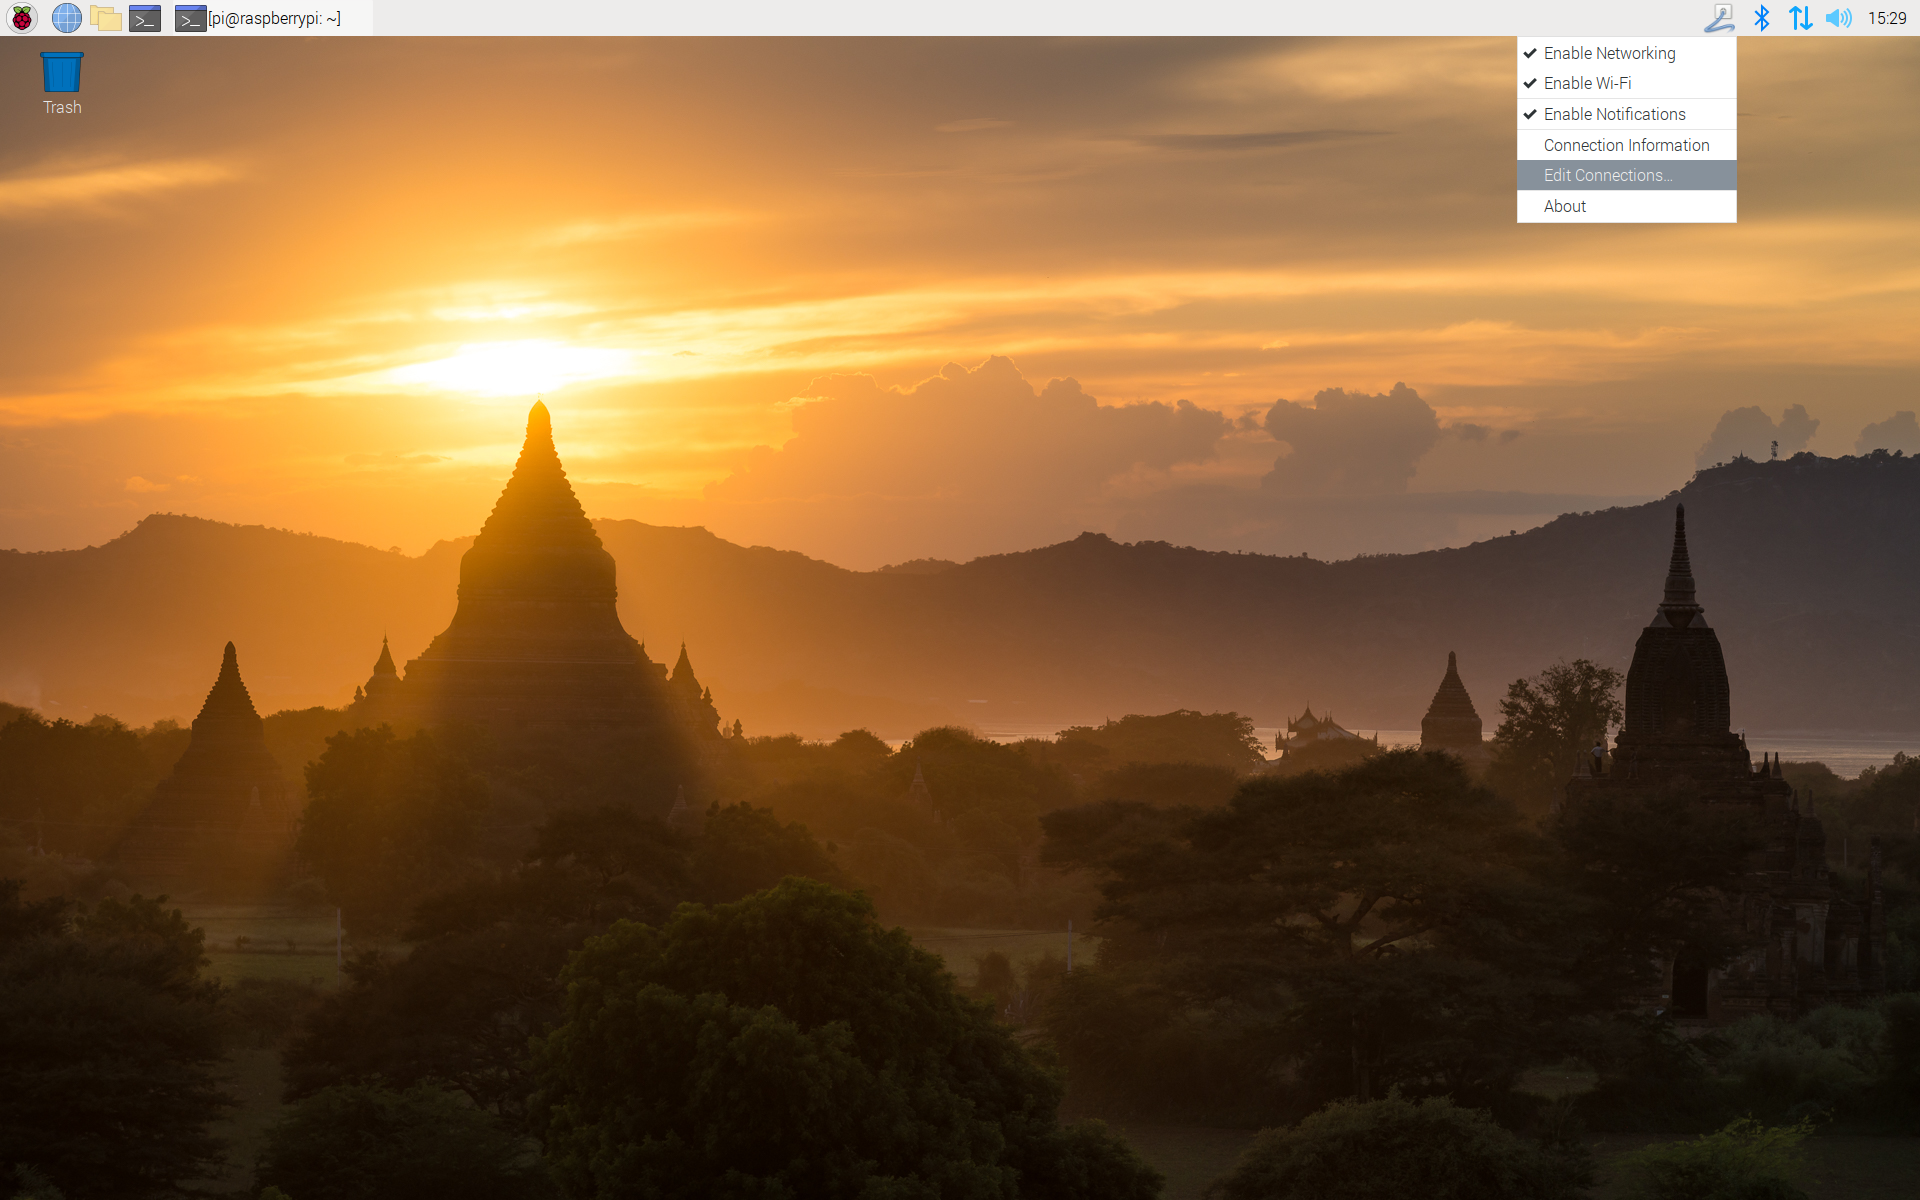
Once the Pi reboots, it will pop up a window about authentication to the eduroam network. You can click the Cancel button.
Hover the mouse over the NetworkManager icon, alternate mouse button click (right-click) and select Edit Connections.
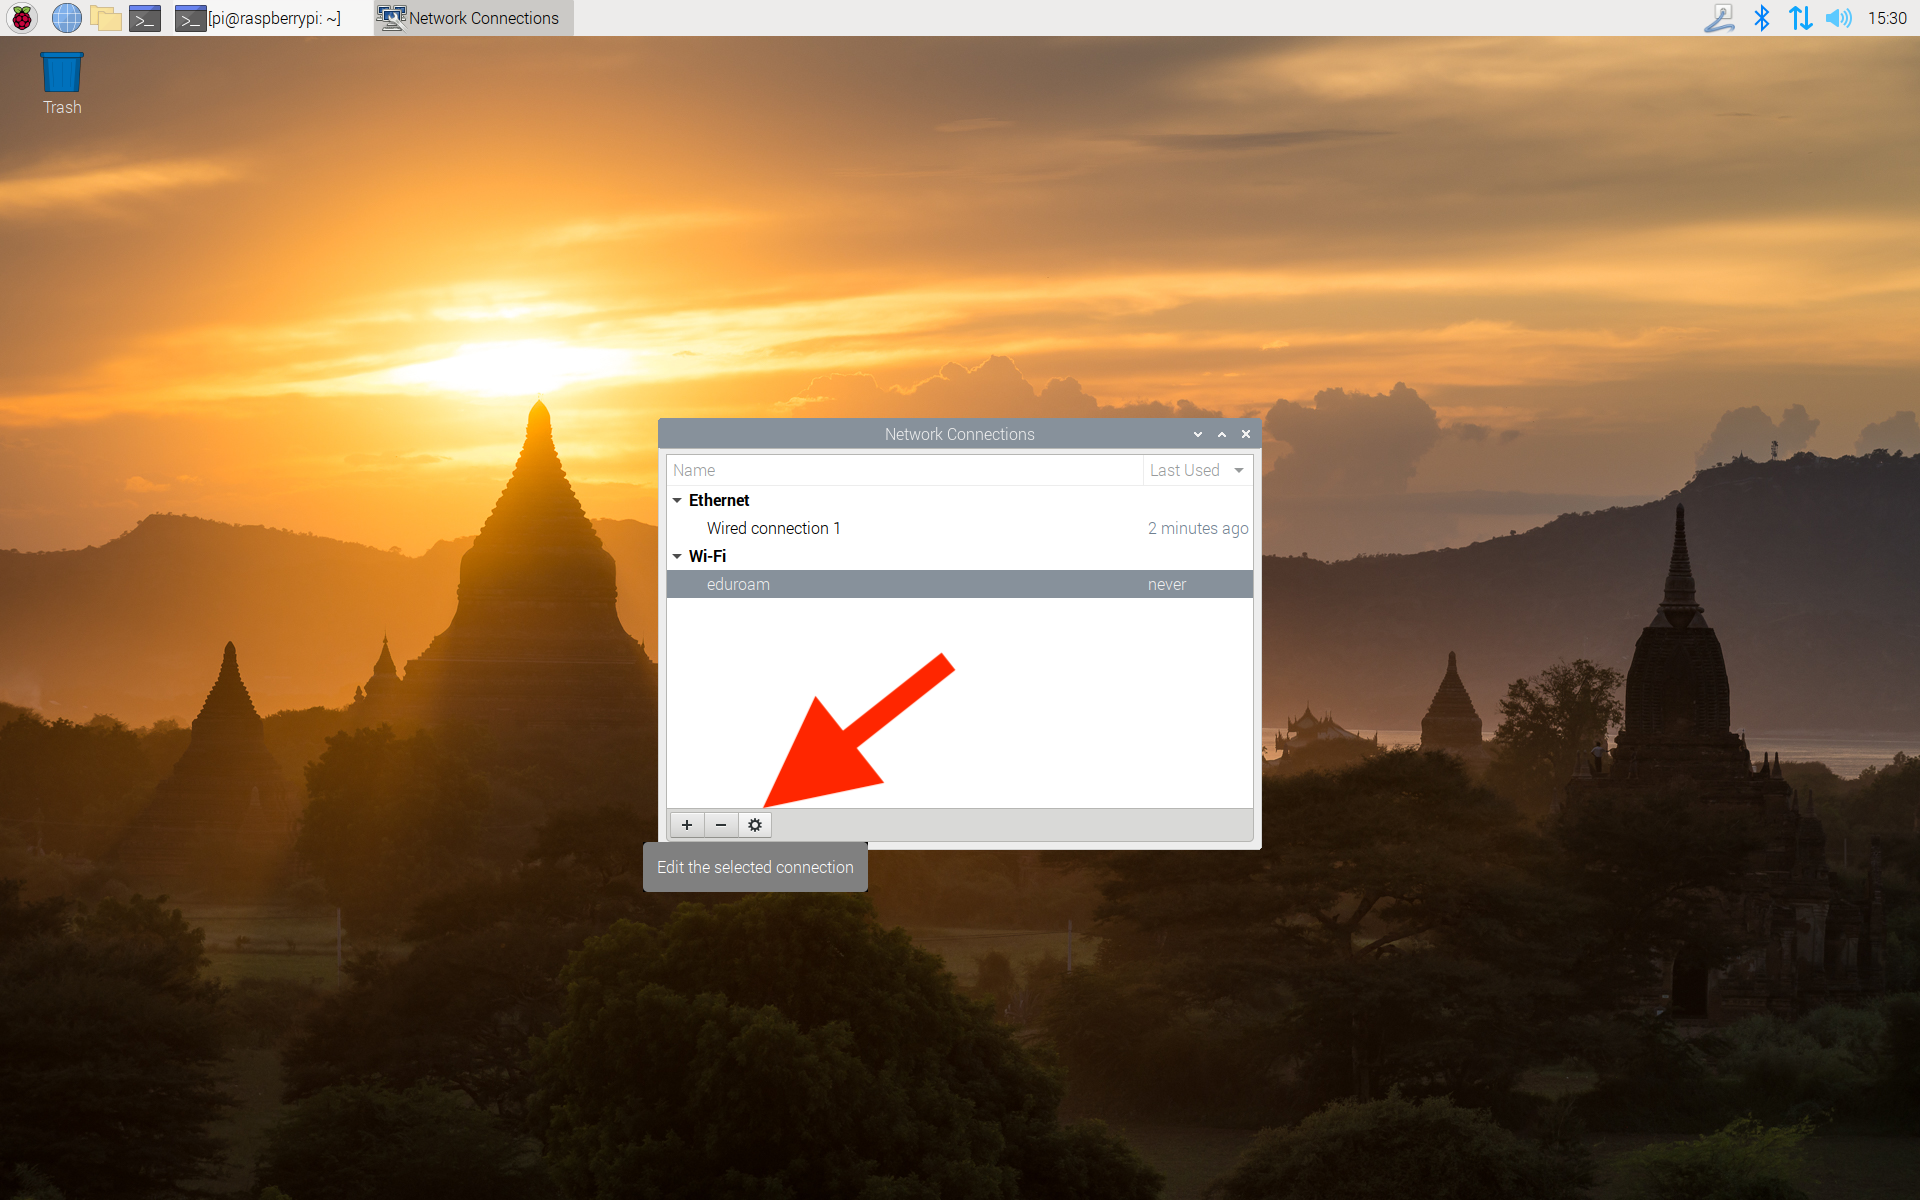
In the new window, select the eduroam WiFi option, then click the gear icon on the bottom.
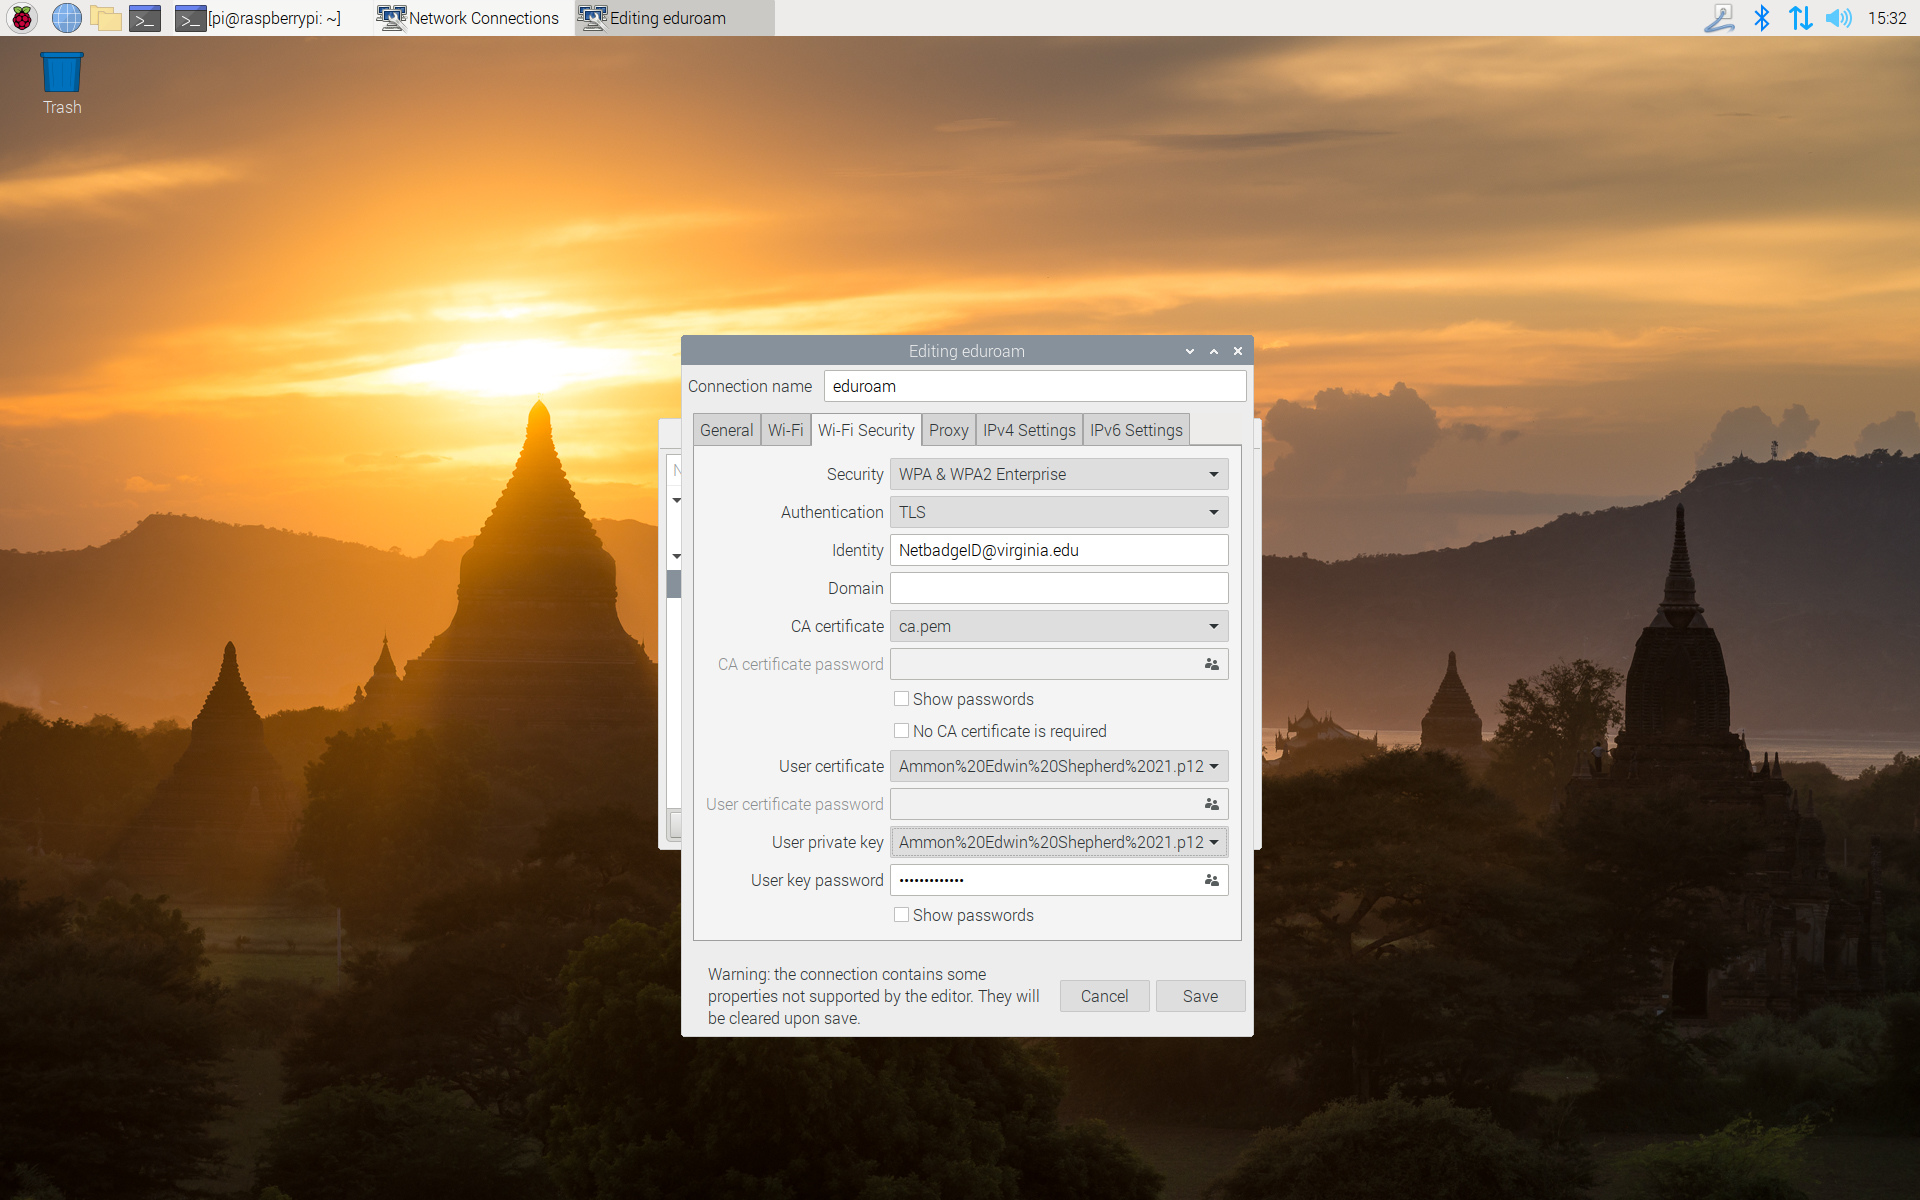
Enter the information as listed in Step 1 on his tutorial.
- Security: WPA & WPA2 Enterprise
- Authentication: TLS
- Identity: mst3k@virginia.edu (your email all lower-case)
- Domain: leave this blank
- CA certificate: ca.pem
- CA Certificate Password: disabled
- User certificate: Click the down arrow and browse to the file in the .certificates folder.
- User certificate password: disabled
- User private key: same as User certificate
- User key password: The password you set when you downloaded your personal digital certificate.
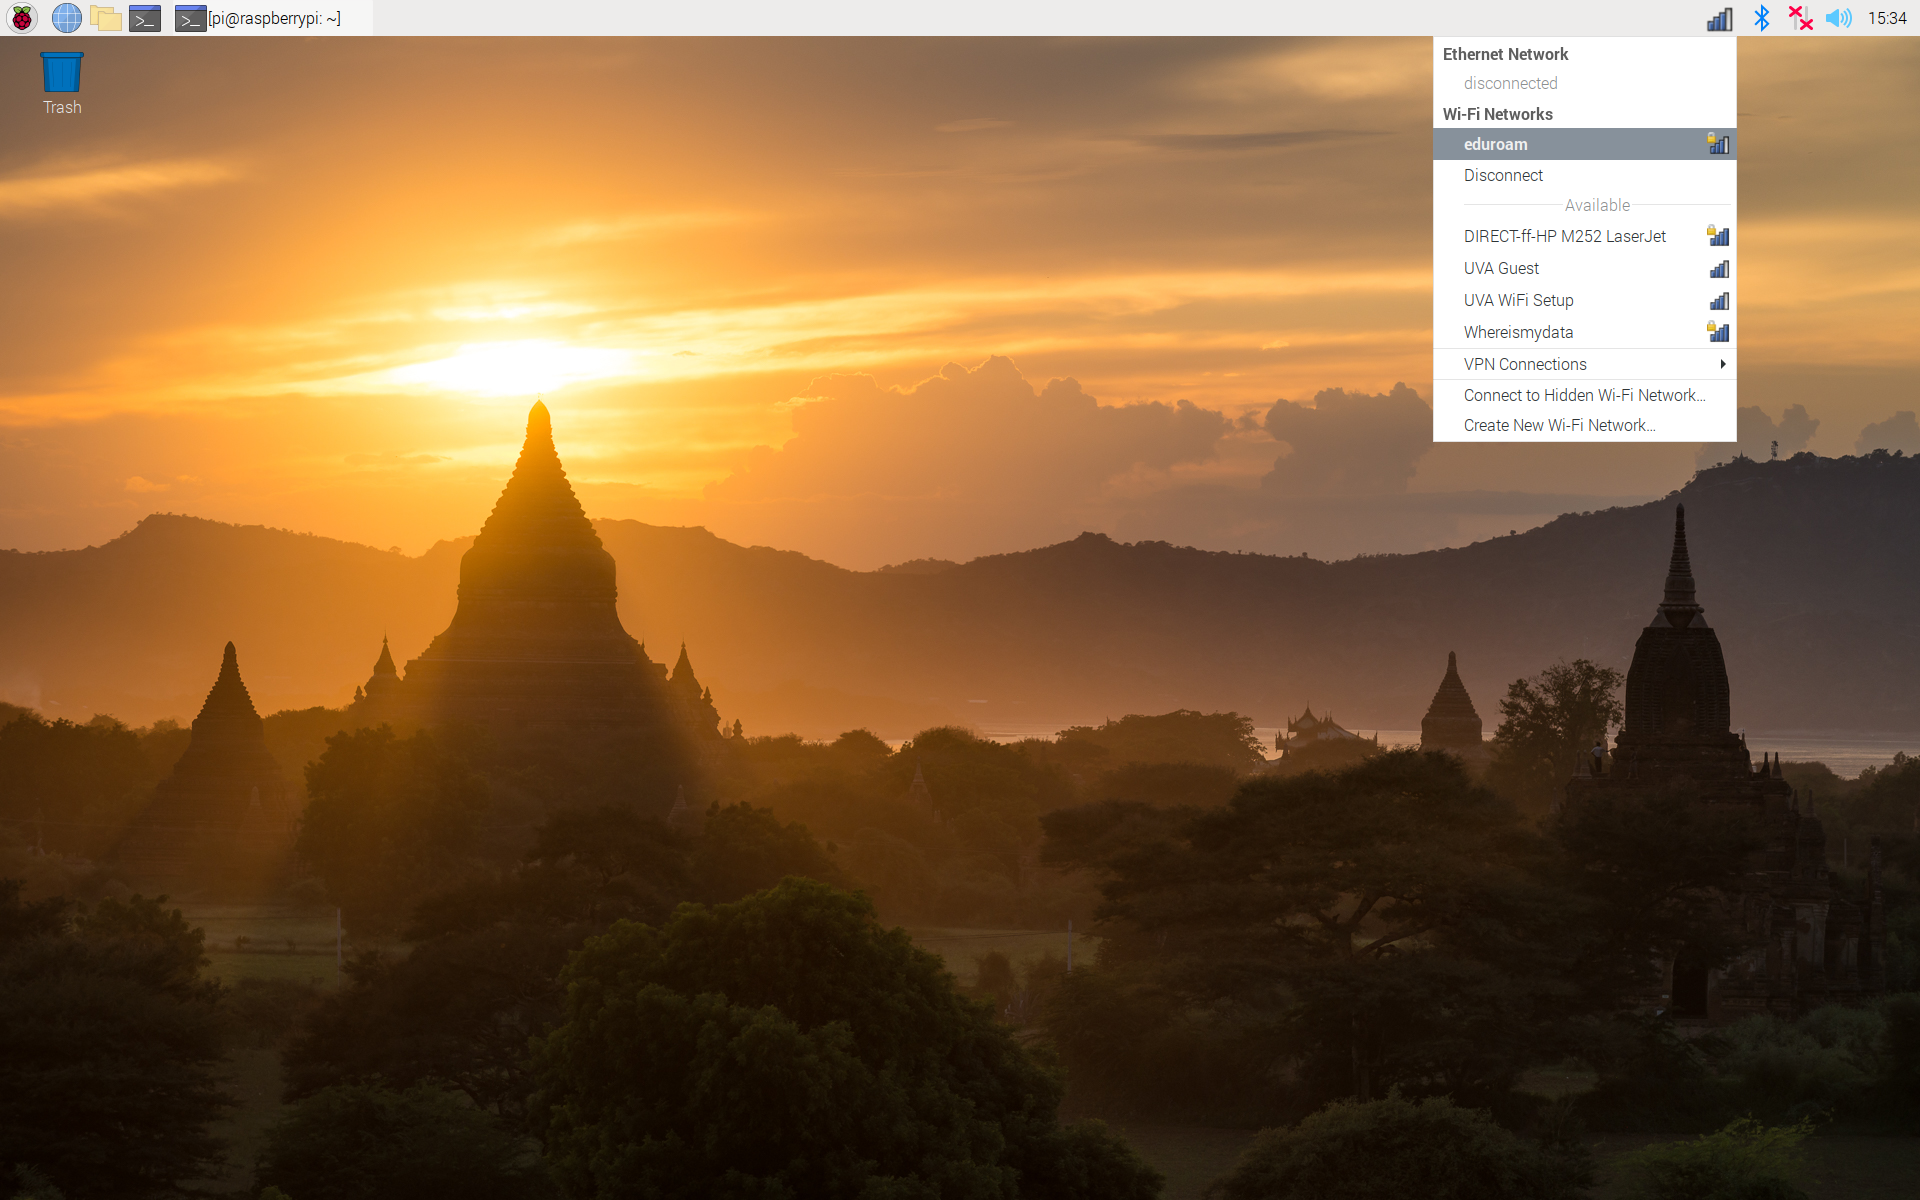
Final step
Connect to the eduroam network, and enjoy!
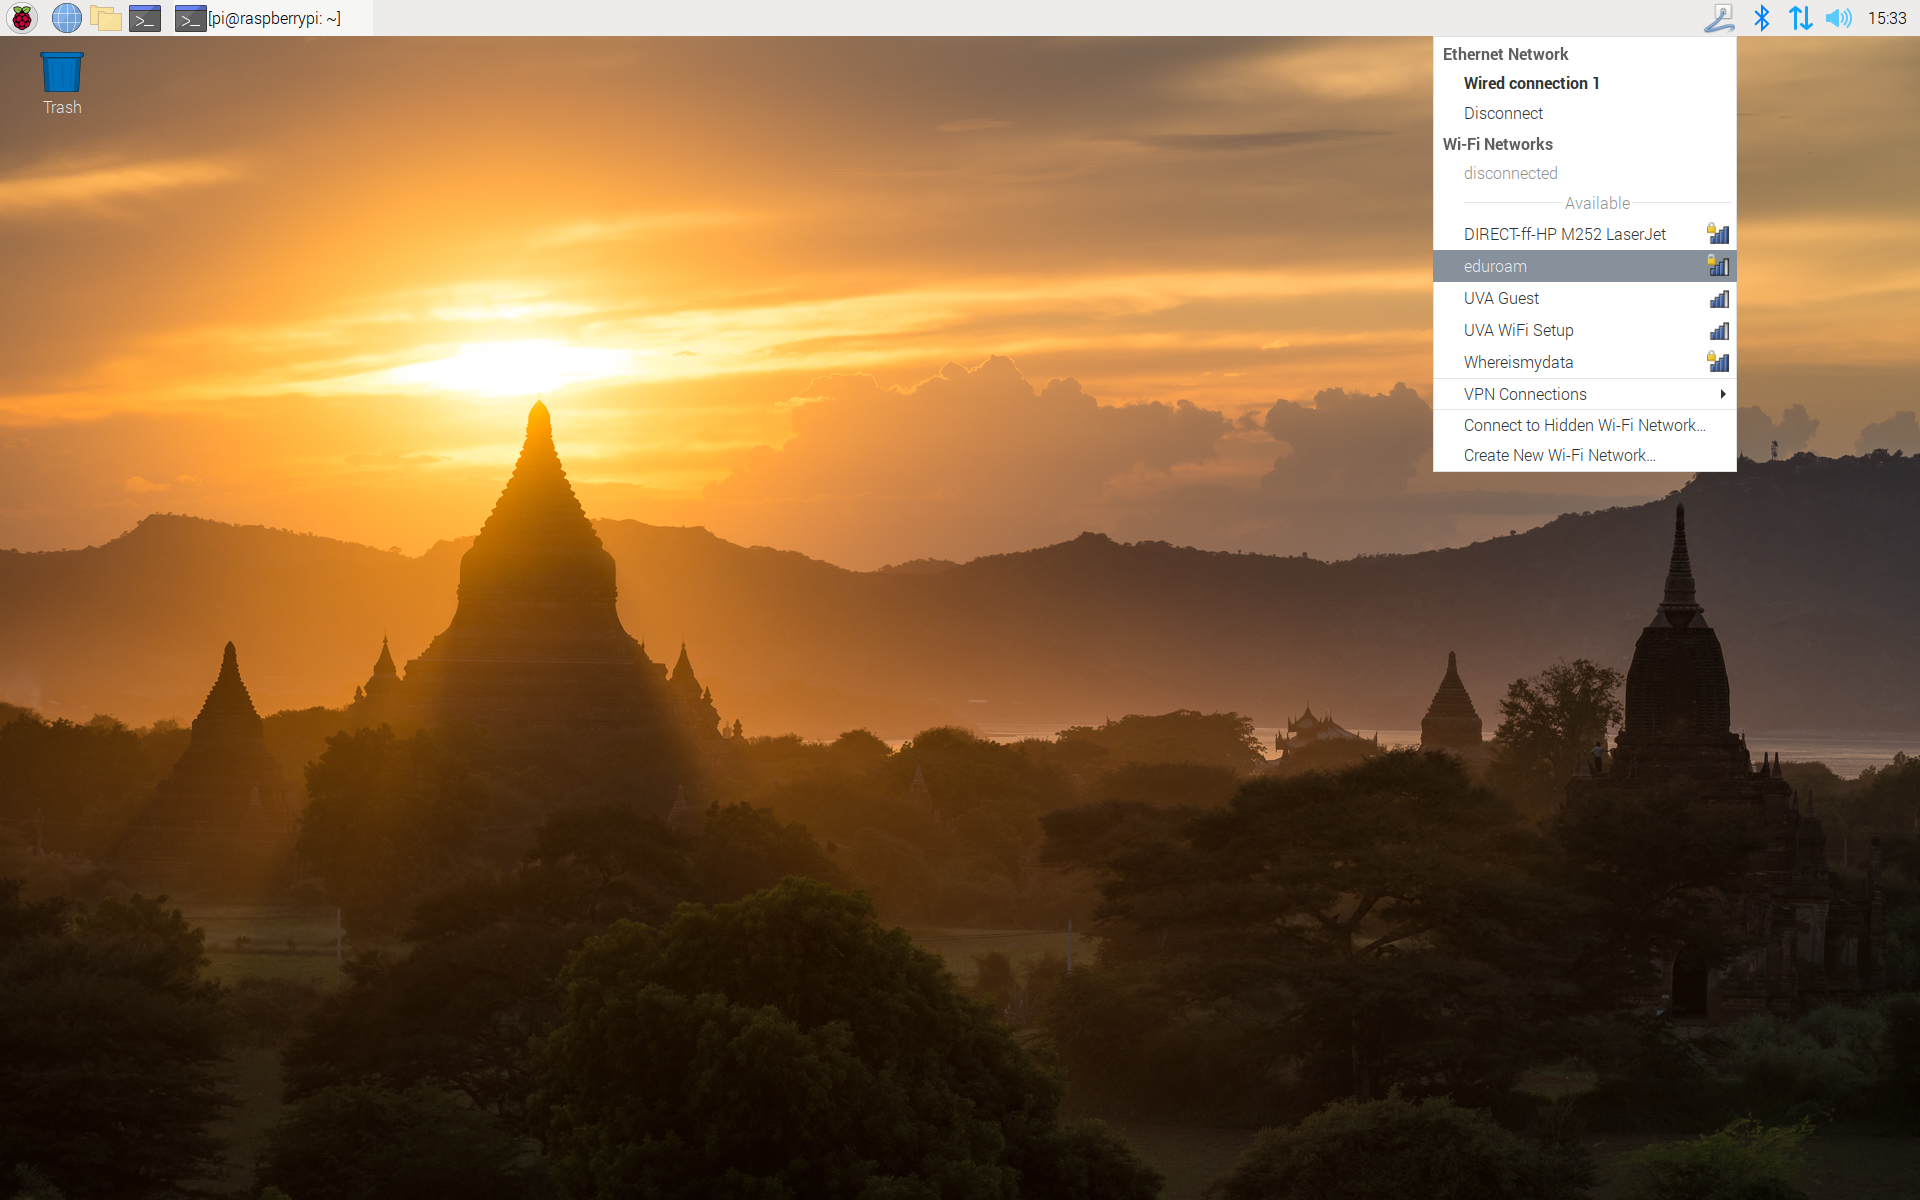
It works!
If you have any questions, or this doesn’t work for you, feel free to drop me a question by email (ammon@virginia.edu), sign up for a virtual consultation, or stop by the TinkerTank!